How to Enforce Role Based Access Controls in Securden EPM?
Once users are onboarded into Securden EPM, access permissions within the application can be granularly assigned to individual users through role-based access controls. By assigning a user role to a user, the associated permissions are automatically granted to the user.
Note
By default, the users imported from Active Directory or other means will have the role User. You can change and assign roles for these users individually or in groups.
To change the role of a user,
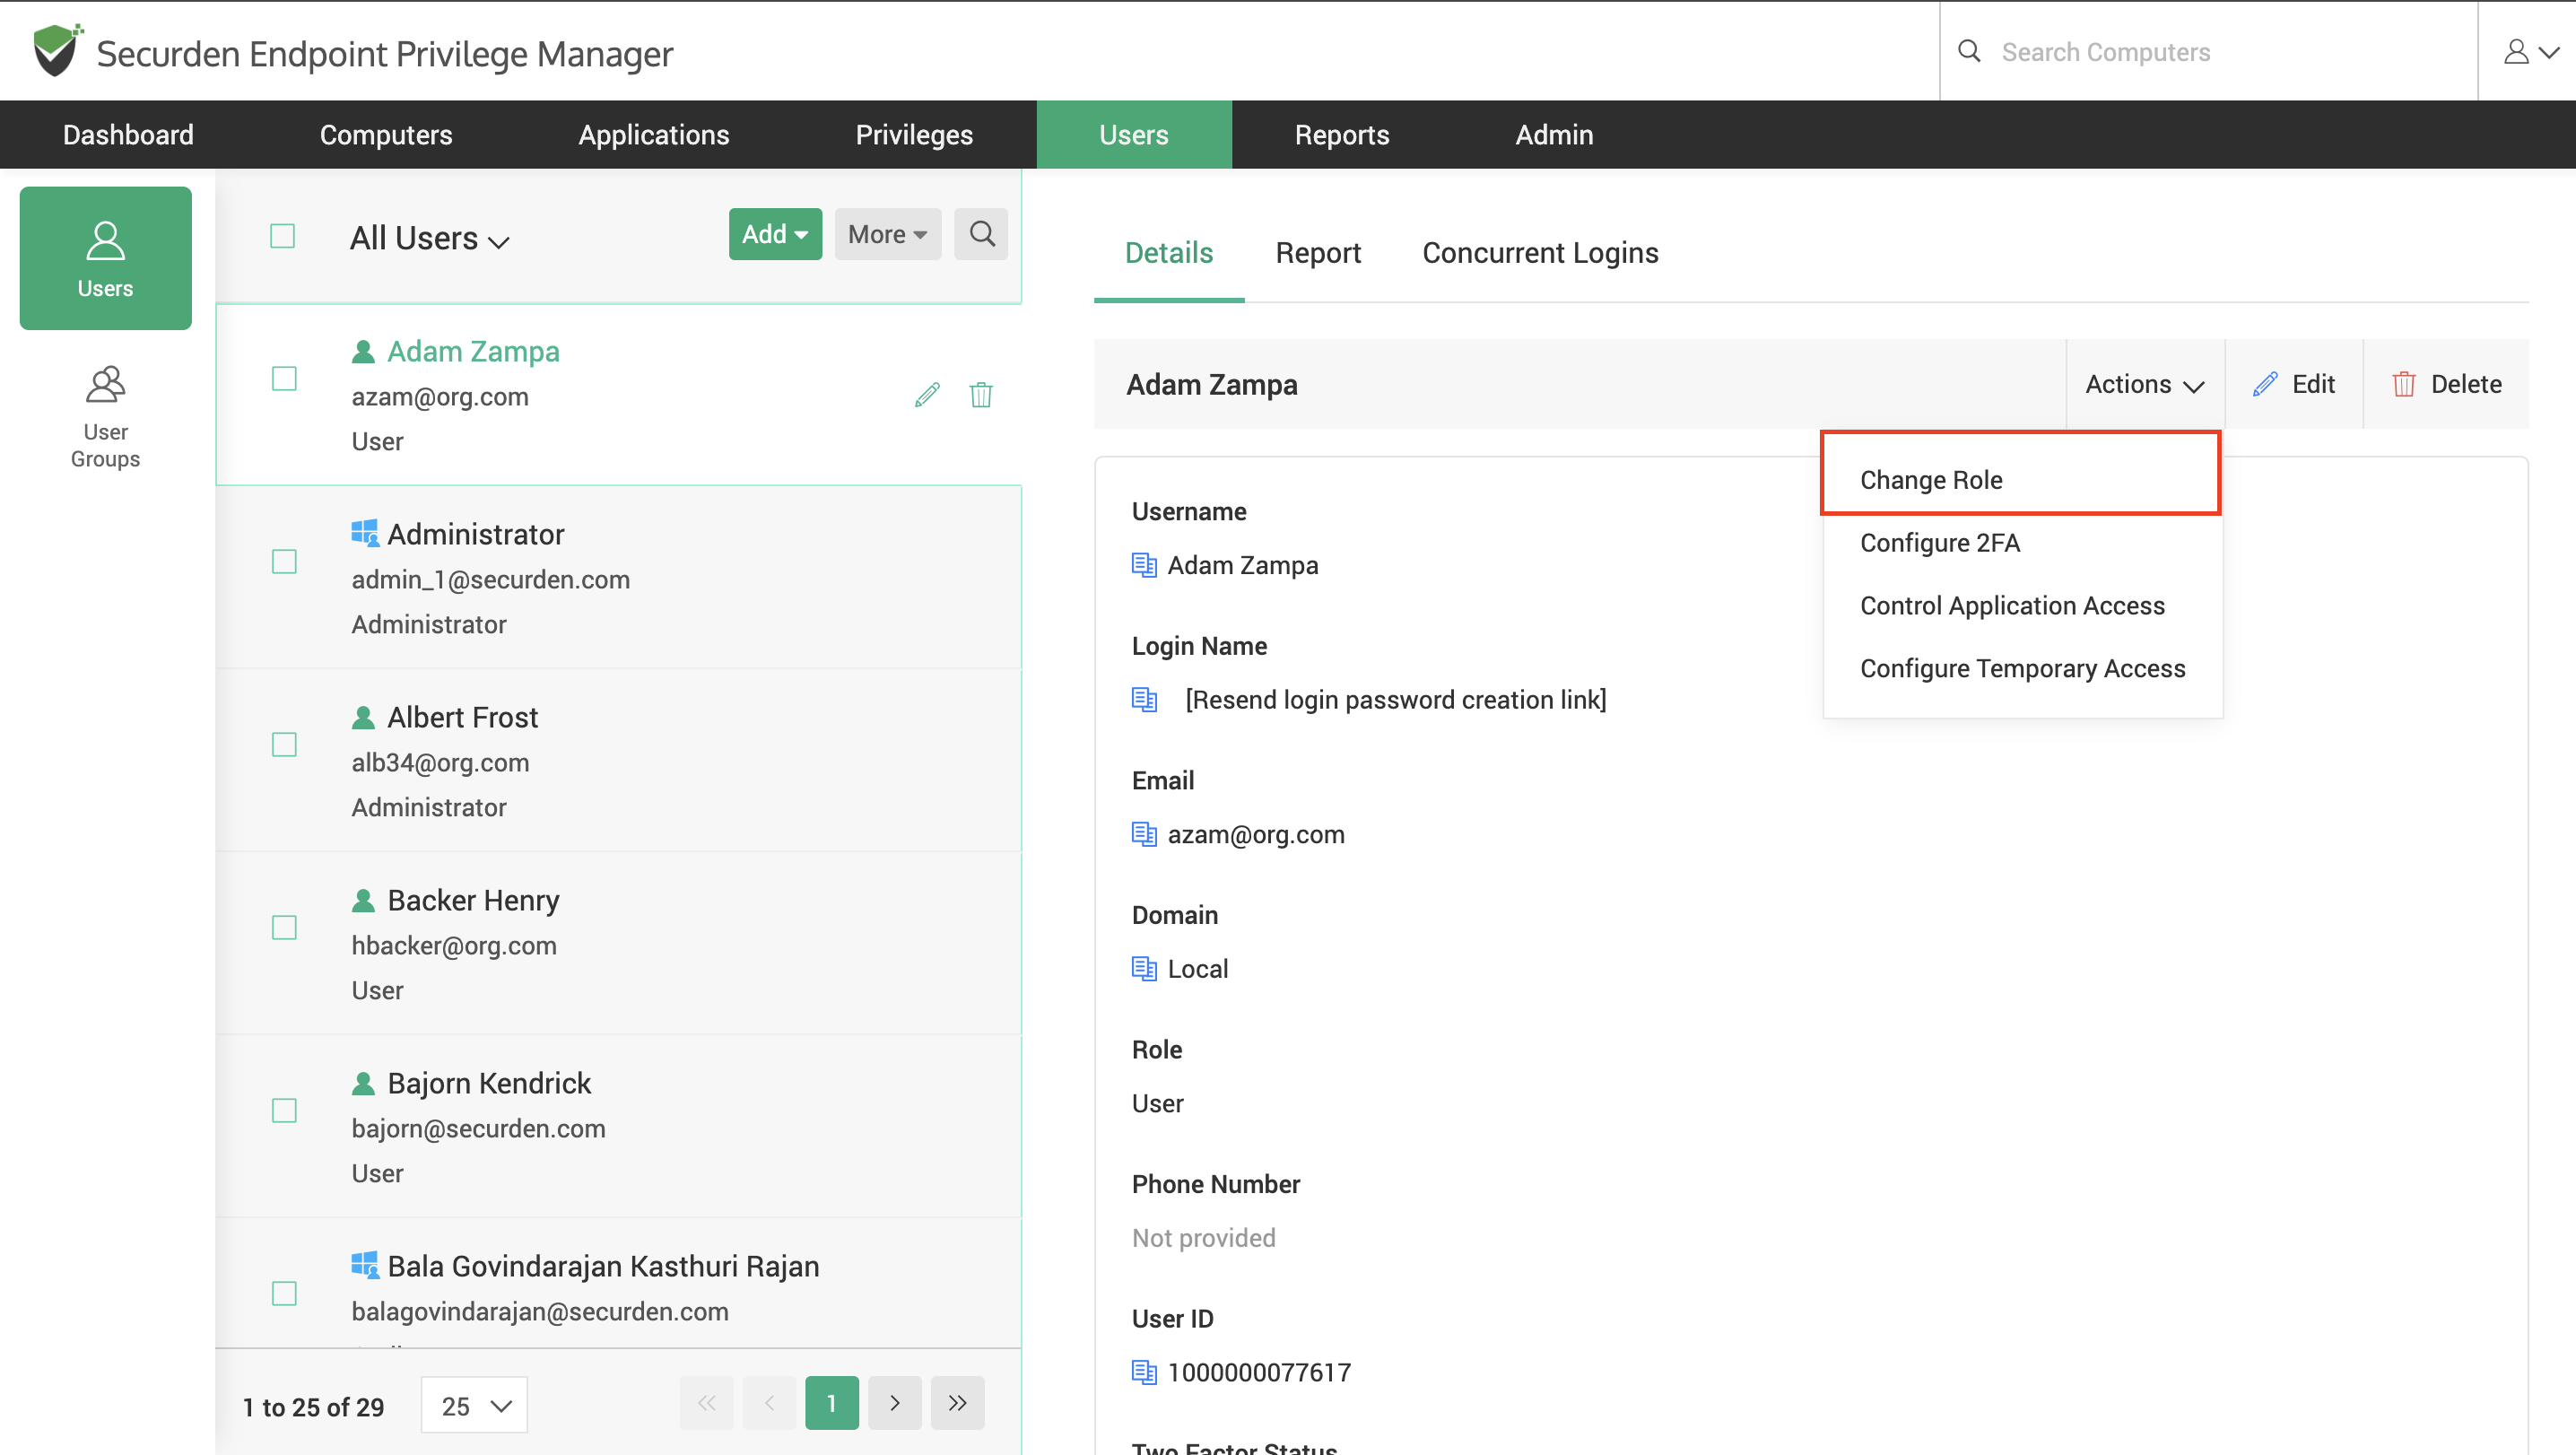
1) Navigate to the Users tab in the GUI and click on the required user.
2) Go to Actions >> Change Role.
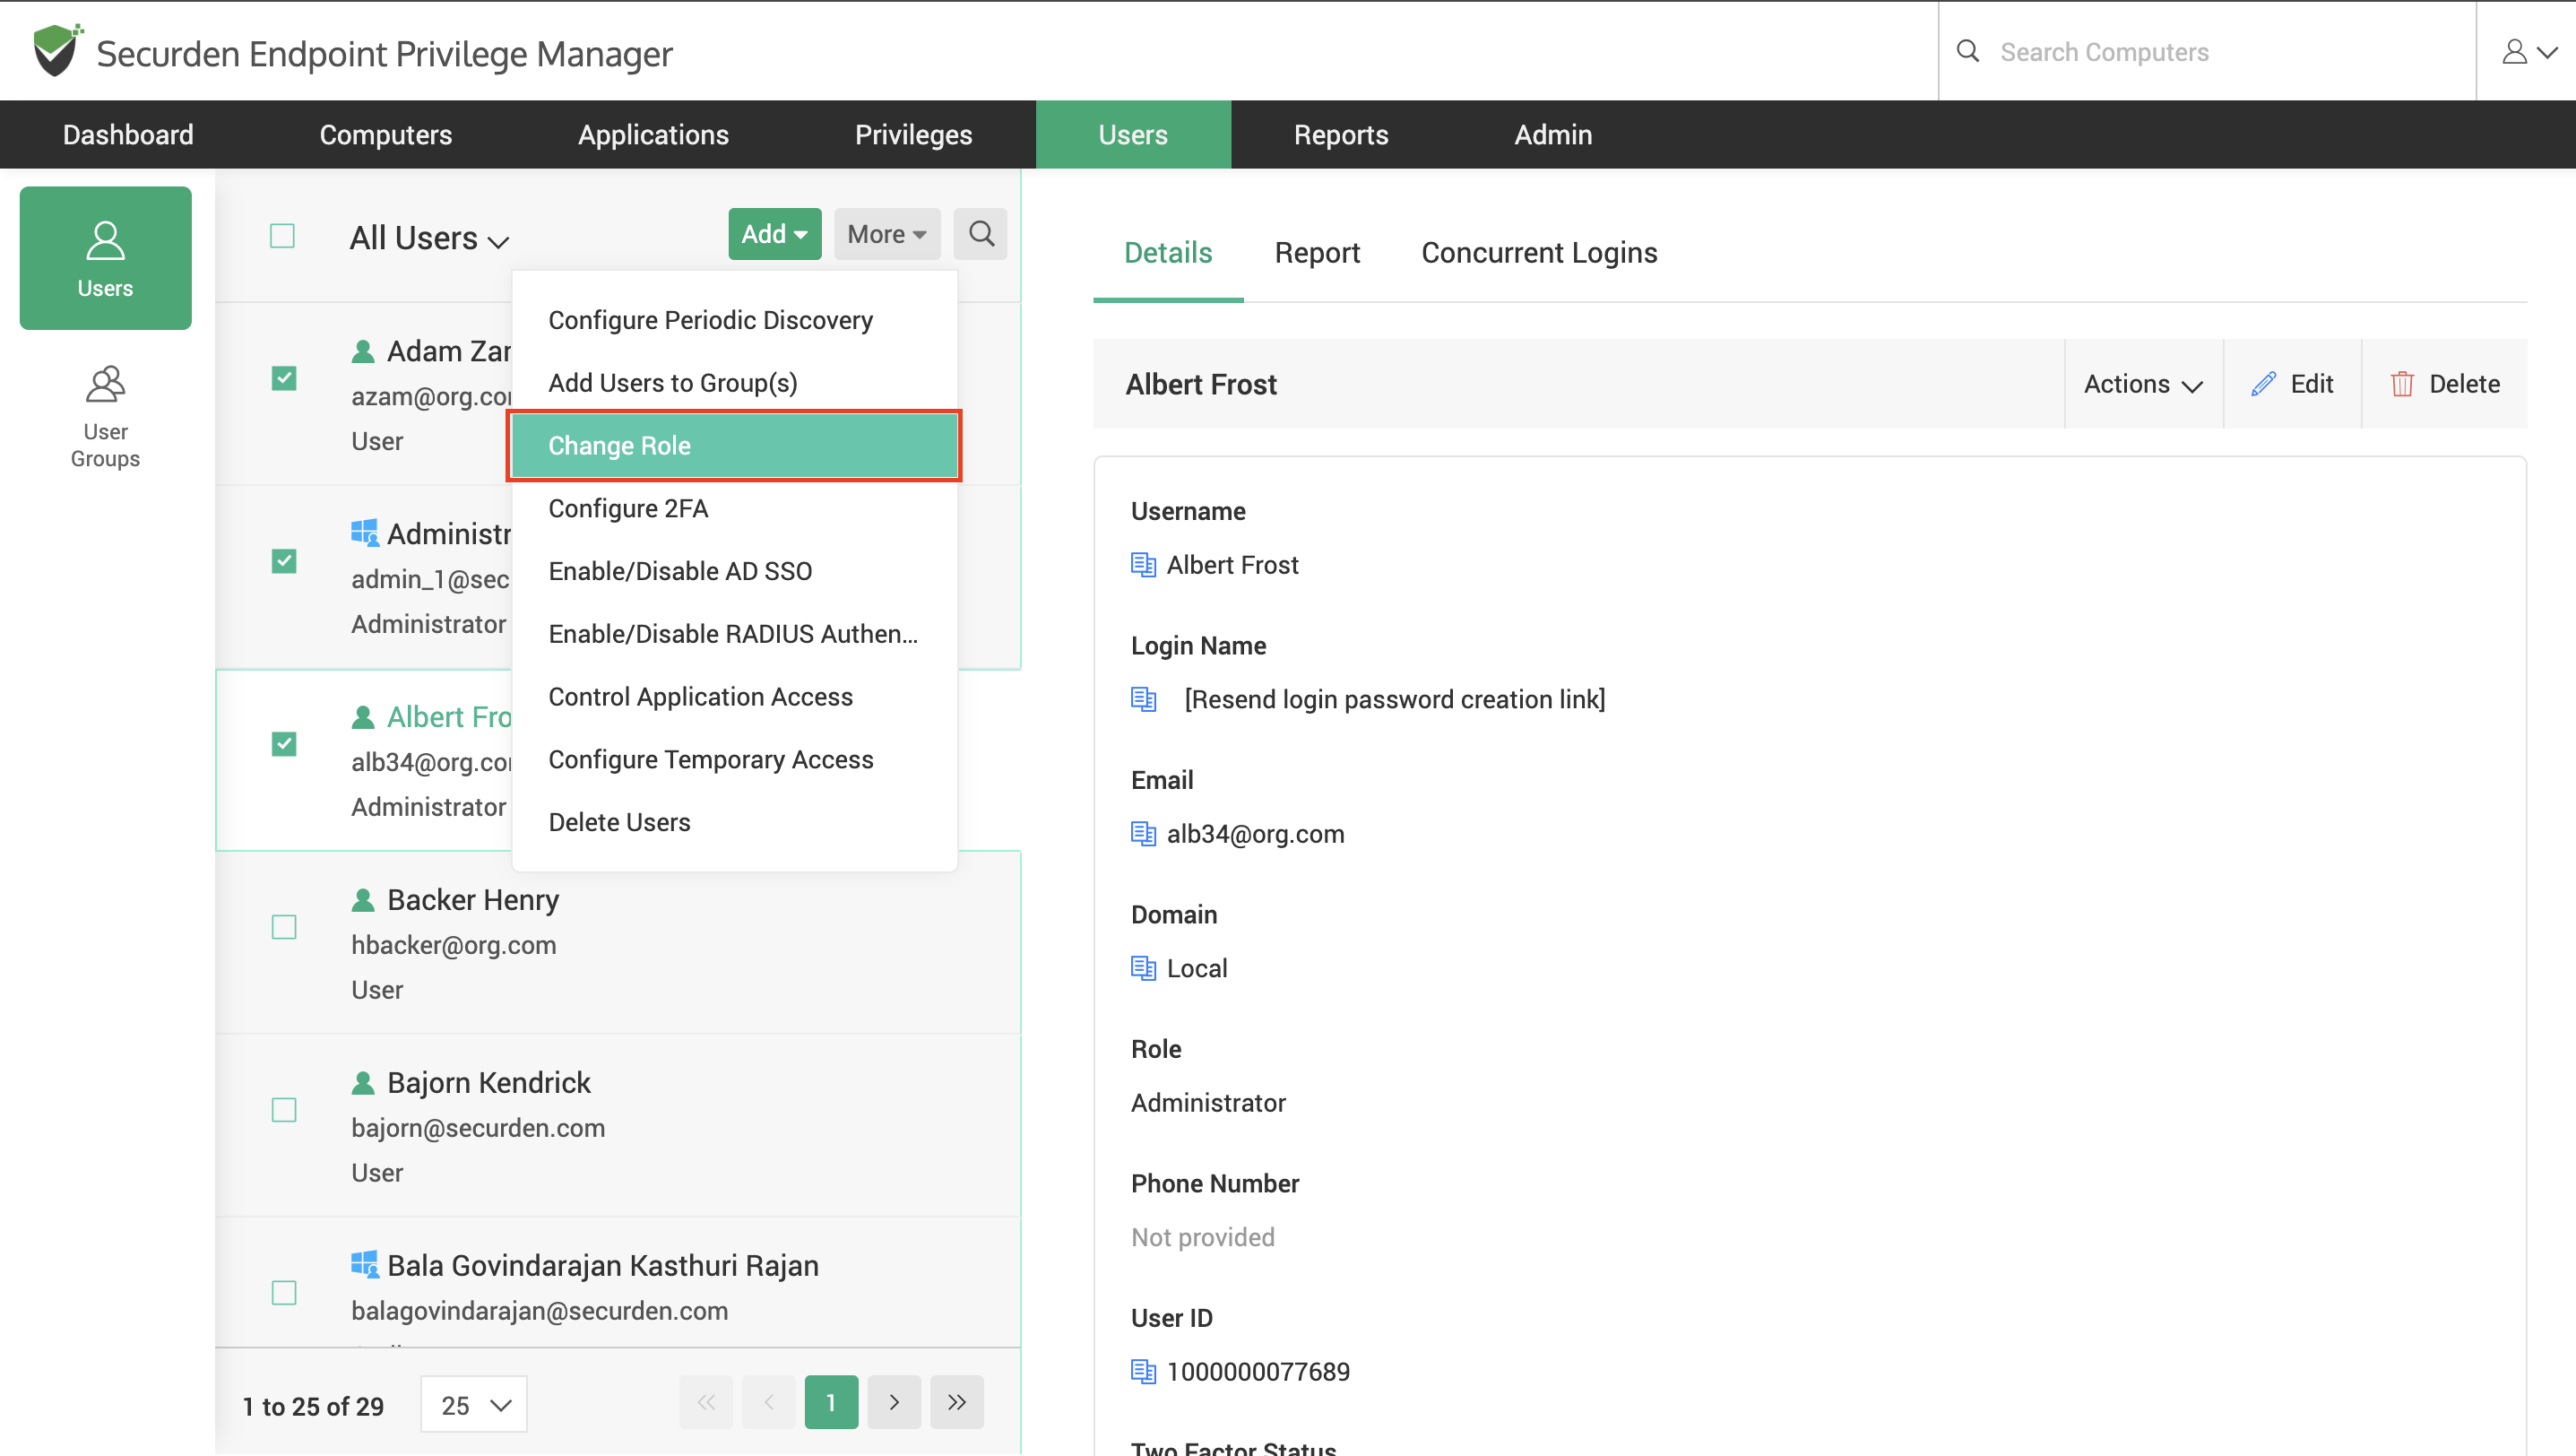
Alternatively, you may use select multiple users and navigate to Edit >> Change User Role to change the role of multiple users at once.
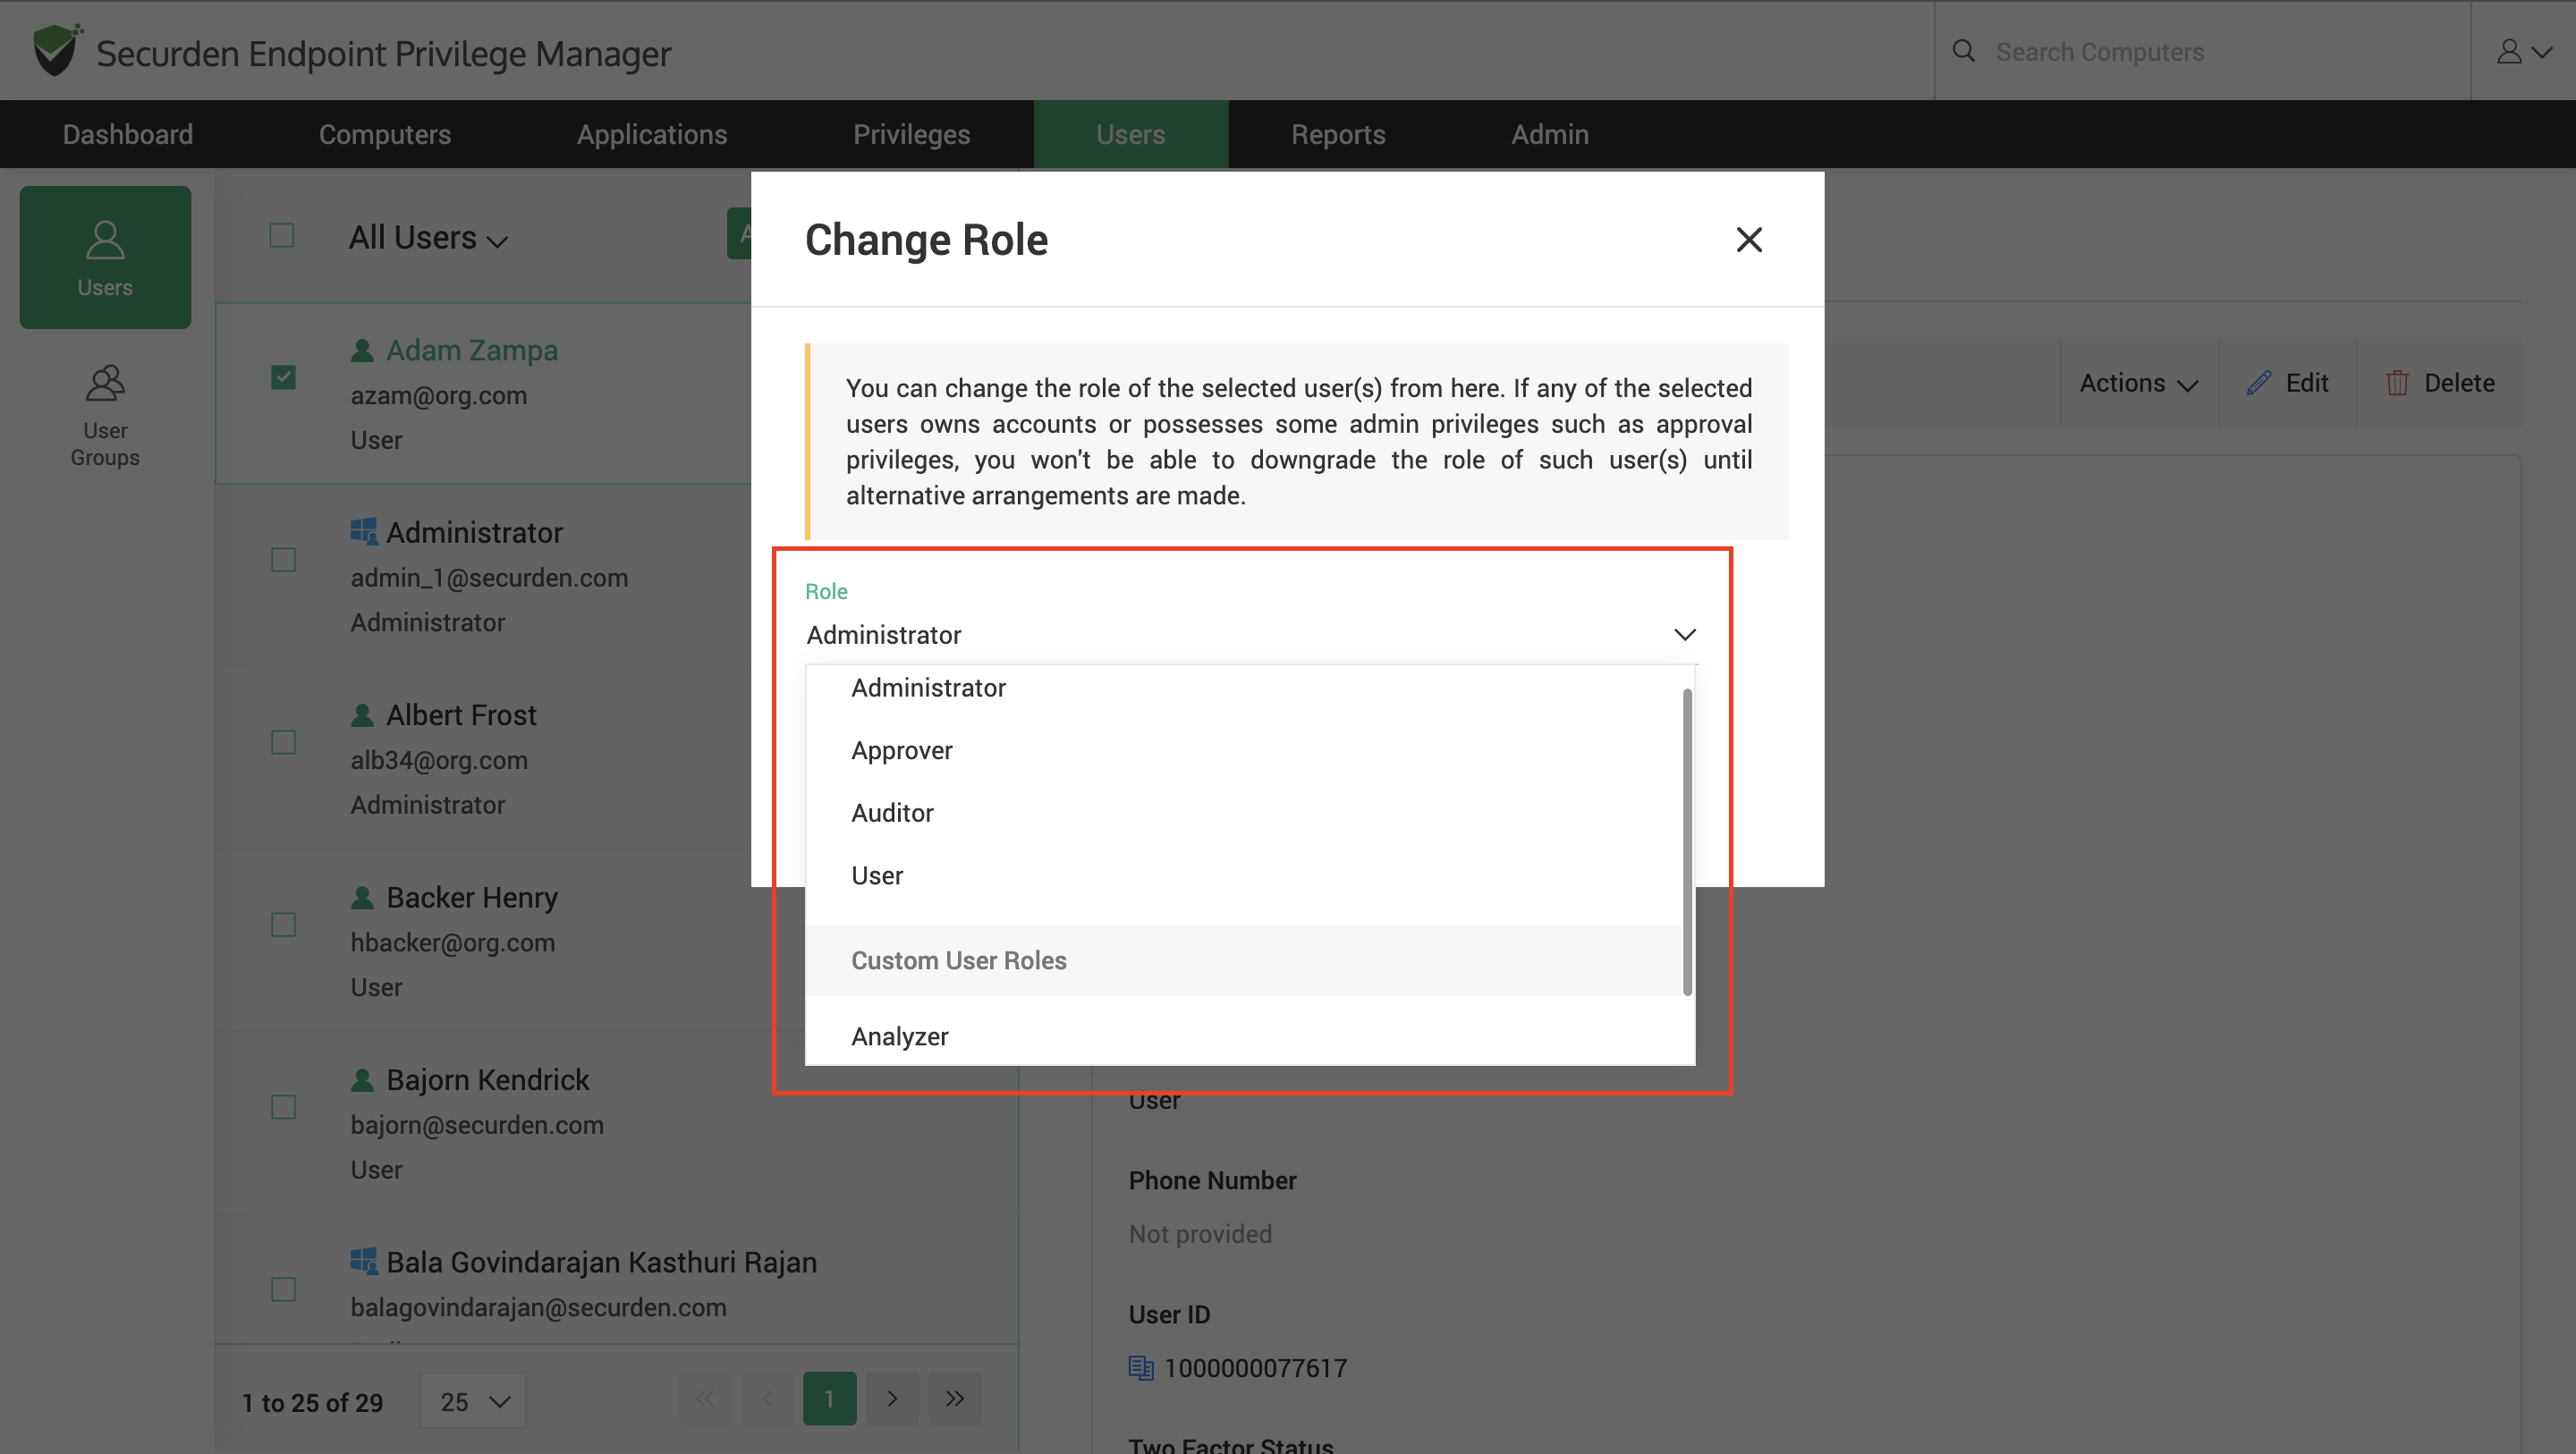
Under the drop-down named Role in Securden, you will find a list of four default roles available in Securden. They are explained as below
-
Administrator - They can administer the application, including user management. They will be able to manage privilege elevation requests raised by users.
-
Approver – They can manage privilege elevation requests raised by users. They can choose to approve or reject requests once they vaildate them.
-
Auditor - They can view the reports and audit trails generated in the application. They can manually add users.
-
User - They will have general access to the web UI. Most of their interactions will be with the Securden agent. They can raise privilege elevation requests using the agent.
Other than the predefined/default roles, you can also create custom user roles based on the specific needs of the organization. You can assign features at a granular level by selecting specific features. After creating a role, if the permissions are to be modified, the changes will have to be approved by another administrator.
How to Create and Use Custom User Roles.
To create custom user roles, navigate to Admin >> Customization >> Custom User Roles. A list containing all the existing roles and corresponding descriptions will be displayed. In addition, you have the option to create new roles or delete existing roles.

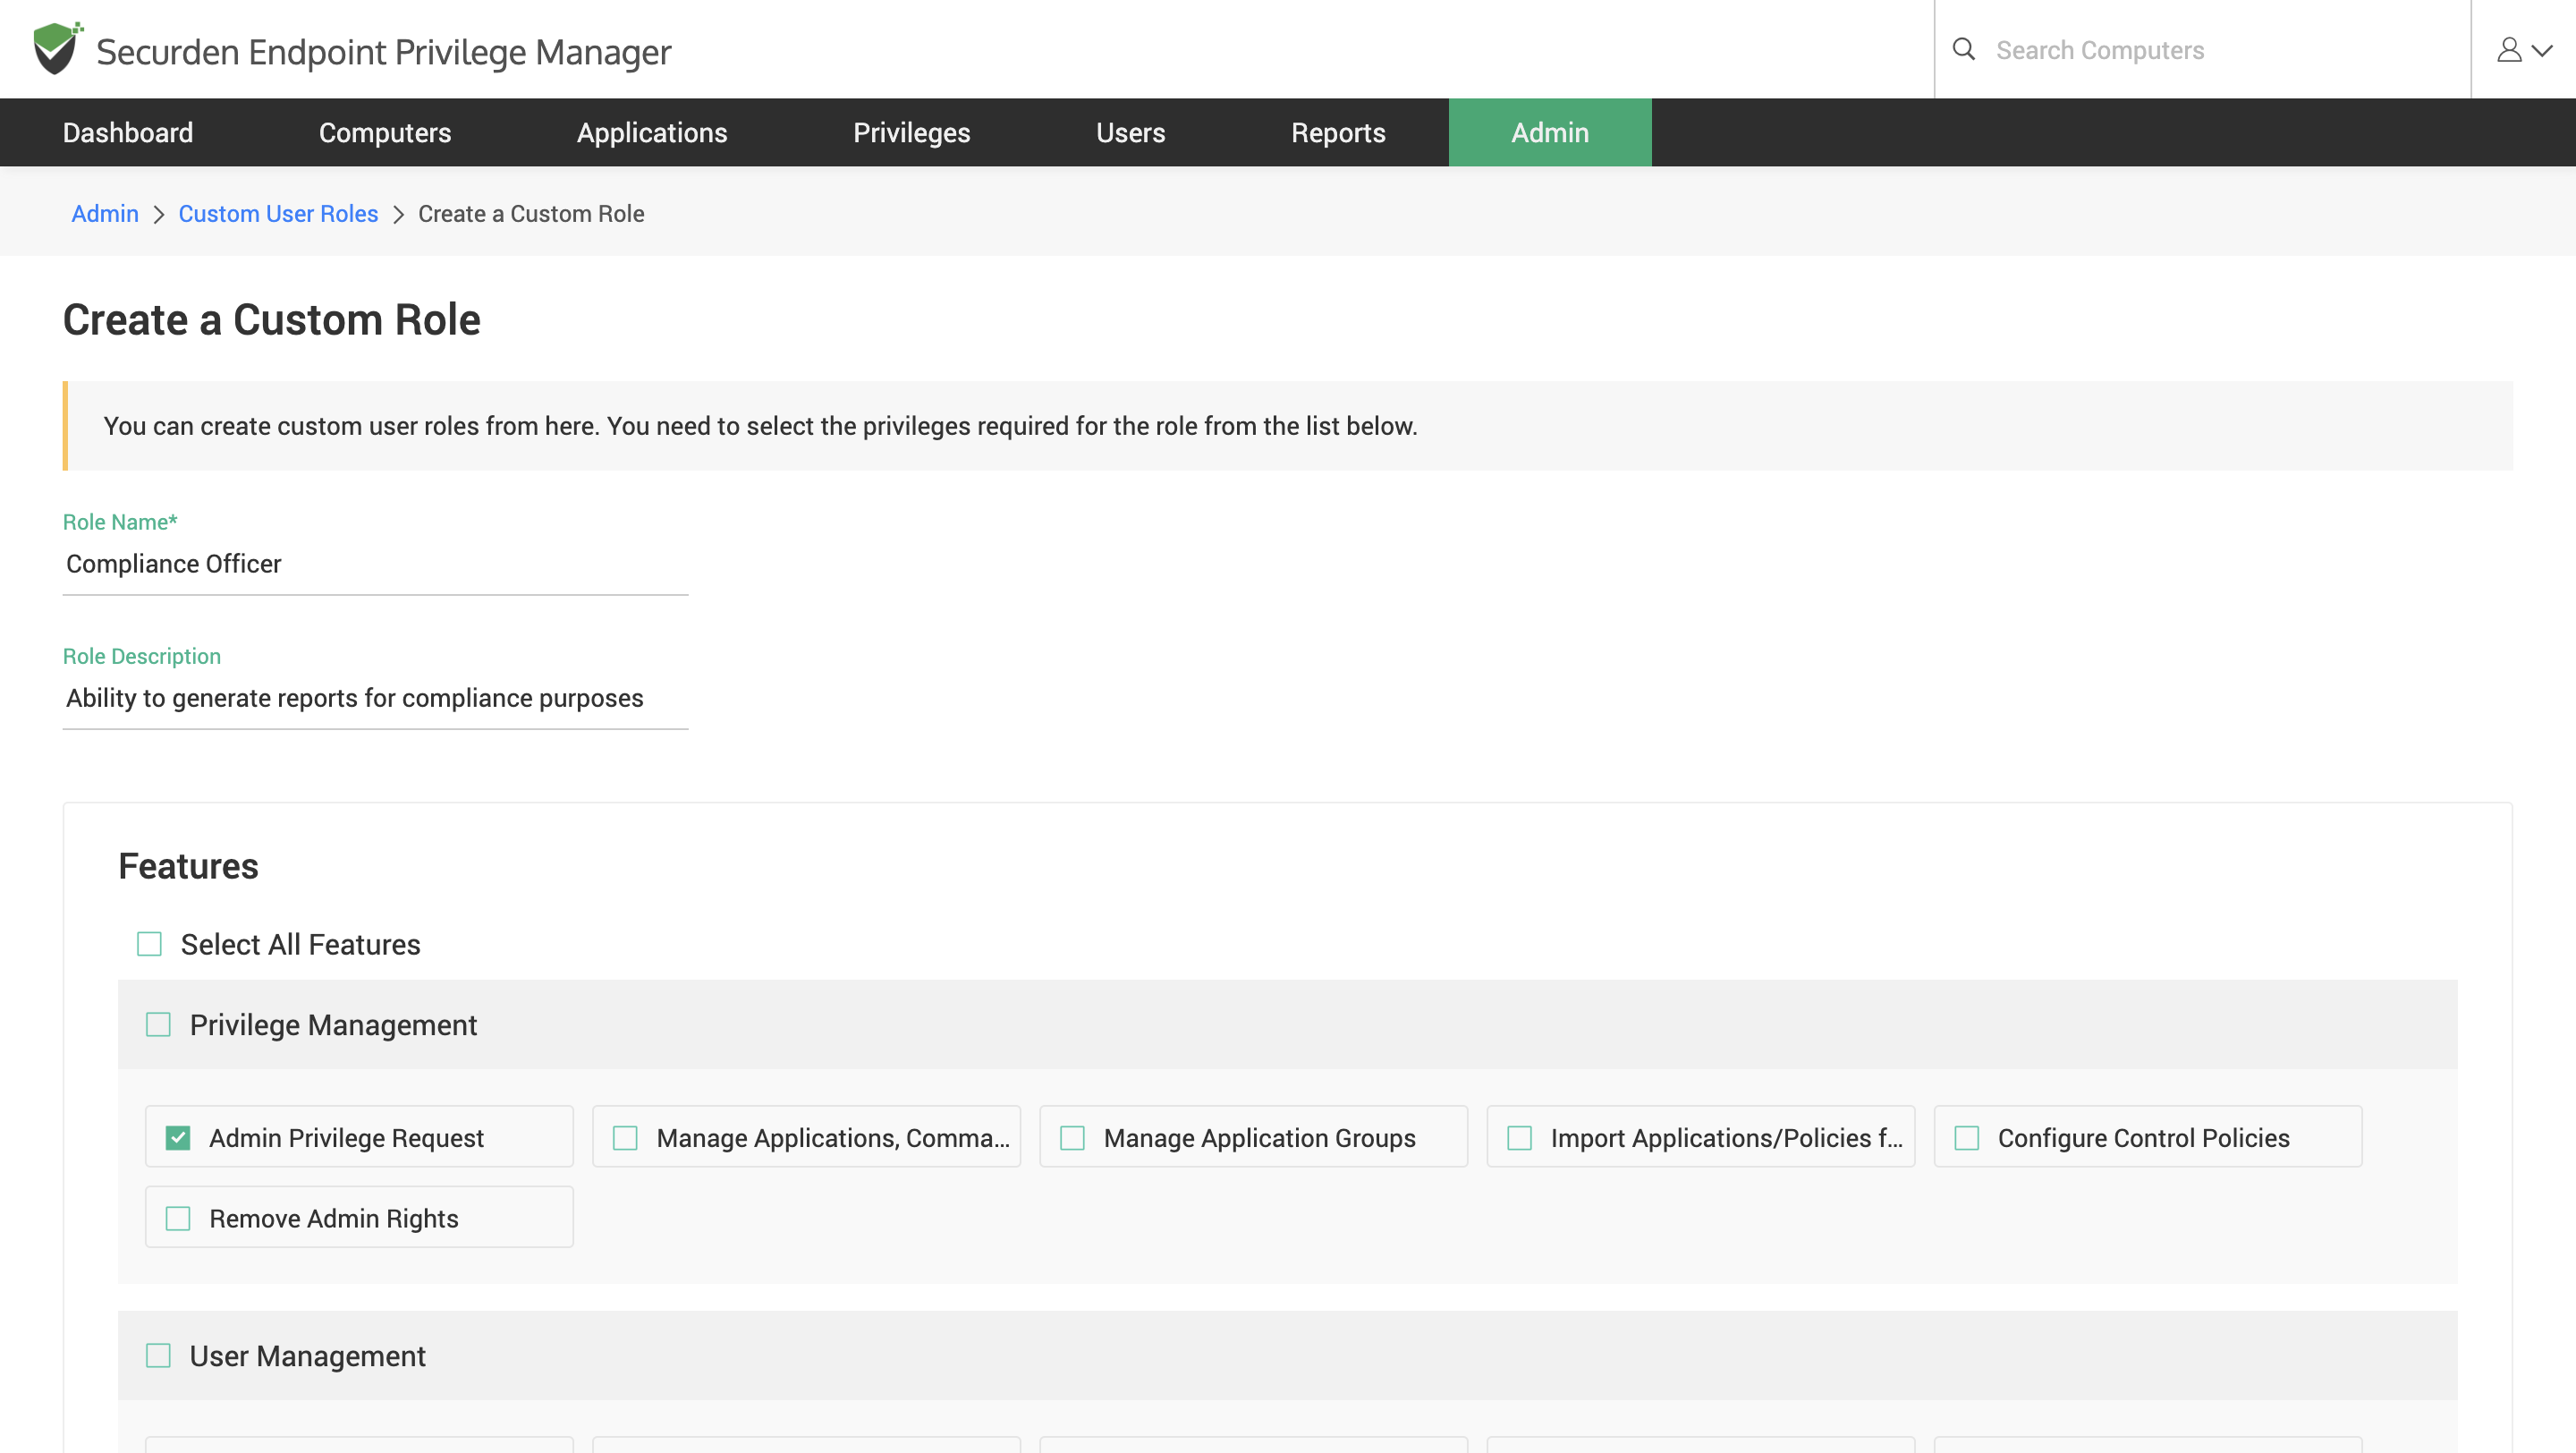
To create a custom role, click on Create Custom Role. In this GUI, enter the following details:
-
Role Name: Name of the newly created role. This will be displayed in all the role-related fields and drop-down menus in the GUI.
-
Role Description: A short brief of the role.
-
Features: You can select the features listed in checkboxes. Any user assigned to this role will be able to access/perform these features/activities.
Once you have selected the required features. Click on the Save button to complete role creation. The newly created role will be visible on the custom user roles list.
Note
After creation, custom user roles have to be approved by another administrator. You can assign a custom role to users once they have been approved.

