Discovering Privileged Accounts from SQL Servers
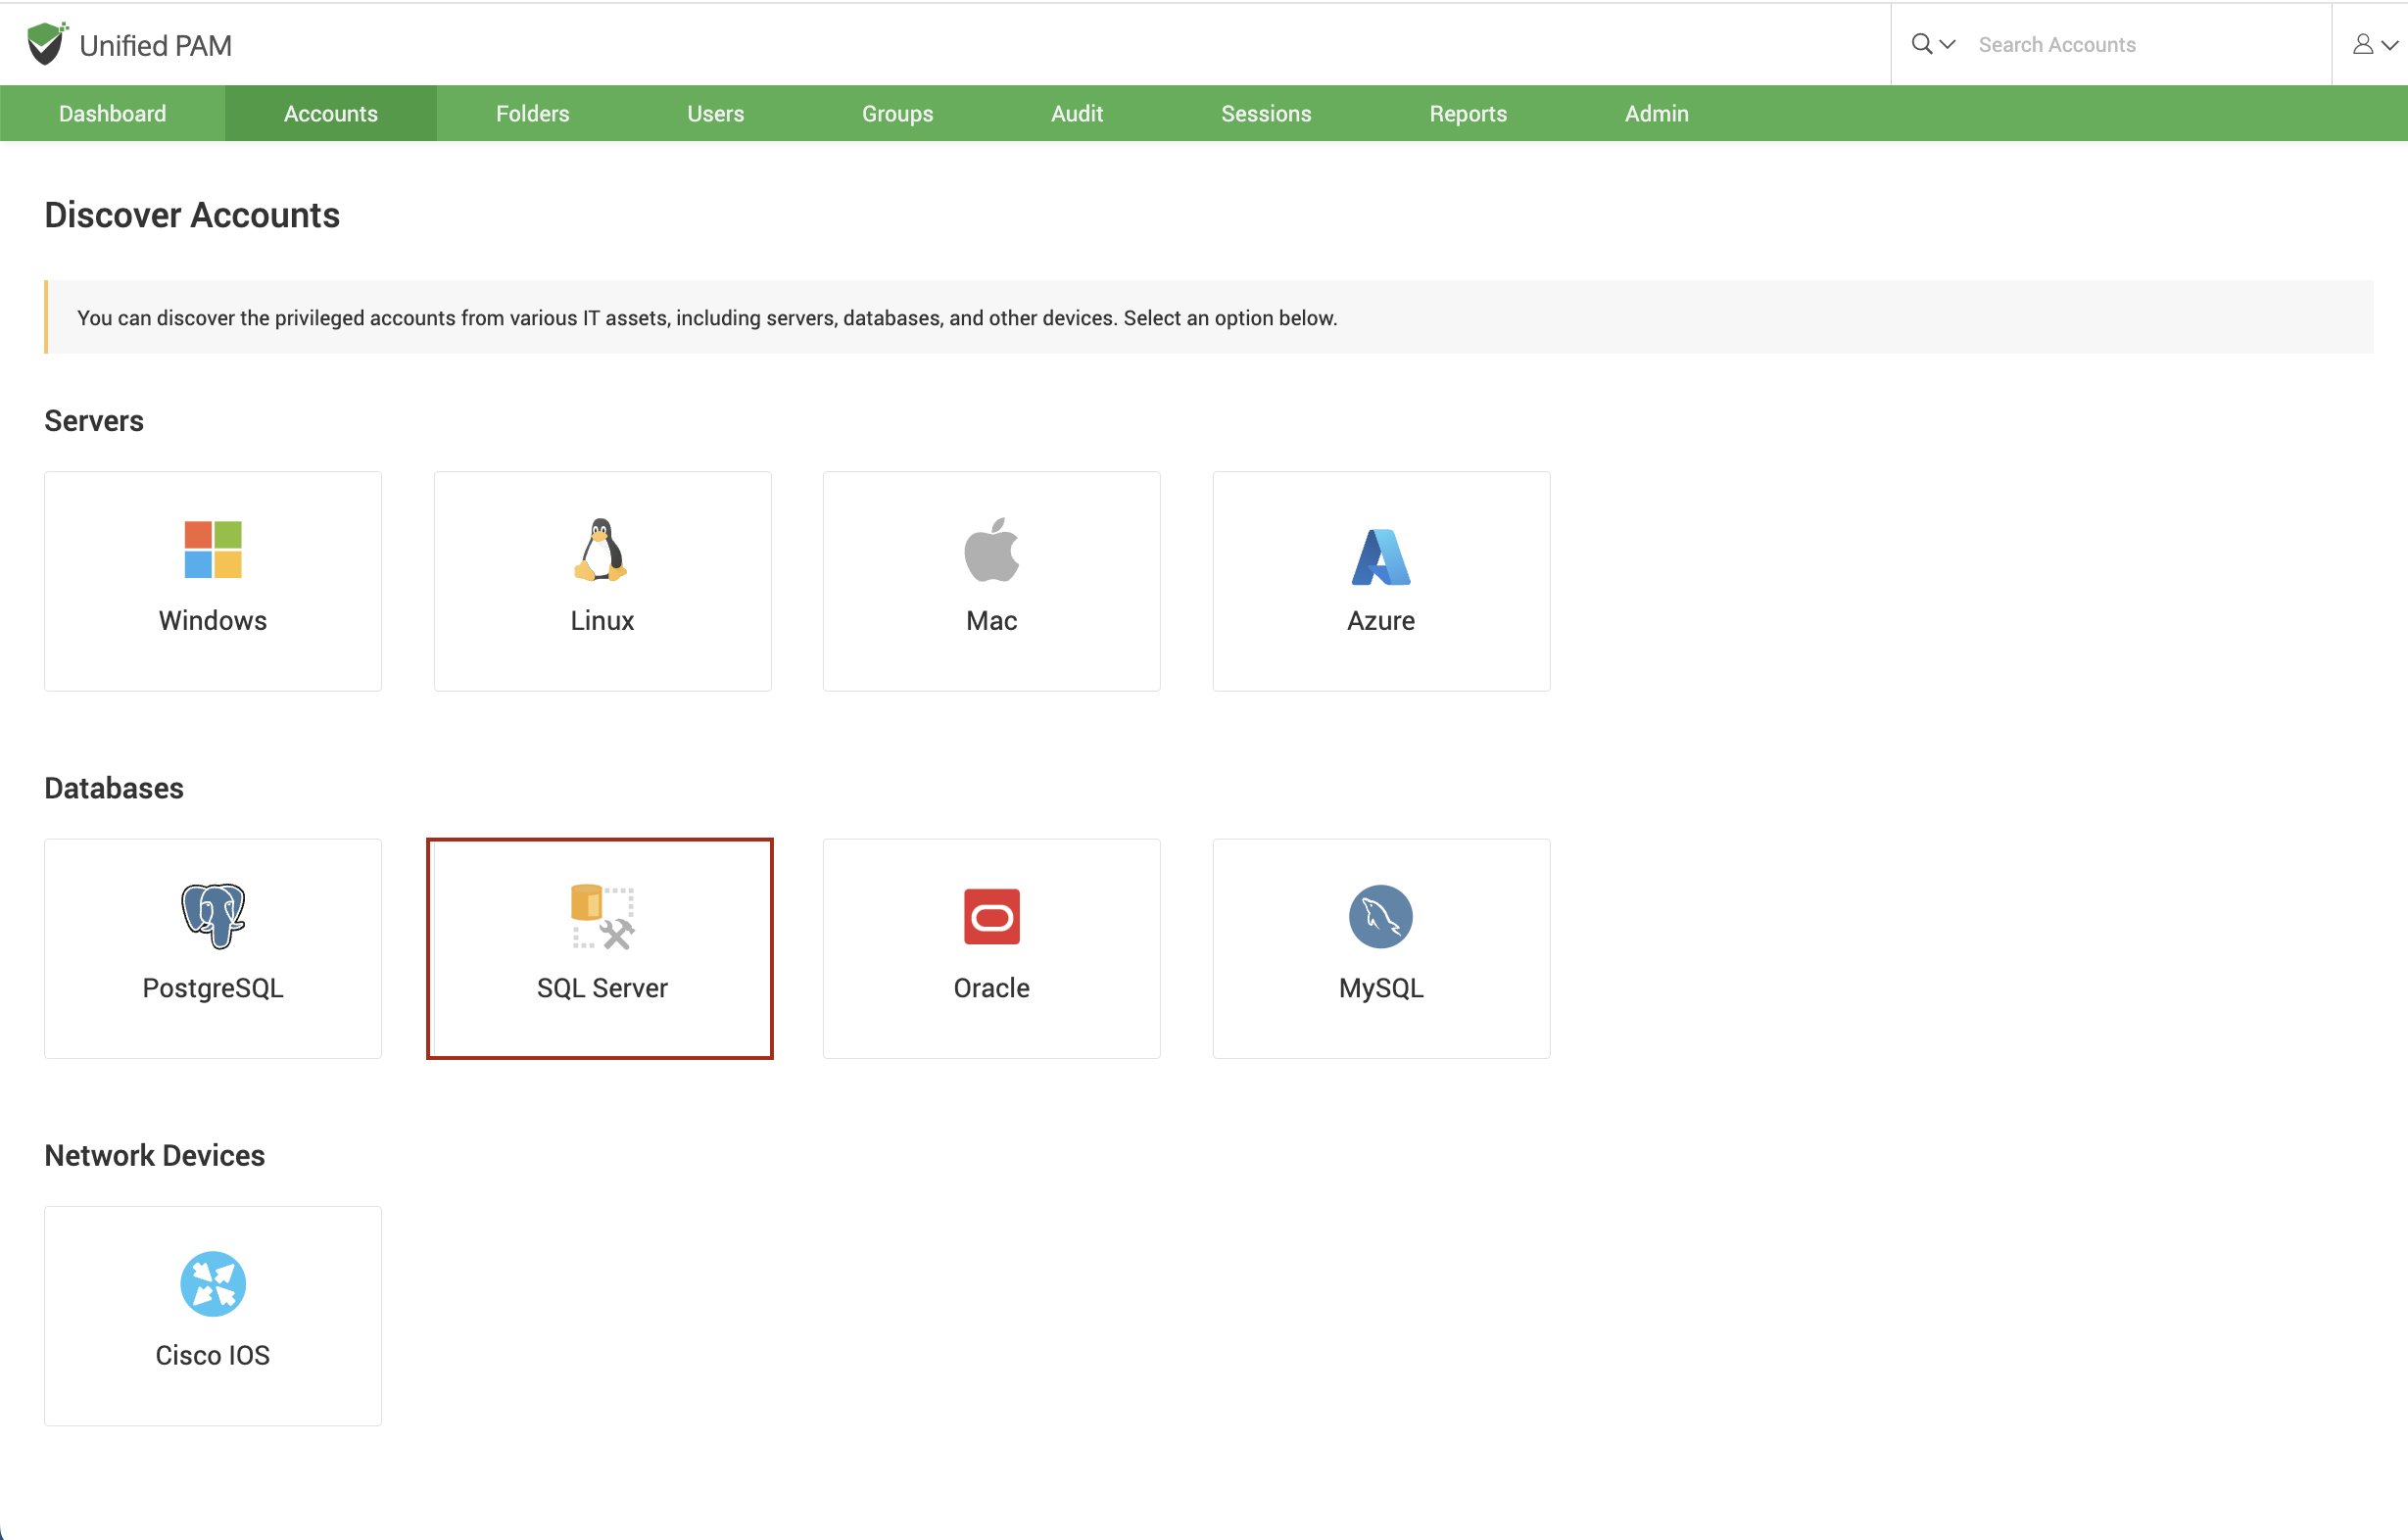
You can connect to SQL server instances and discover the accounts present in each instance. To discover accounts in SQL servers, navigate to Accounts >> Add >> Discover Accounts >> SQL Servers.
Discovering accounts from SQL servers is a two-step process:
- Connect to the SQL servers
- Supply administrator credentials and discover
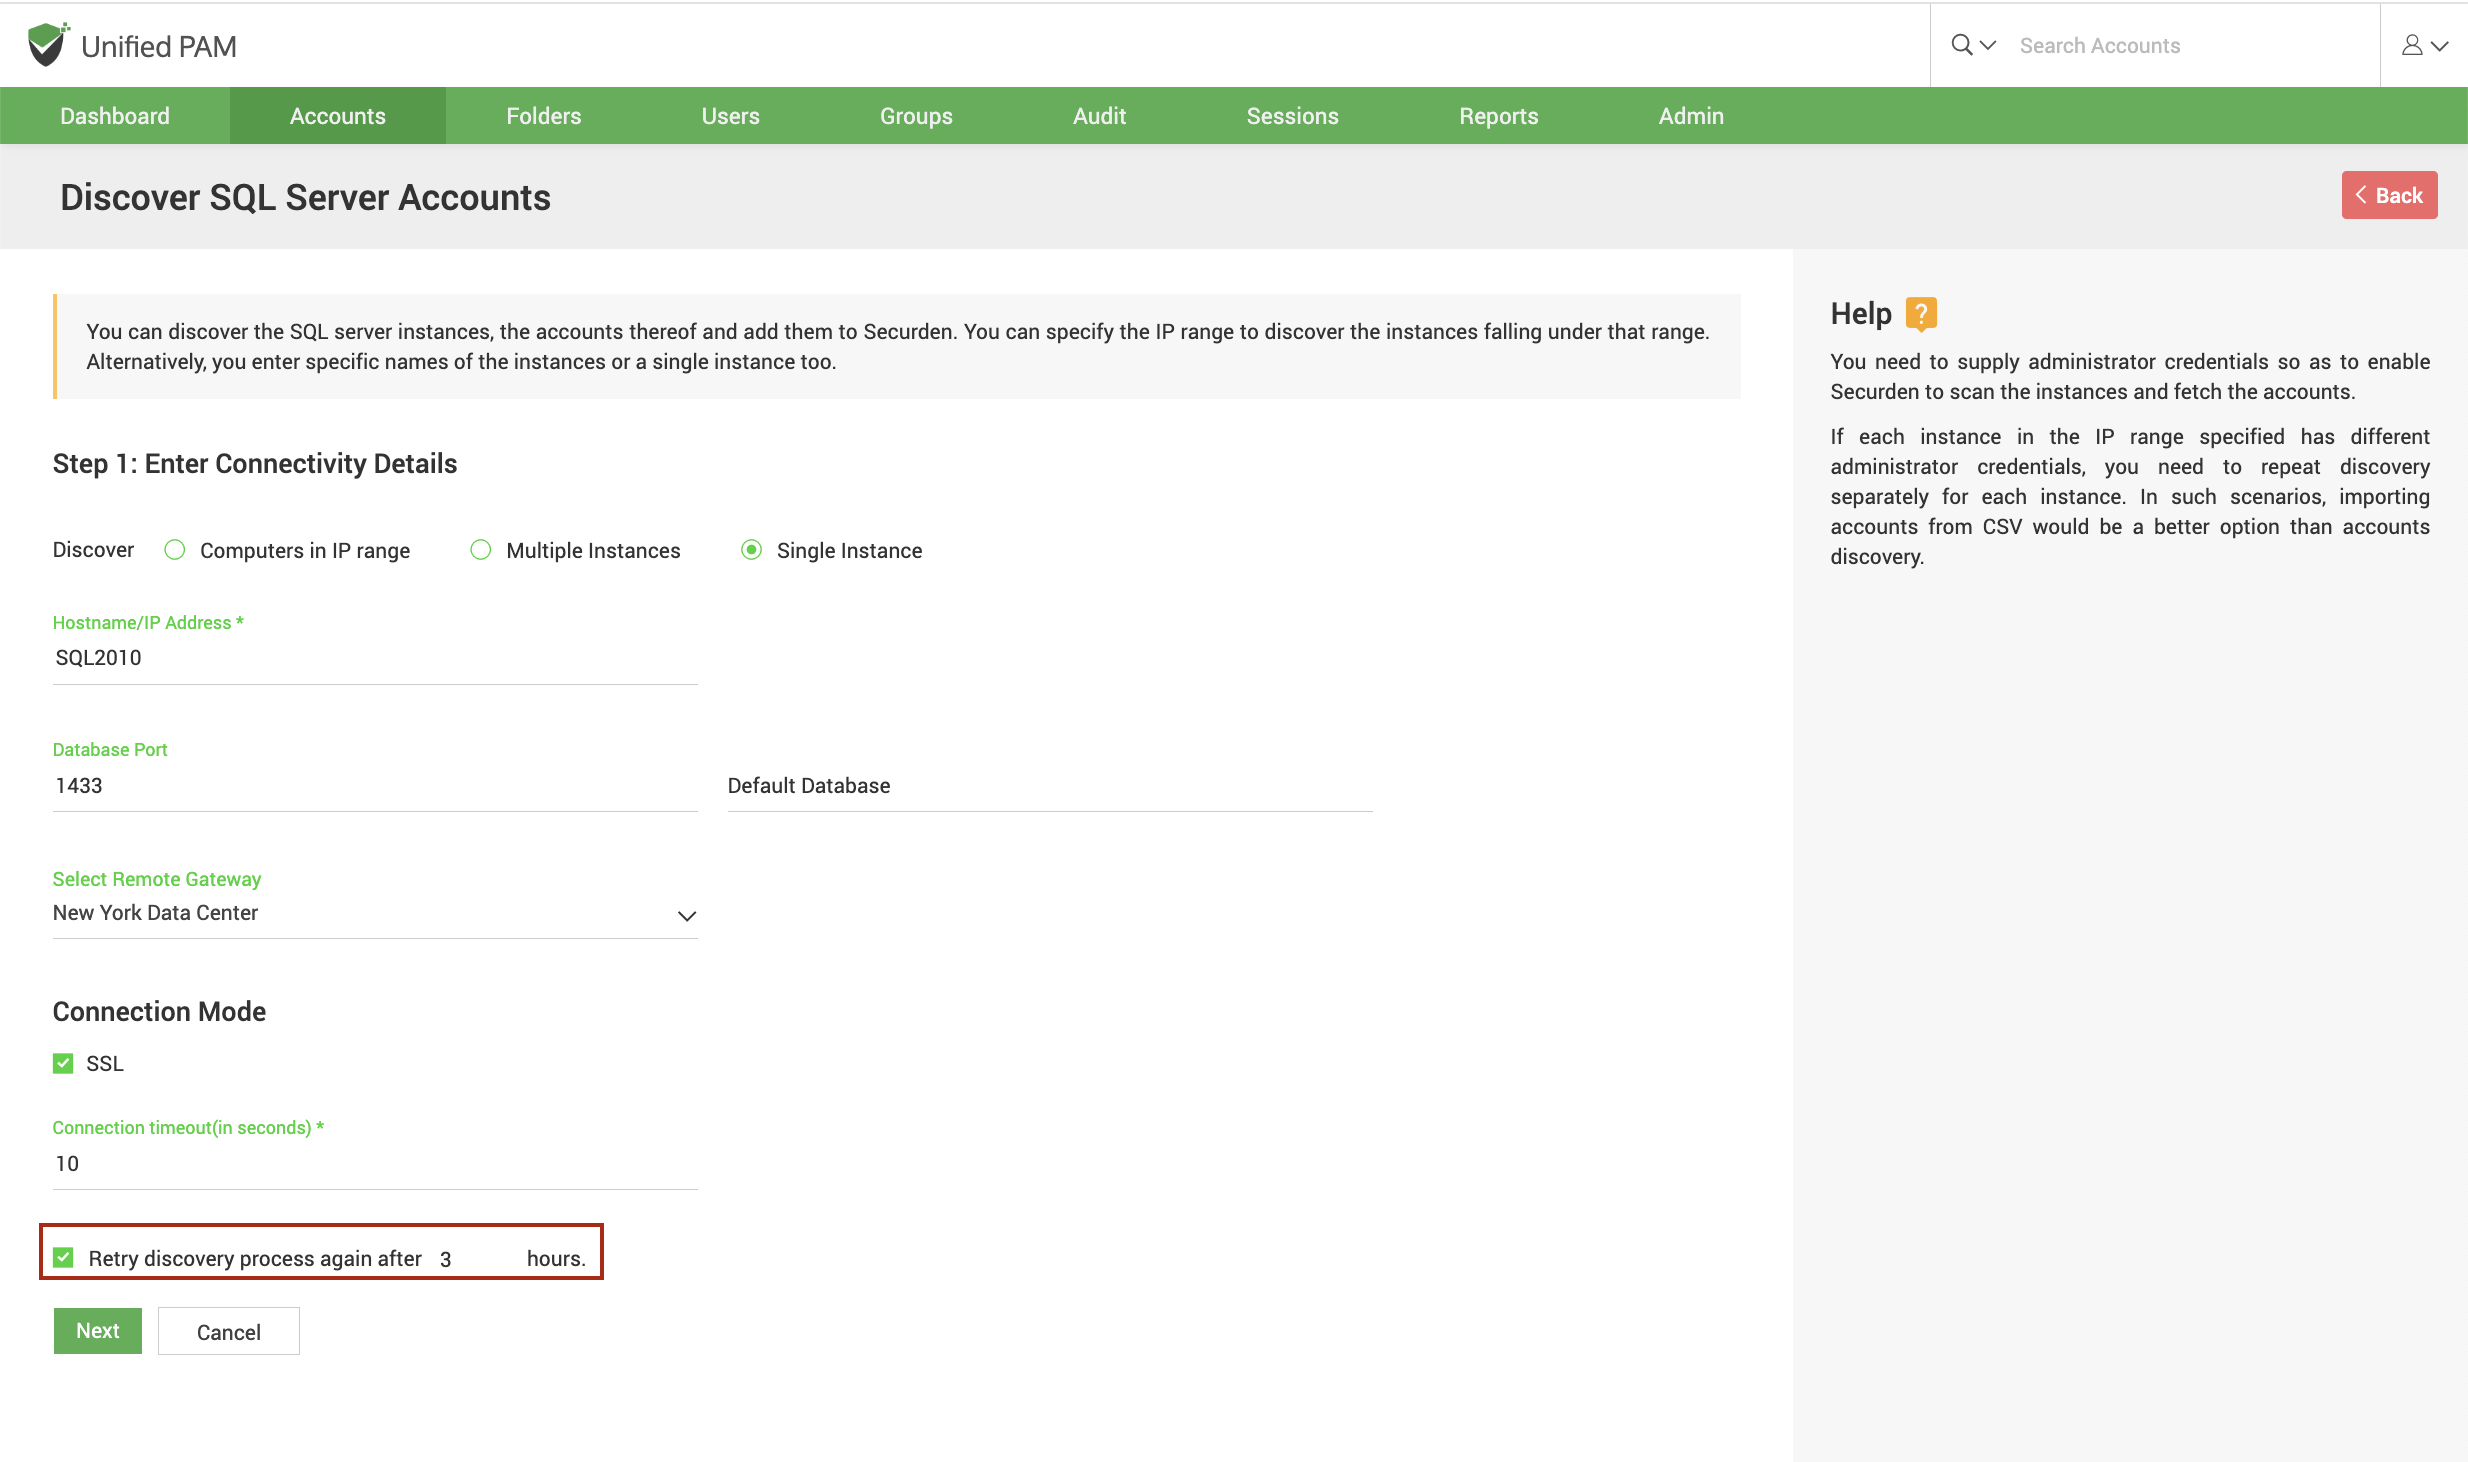
Step 1: Connect to the SQL Servers
Before Securden can discover privileged accounts from your SQL server, it needs to establish connectivity with the SQL servers. You need to specify certain attributes for Securden to connect with the server.
IP address/Hostname
You have the option to connect to multiple instances of SQL servers and discover accounts in them. You have two options to achieve this.
-
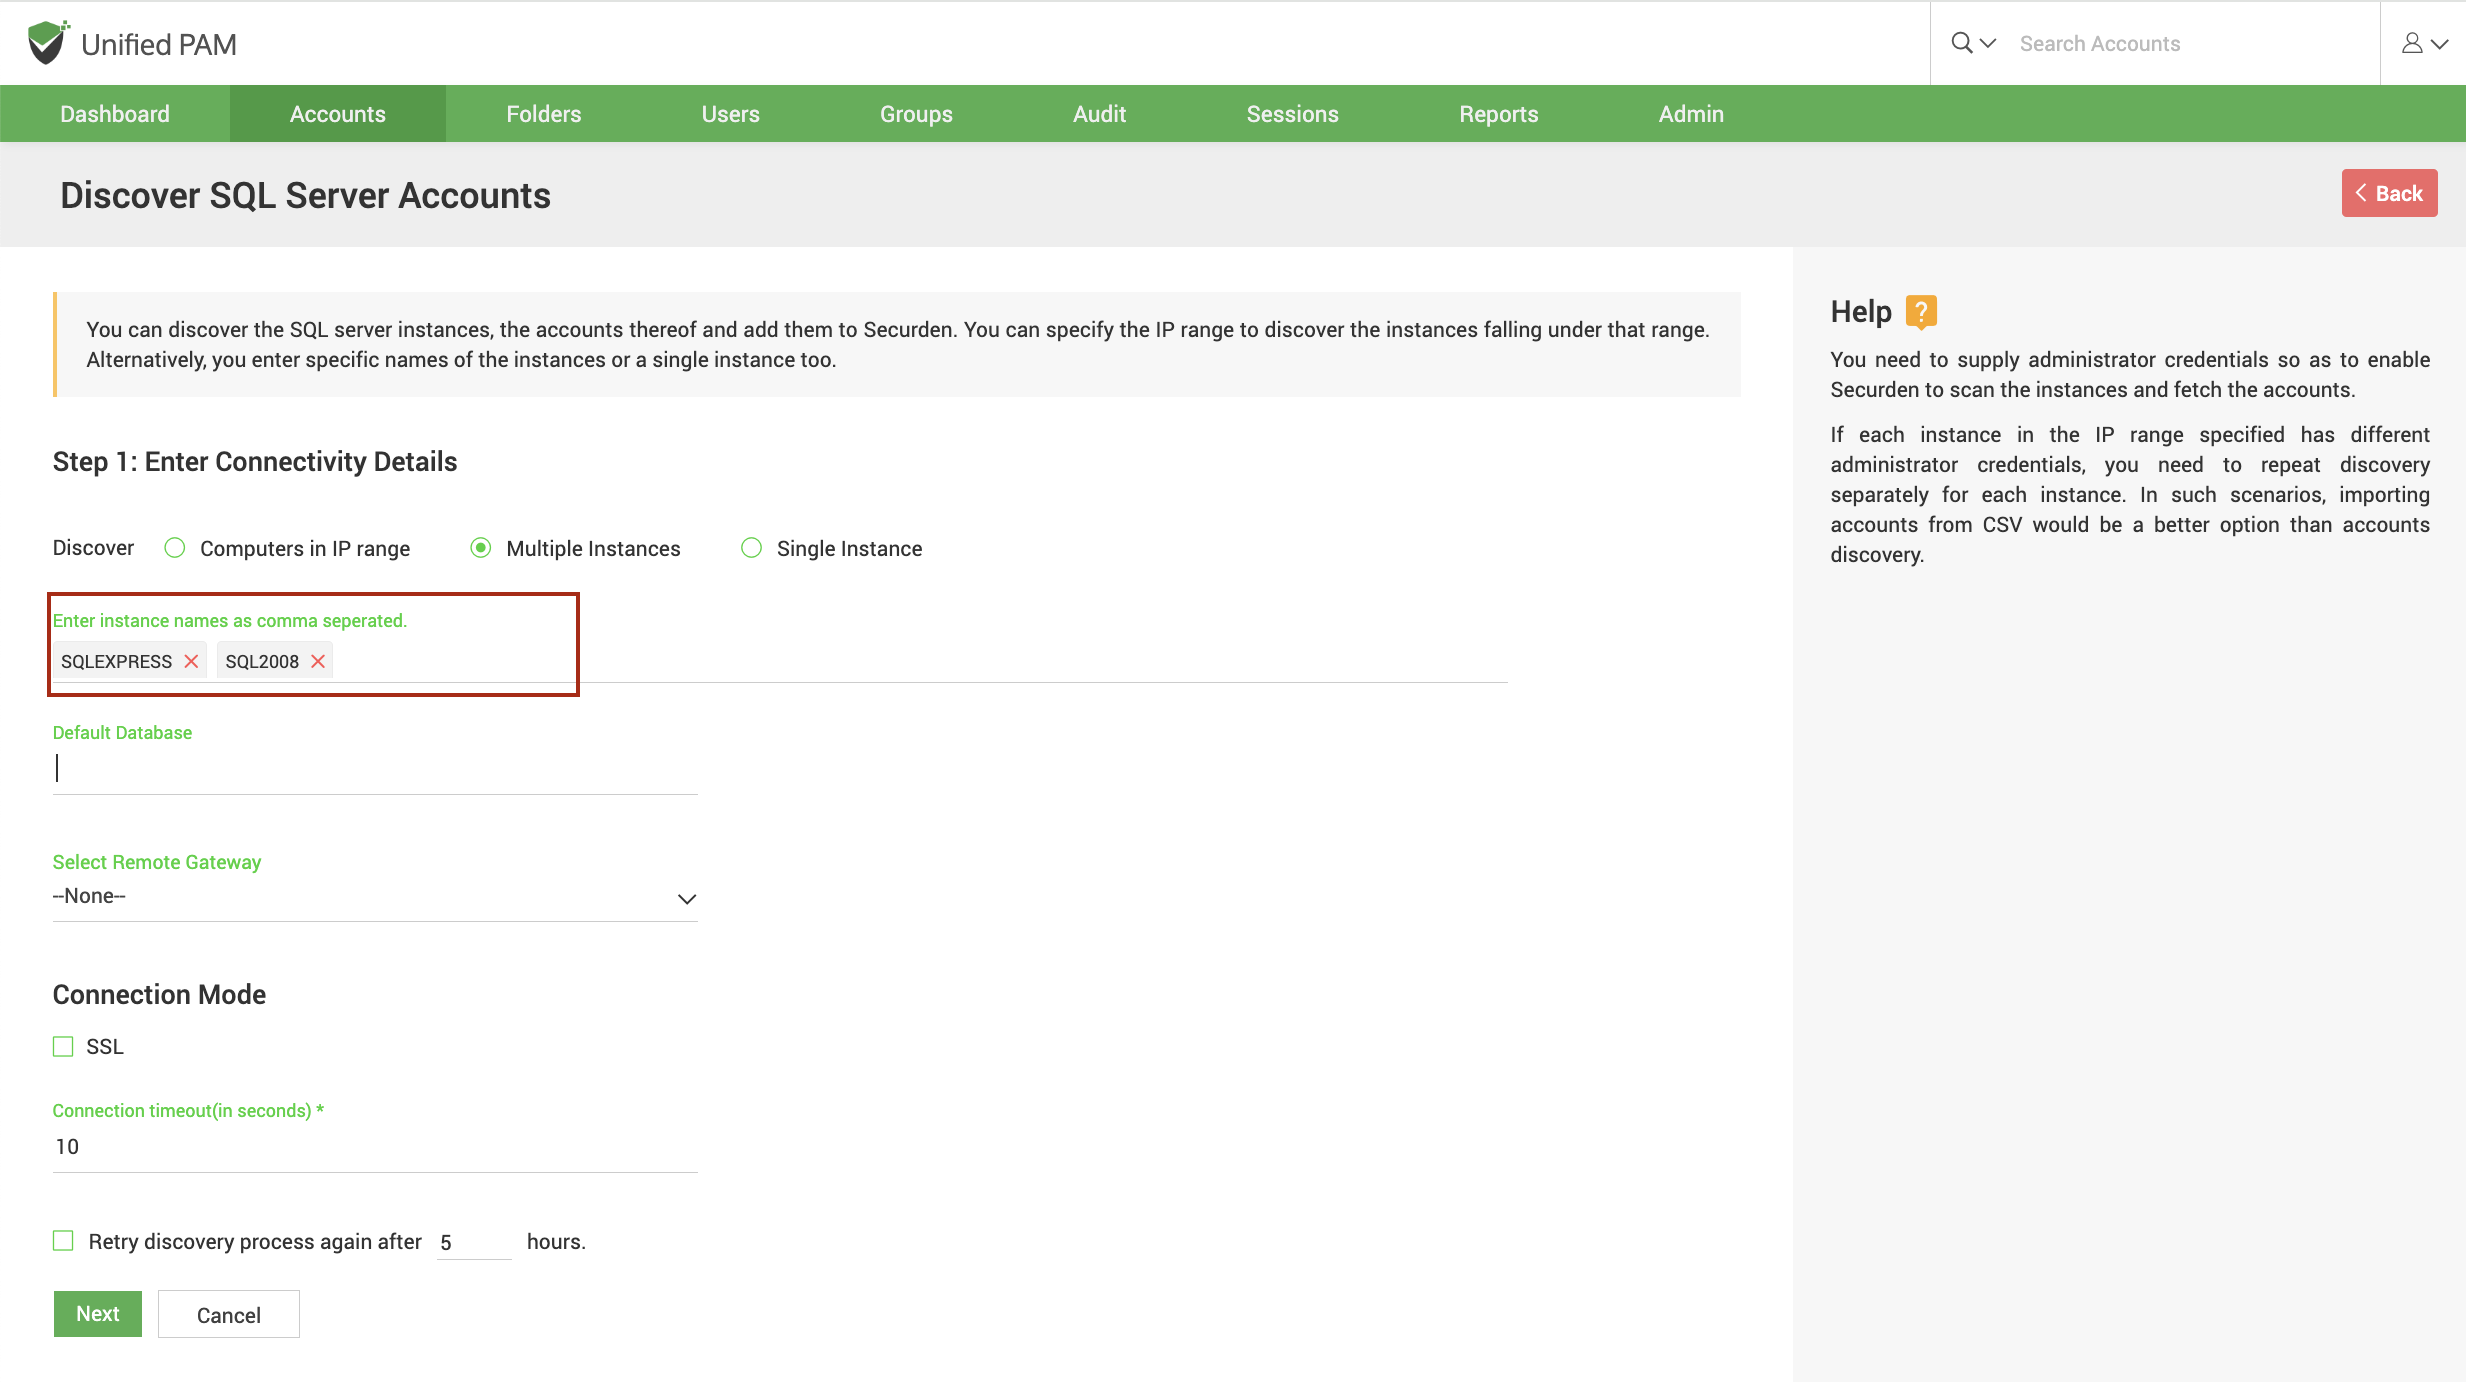
You can select Multiple Instances and specify the individual IP addresses of the instances in comma-separated form.
-
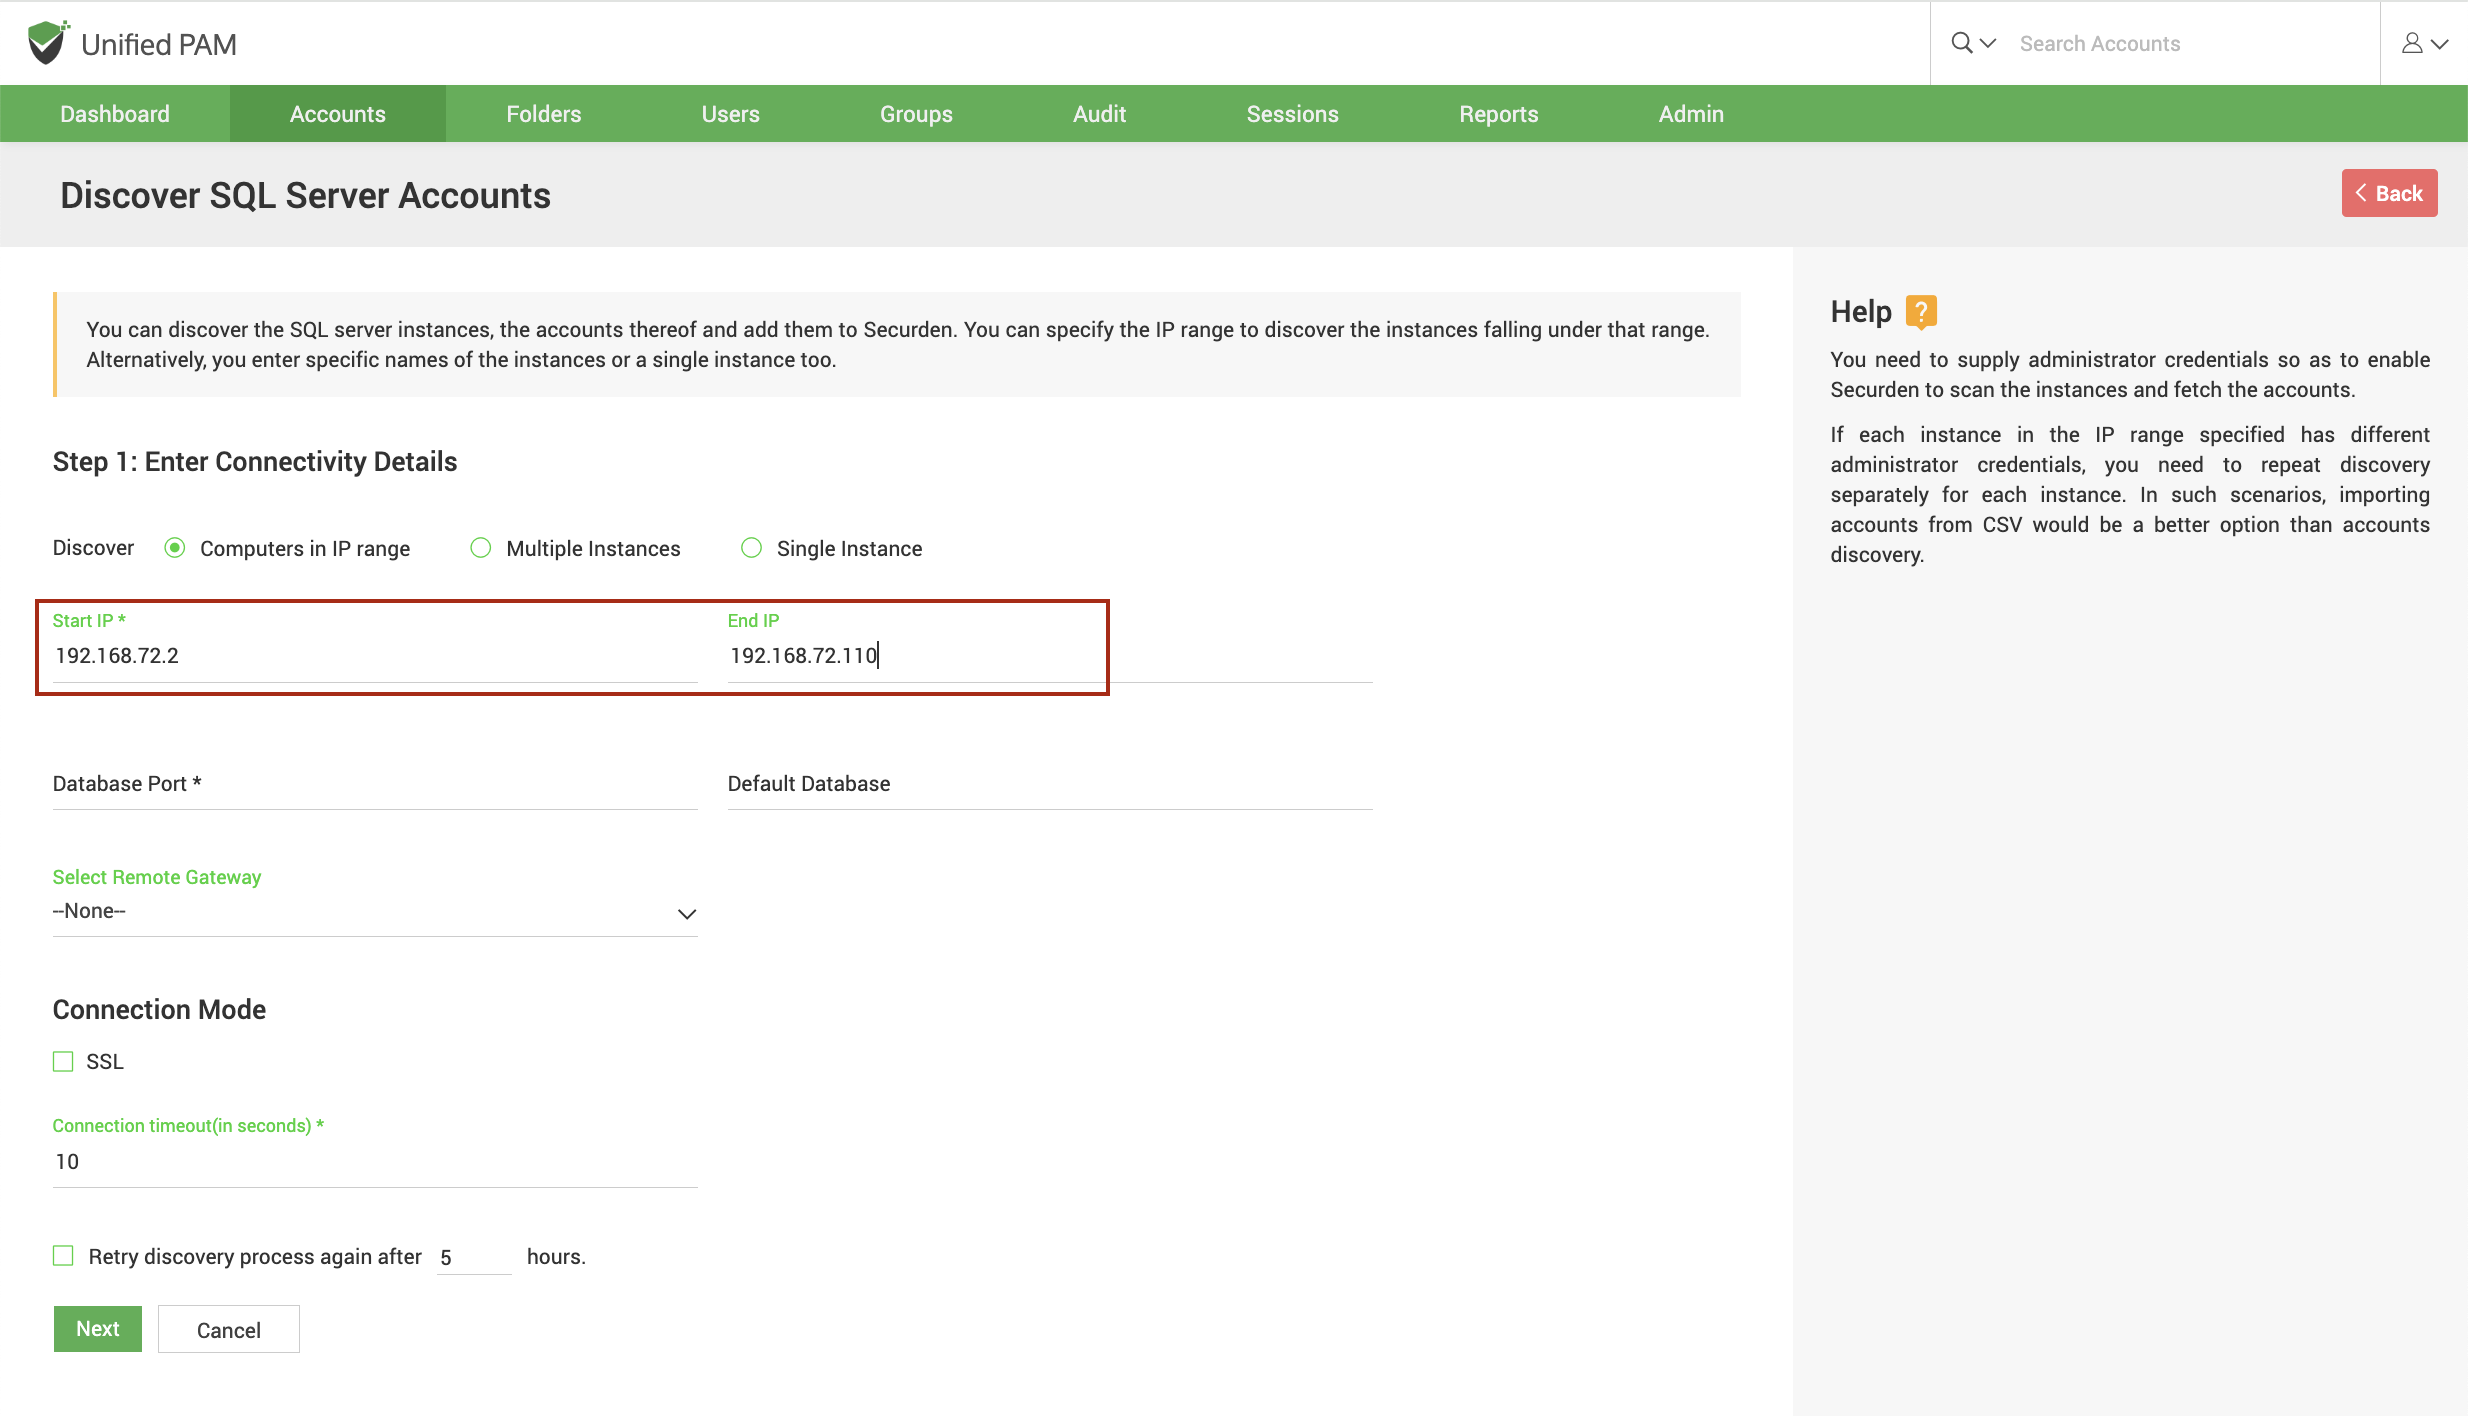
If the instances have a series of consecutive IP addresses, you can select Computers in IP range and specify the start and end of the IP range.
-
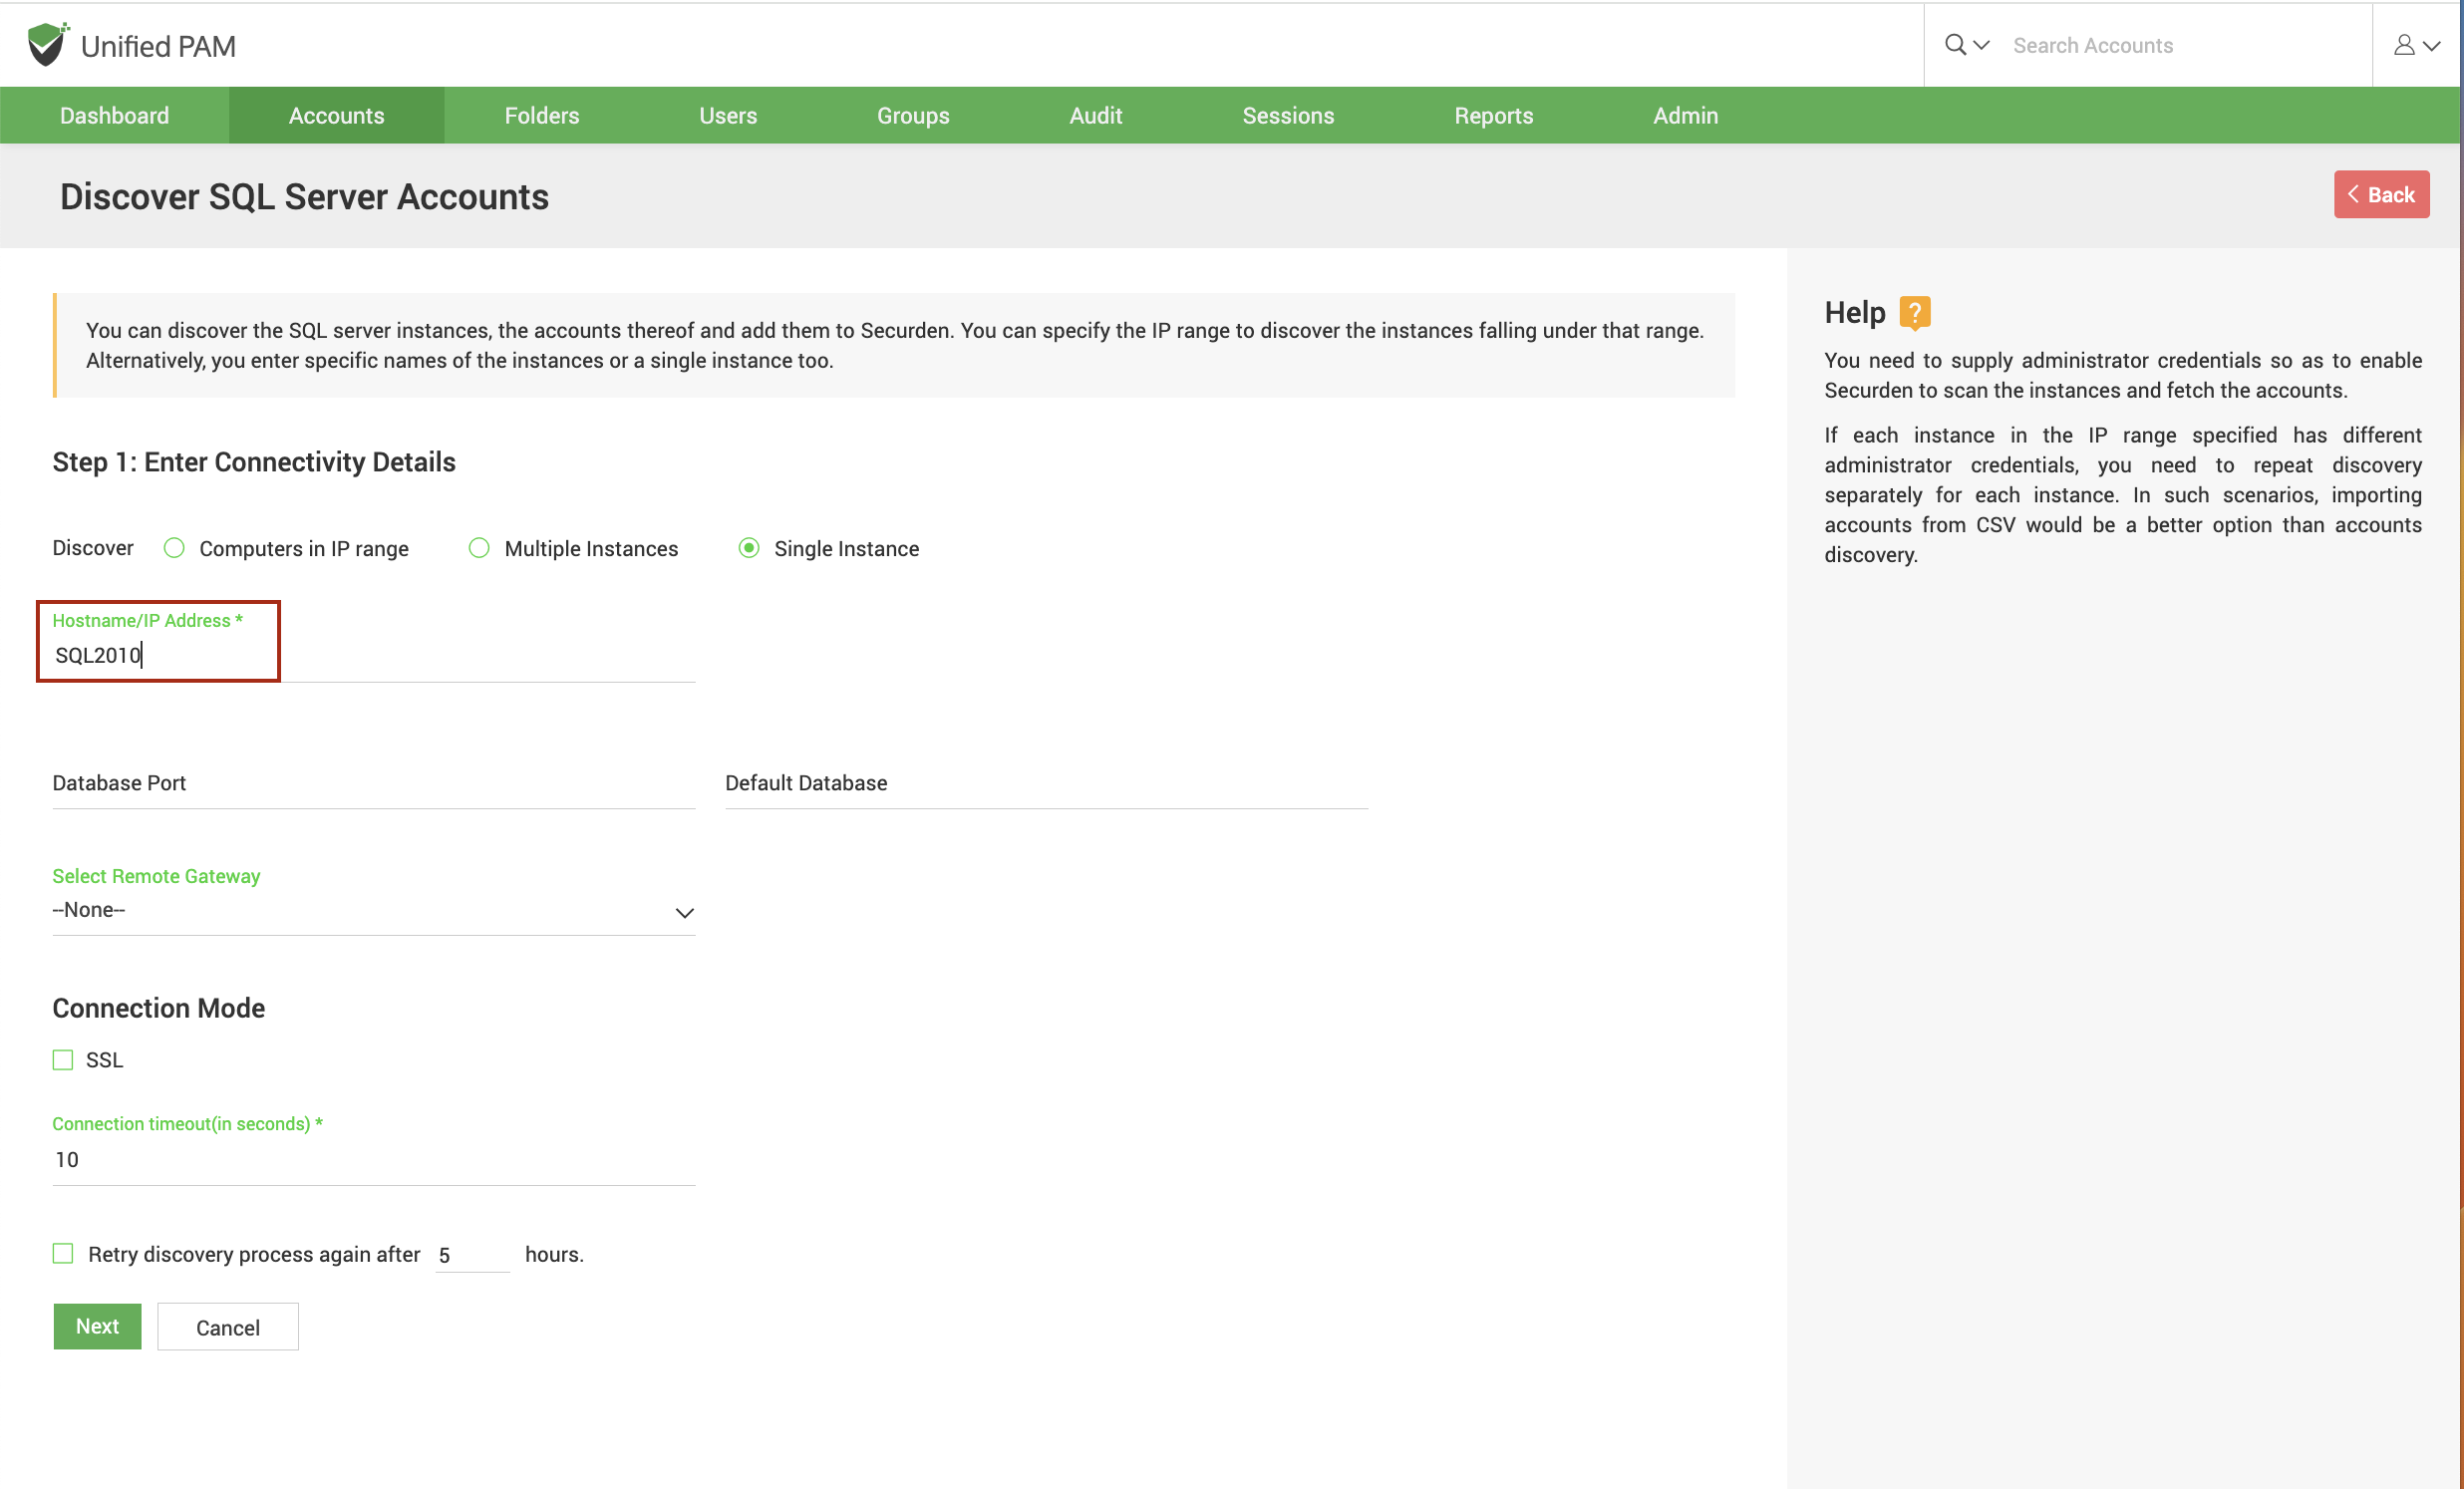
Alternatively, you have the option to connect to a single SQL server instance and discover the accounts therein. Select Single Instance and specify the IP address or the hostname of the device and proceed.
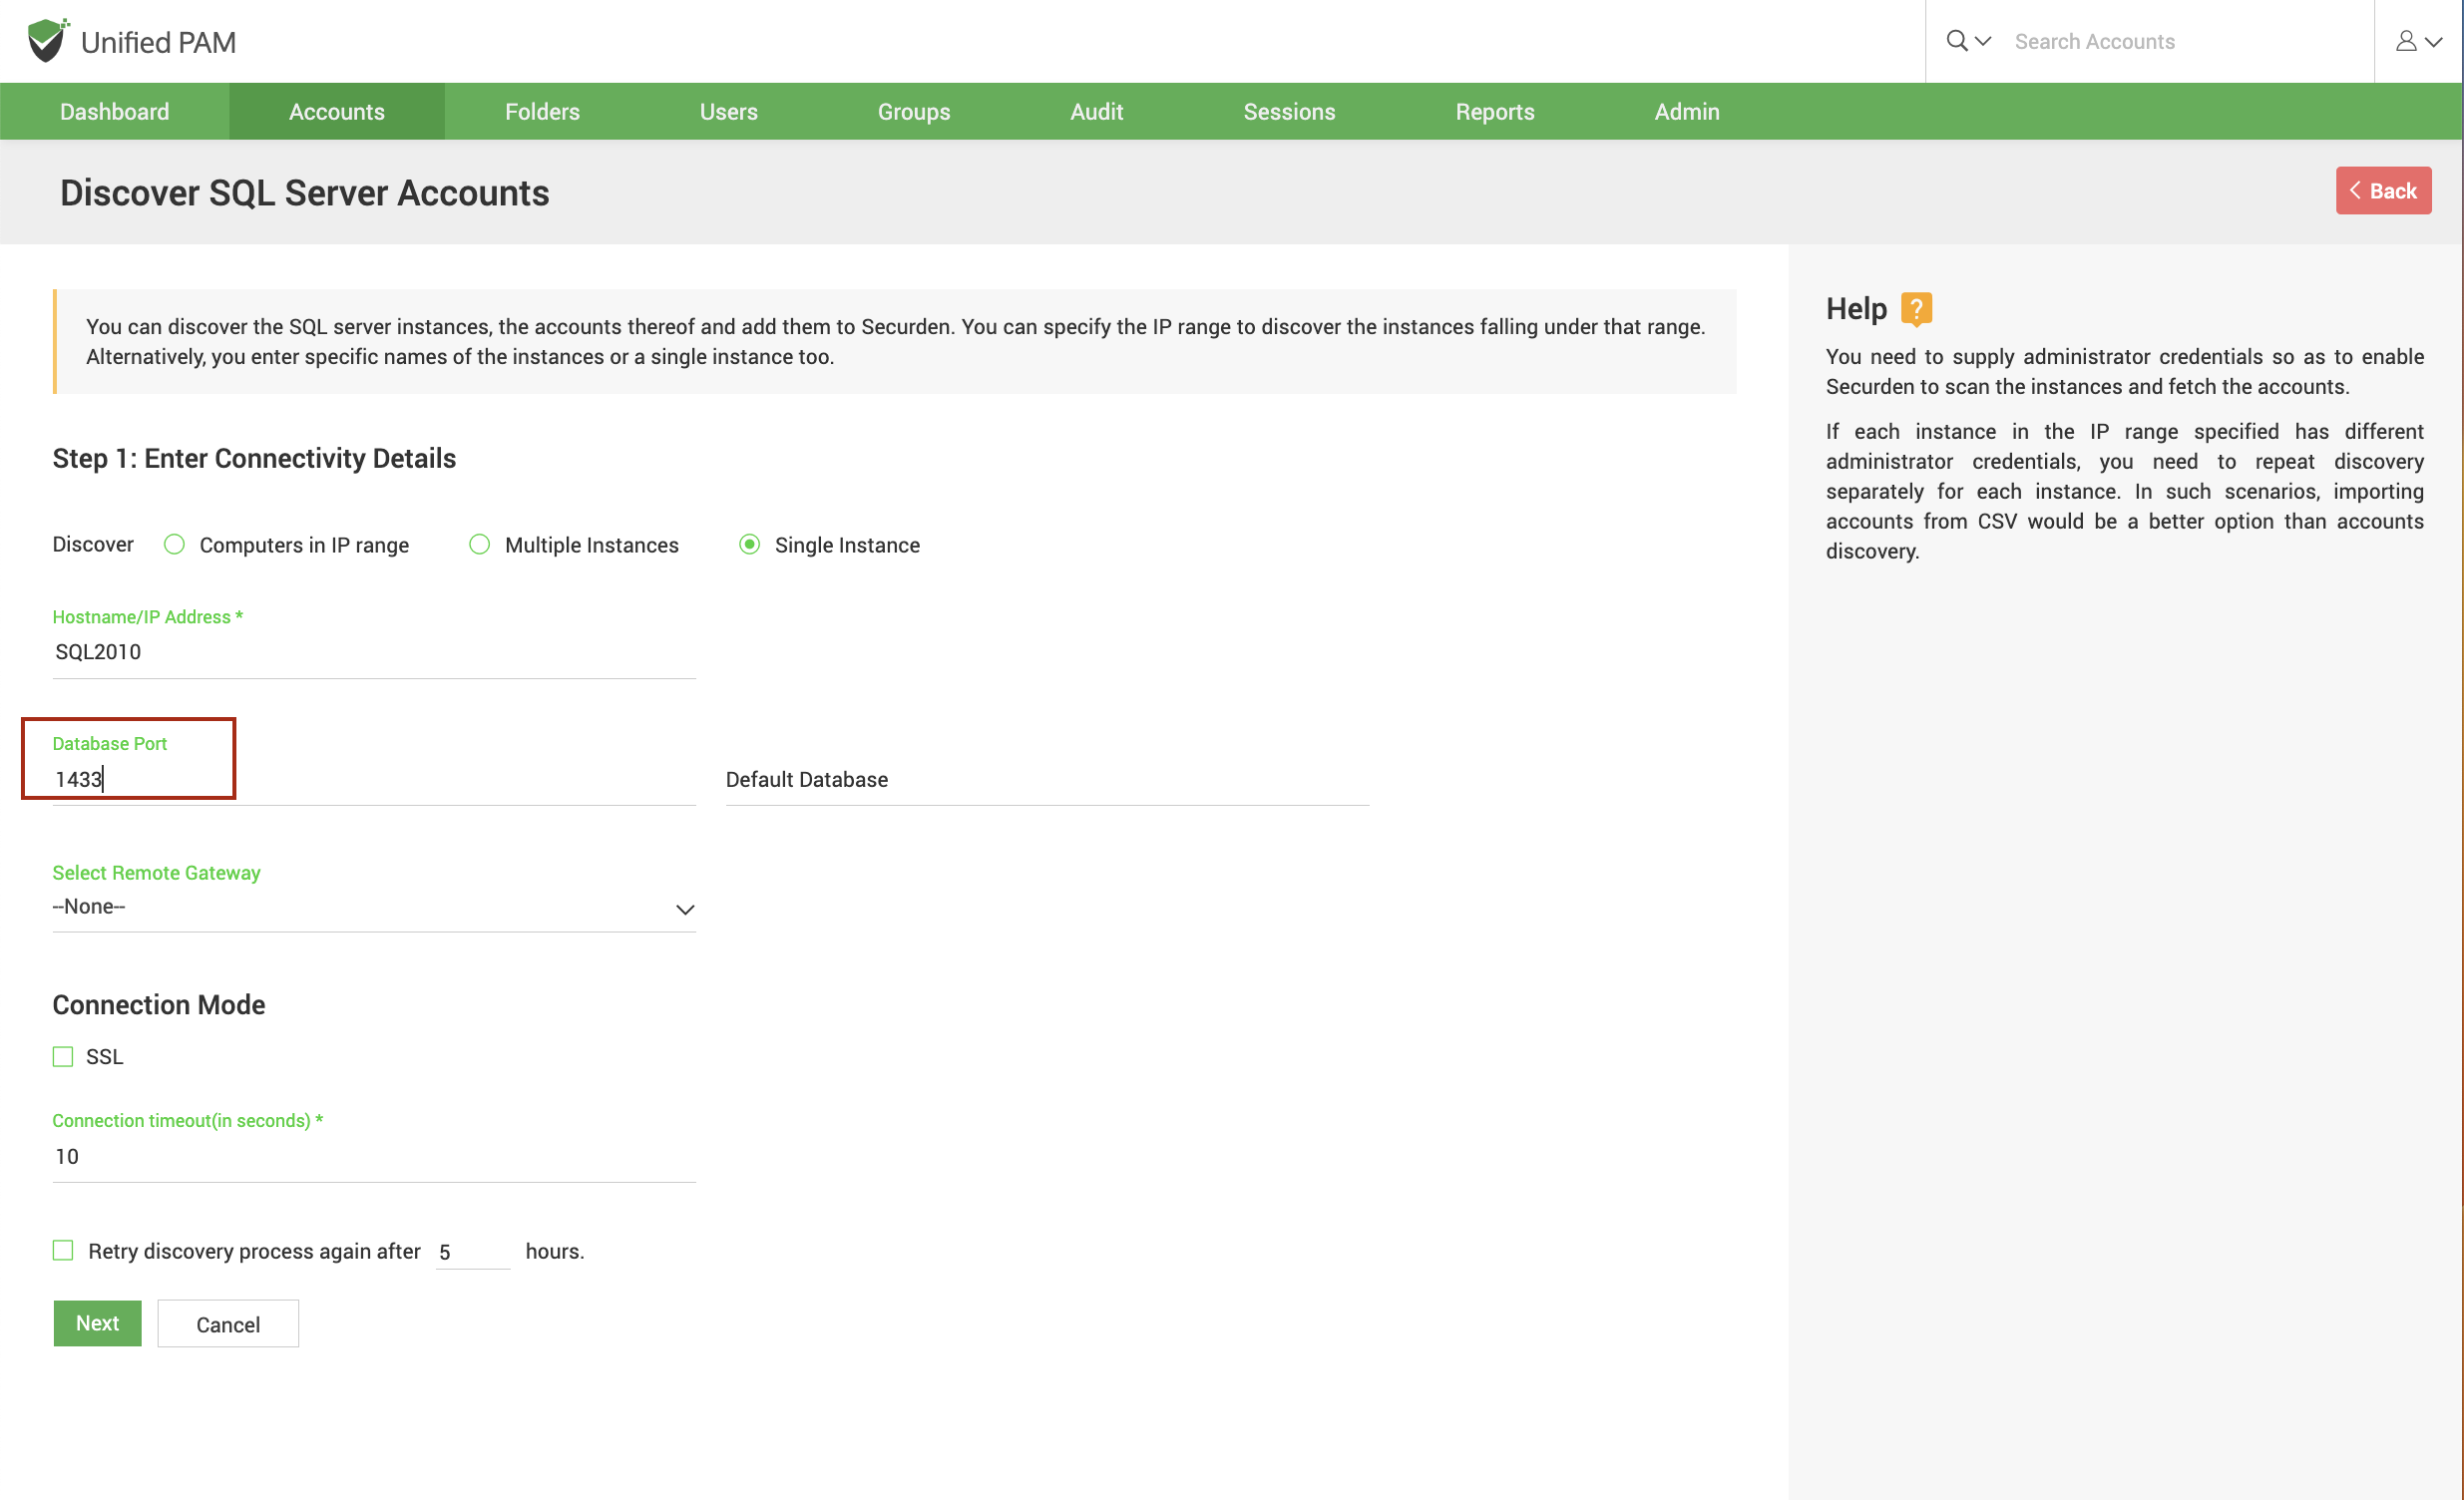
Database Port
You need to specify the port over which the database is serving.
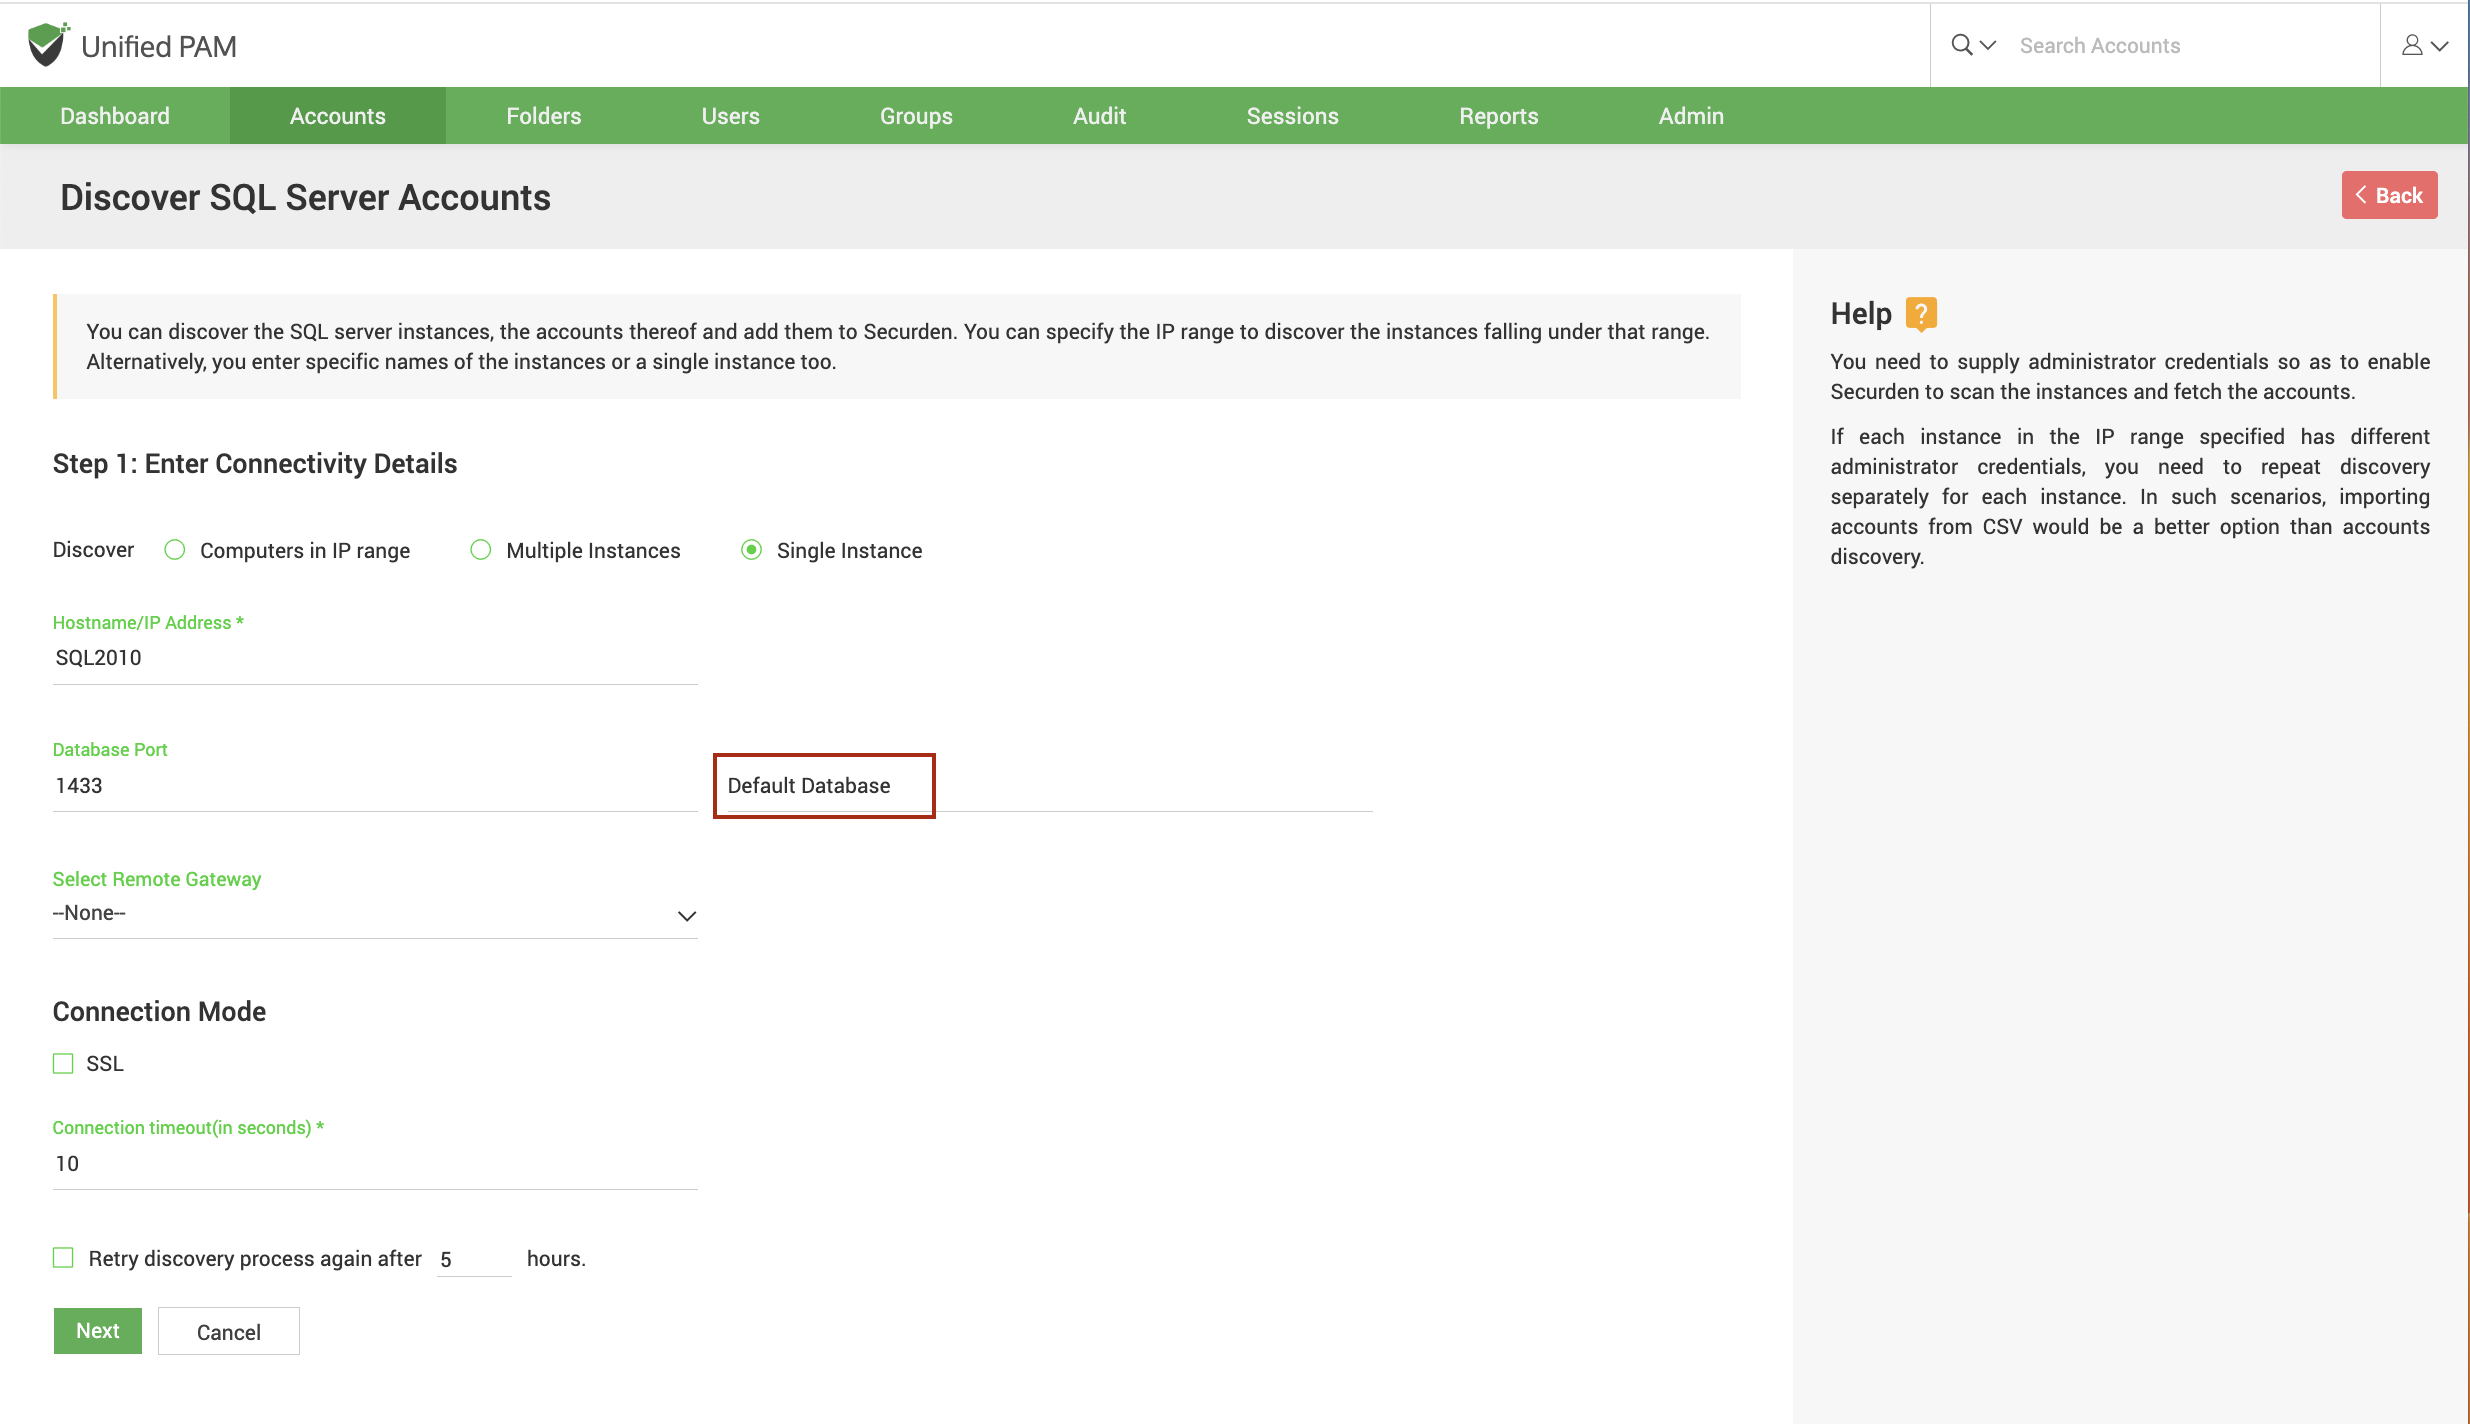
Default Database
You need to specify the default database of the SQL server instance running on your device(s).
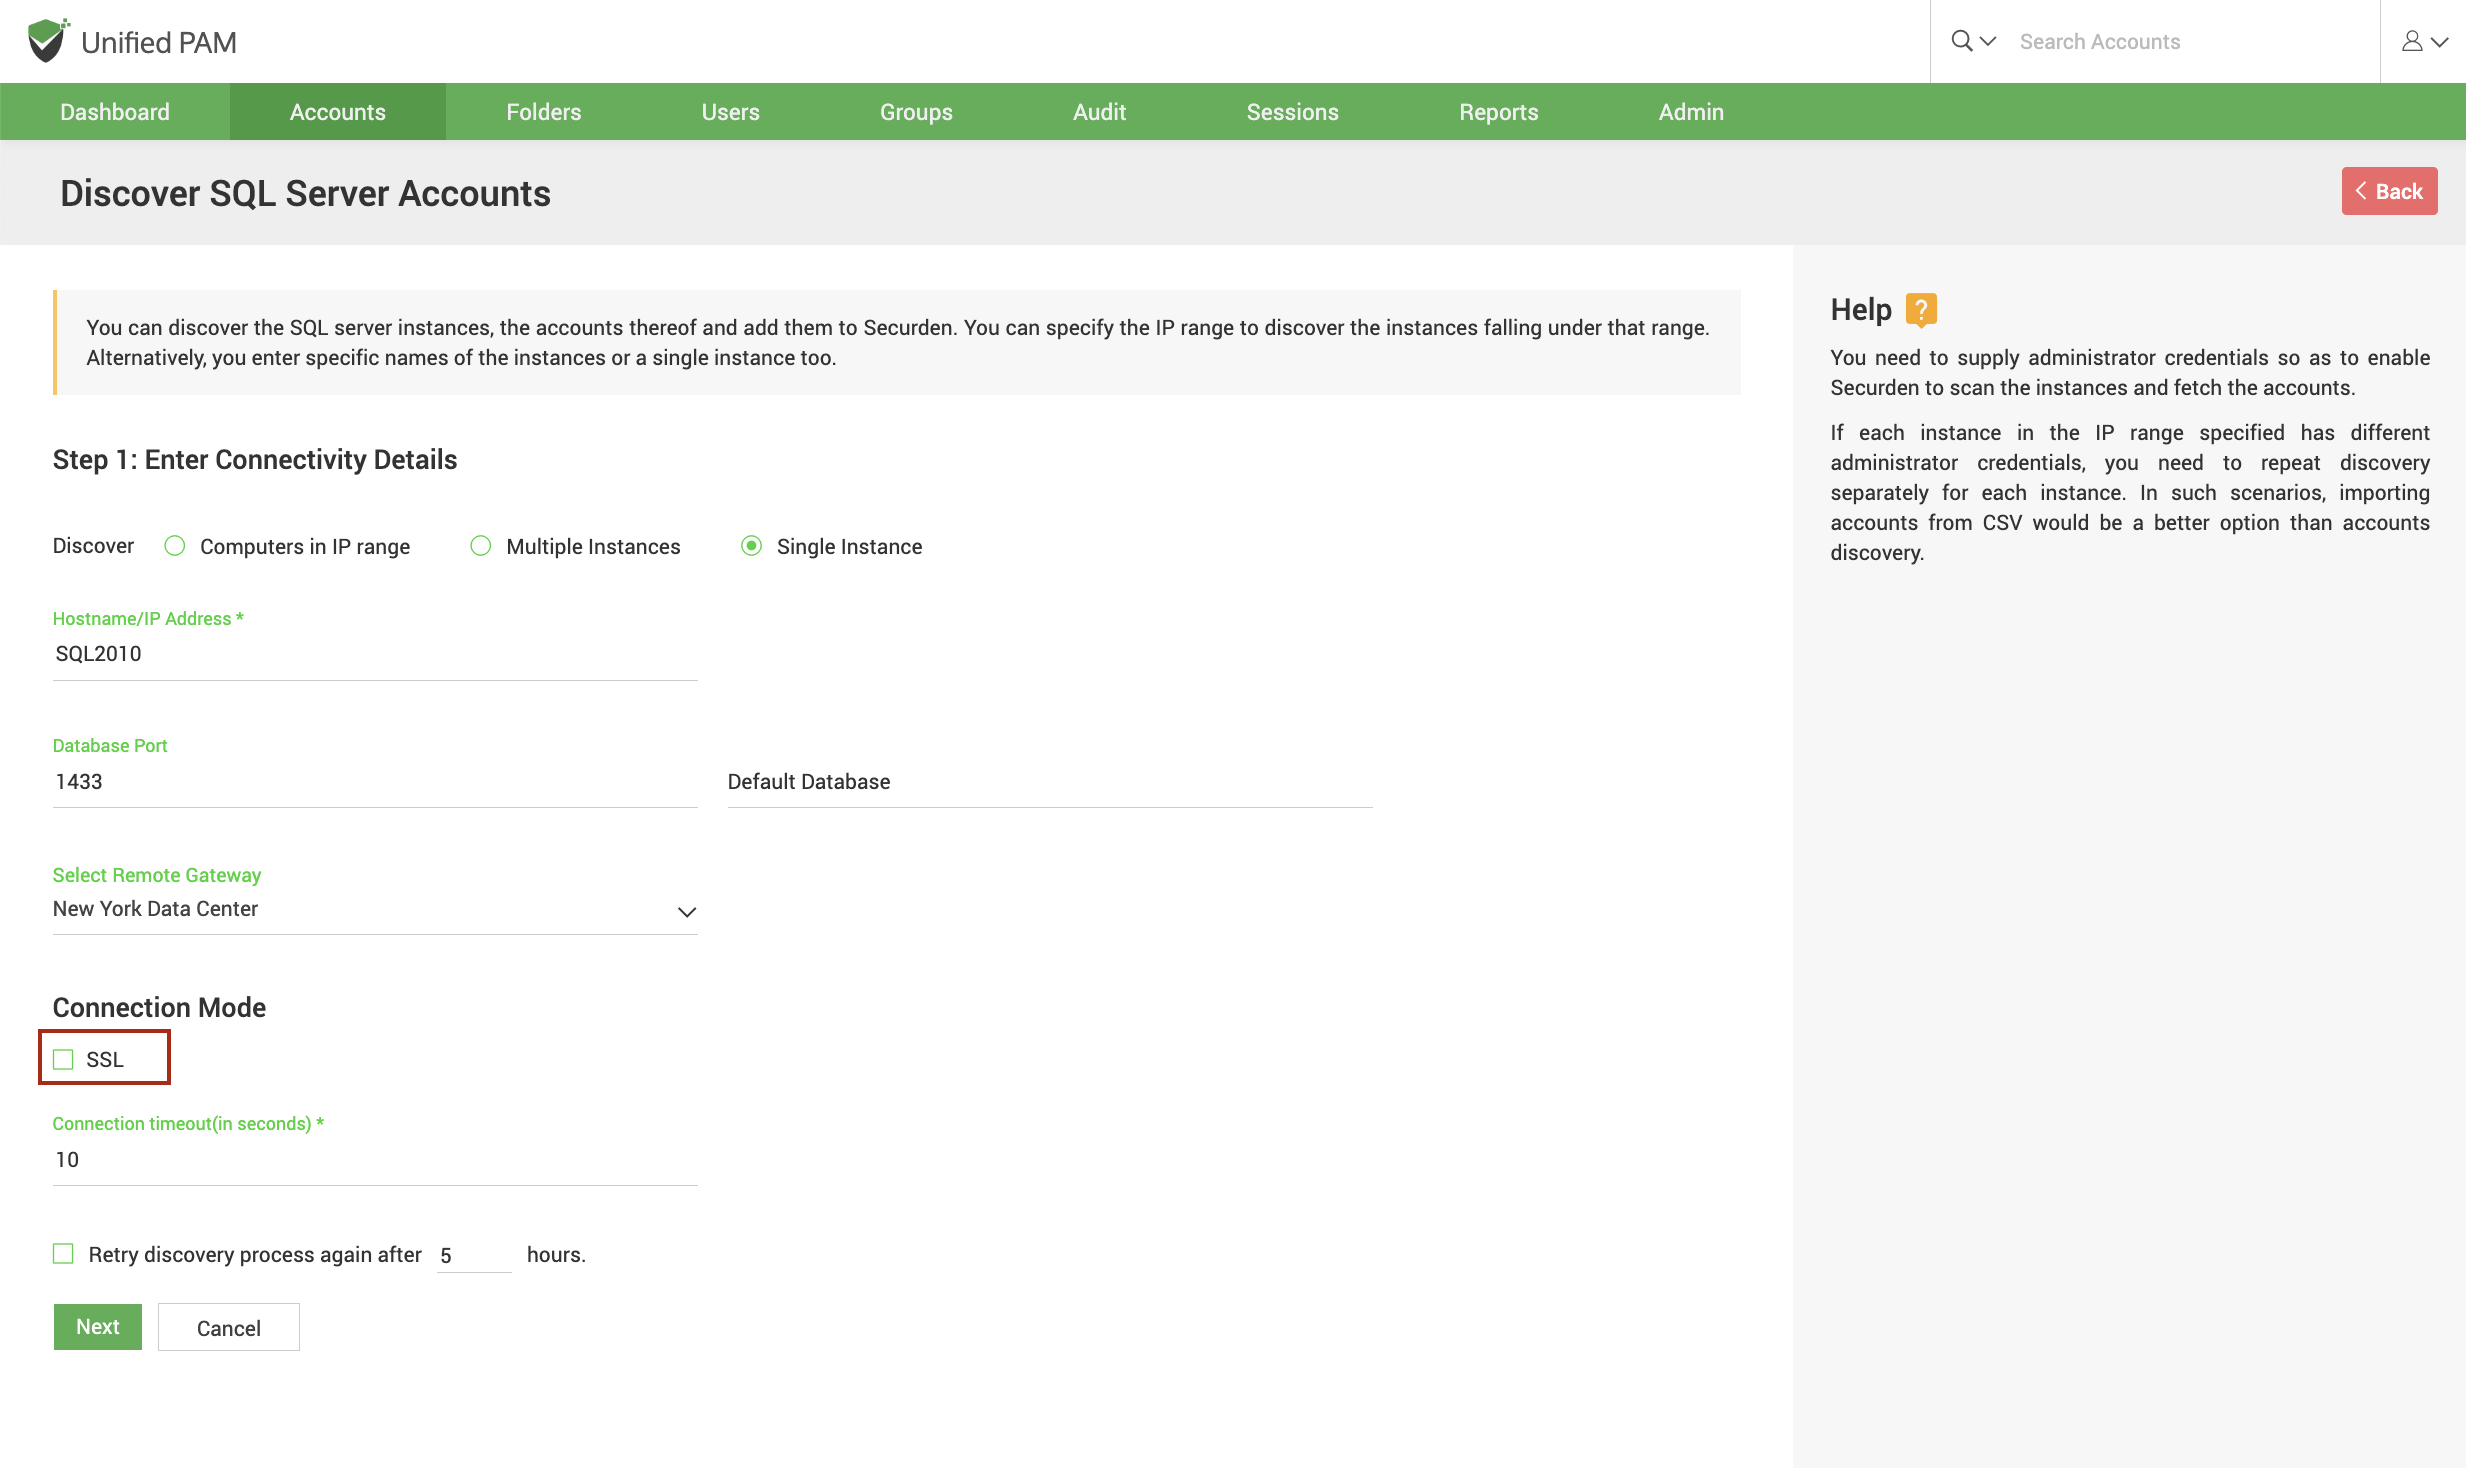
Enforce SSL
You can enforce SSL while establishing a connection between Securden and SQL server. If you choose to enable this, you need to ensure that SSL connections are enabled in your SQL server. Additionally, you need to install a certified CA signed certificate in Securden. If the certificate of the domain controller is not signed by a certified CA, you need to import all the certificates that are present in the respective root certificate chain - that is the certificate of the domain controller and all the intermediate certificates if any.
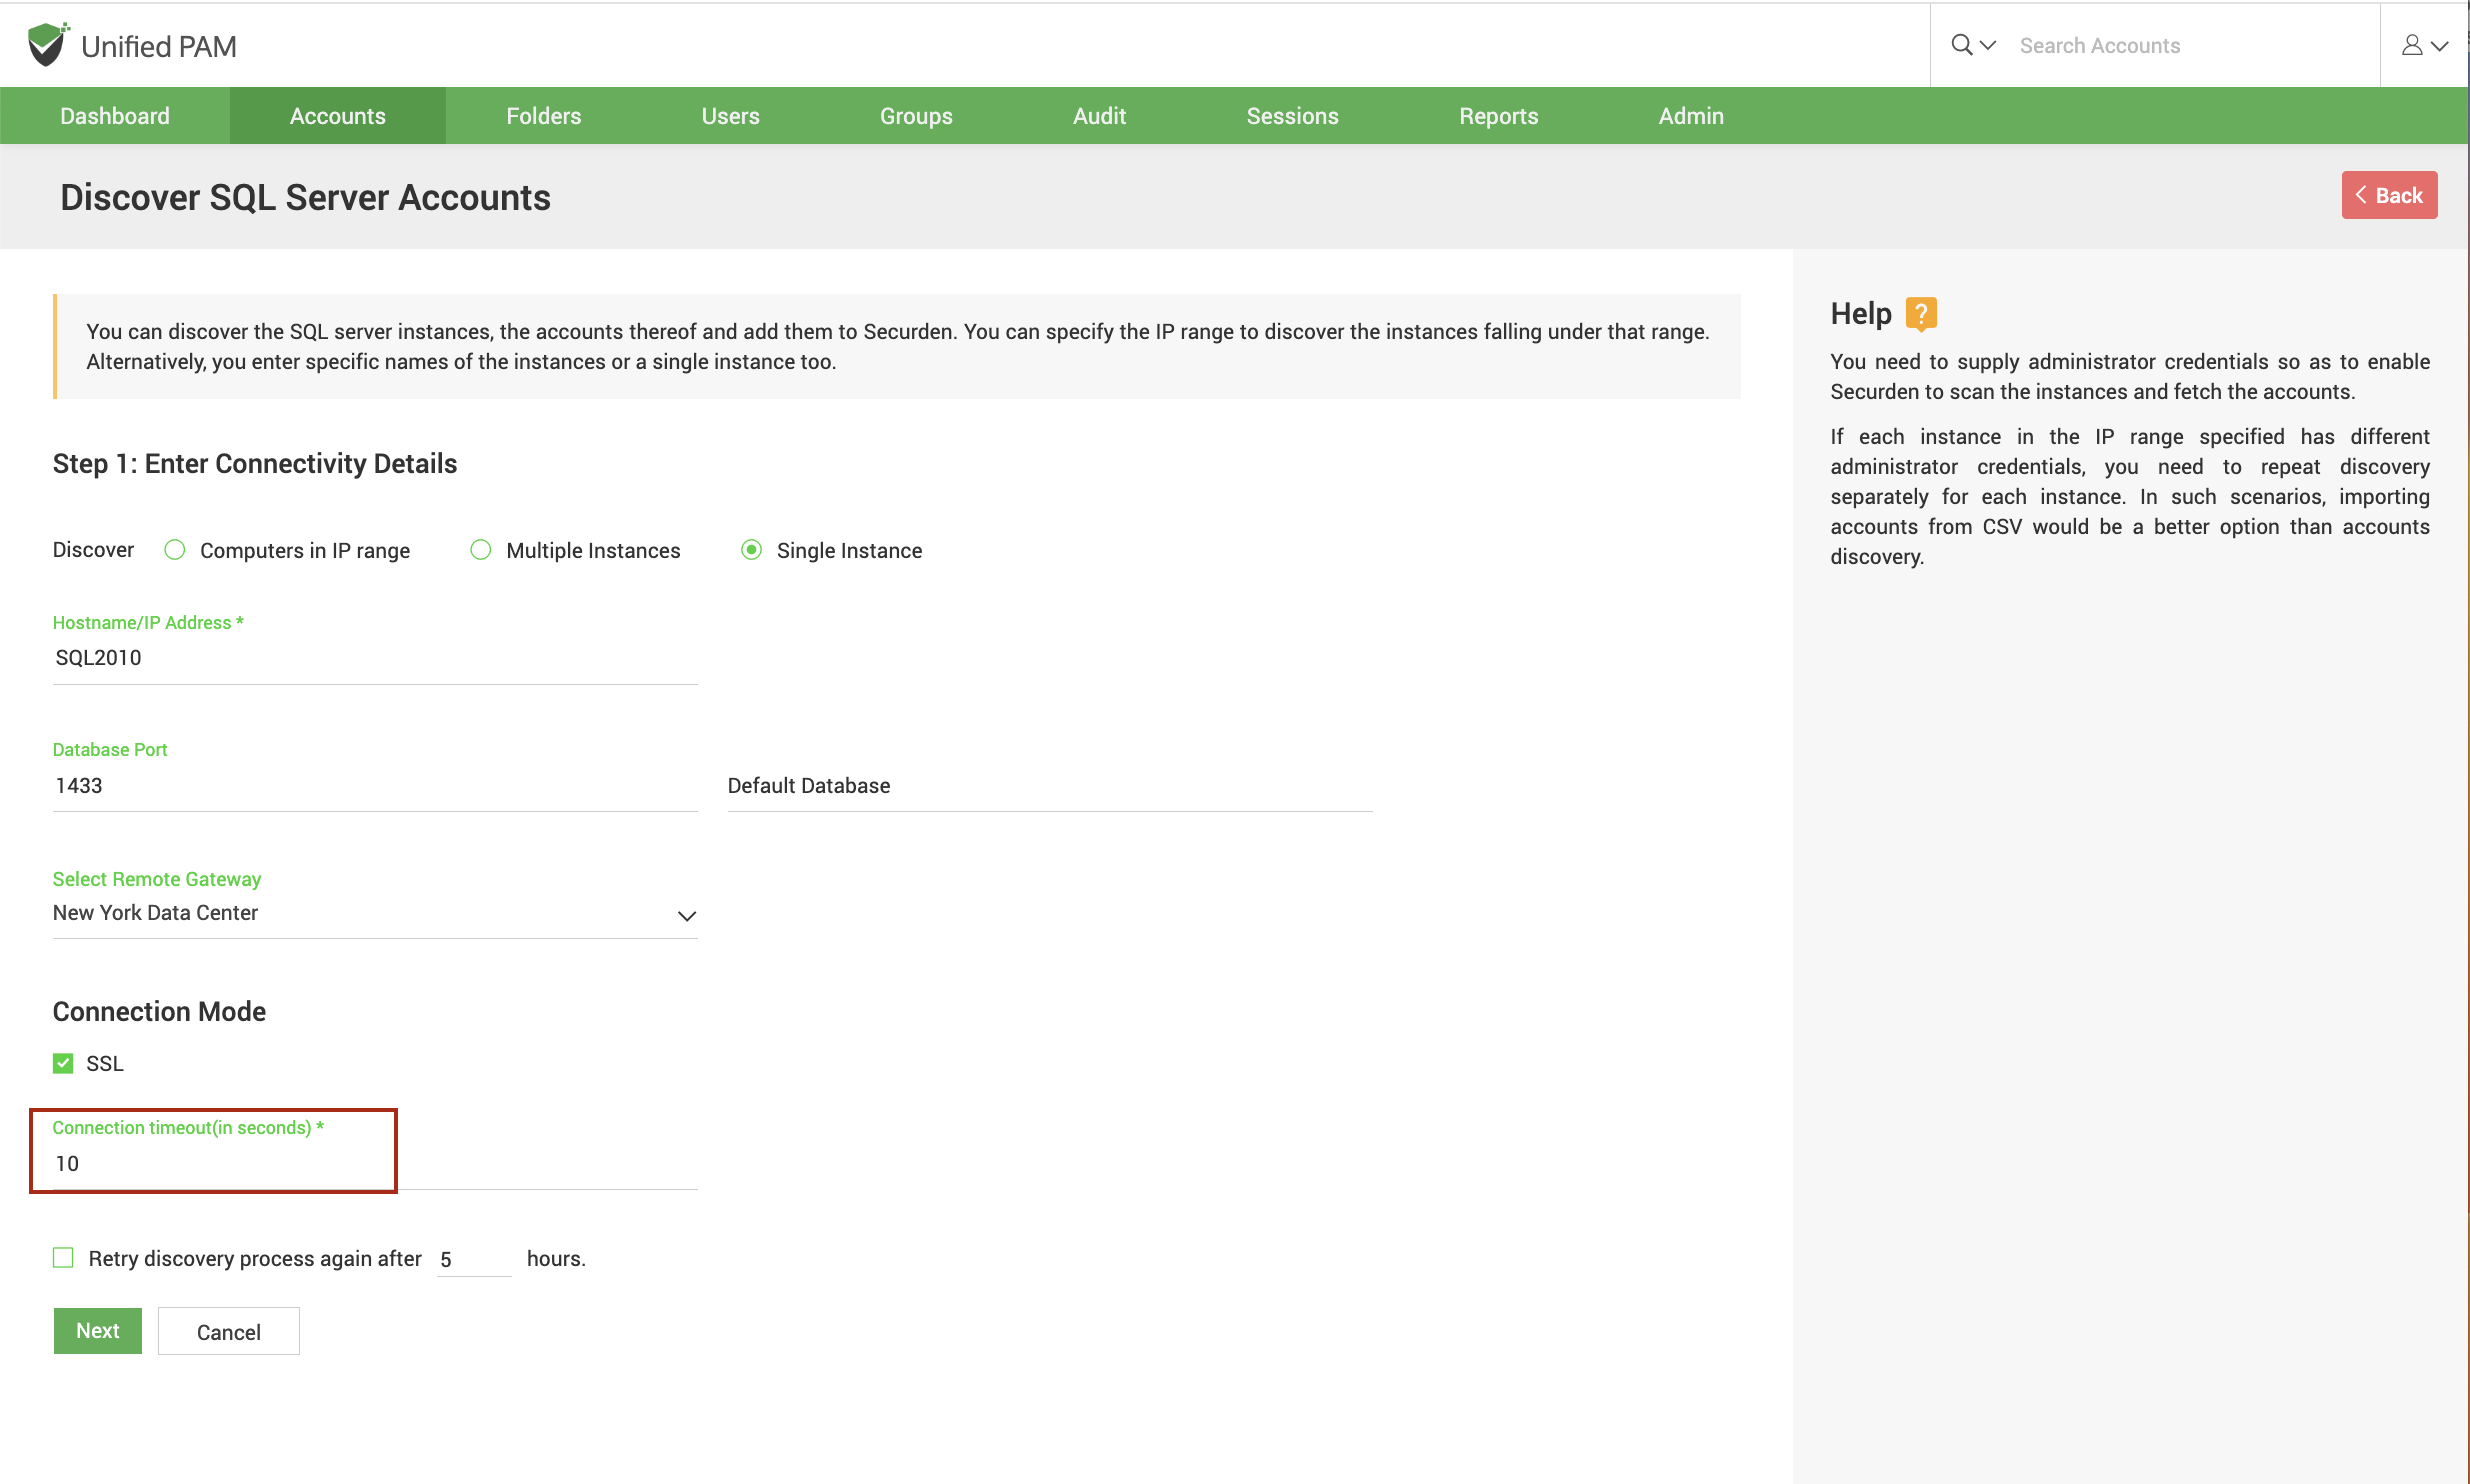
Connection timeout
You need to specify the maximum time in seconds for which Securden will try to establish connectivity with your database instance.
Retry discovery process again
If Securden is unable to connect to any or all the specified devices at present, you can schedule a re-attempt at discovery. You need to specify the time in hours after which the discovery process is attempted again.
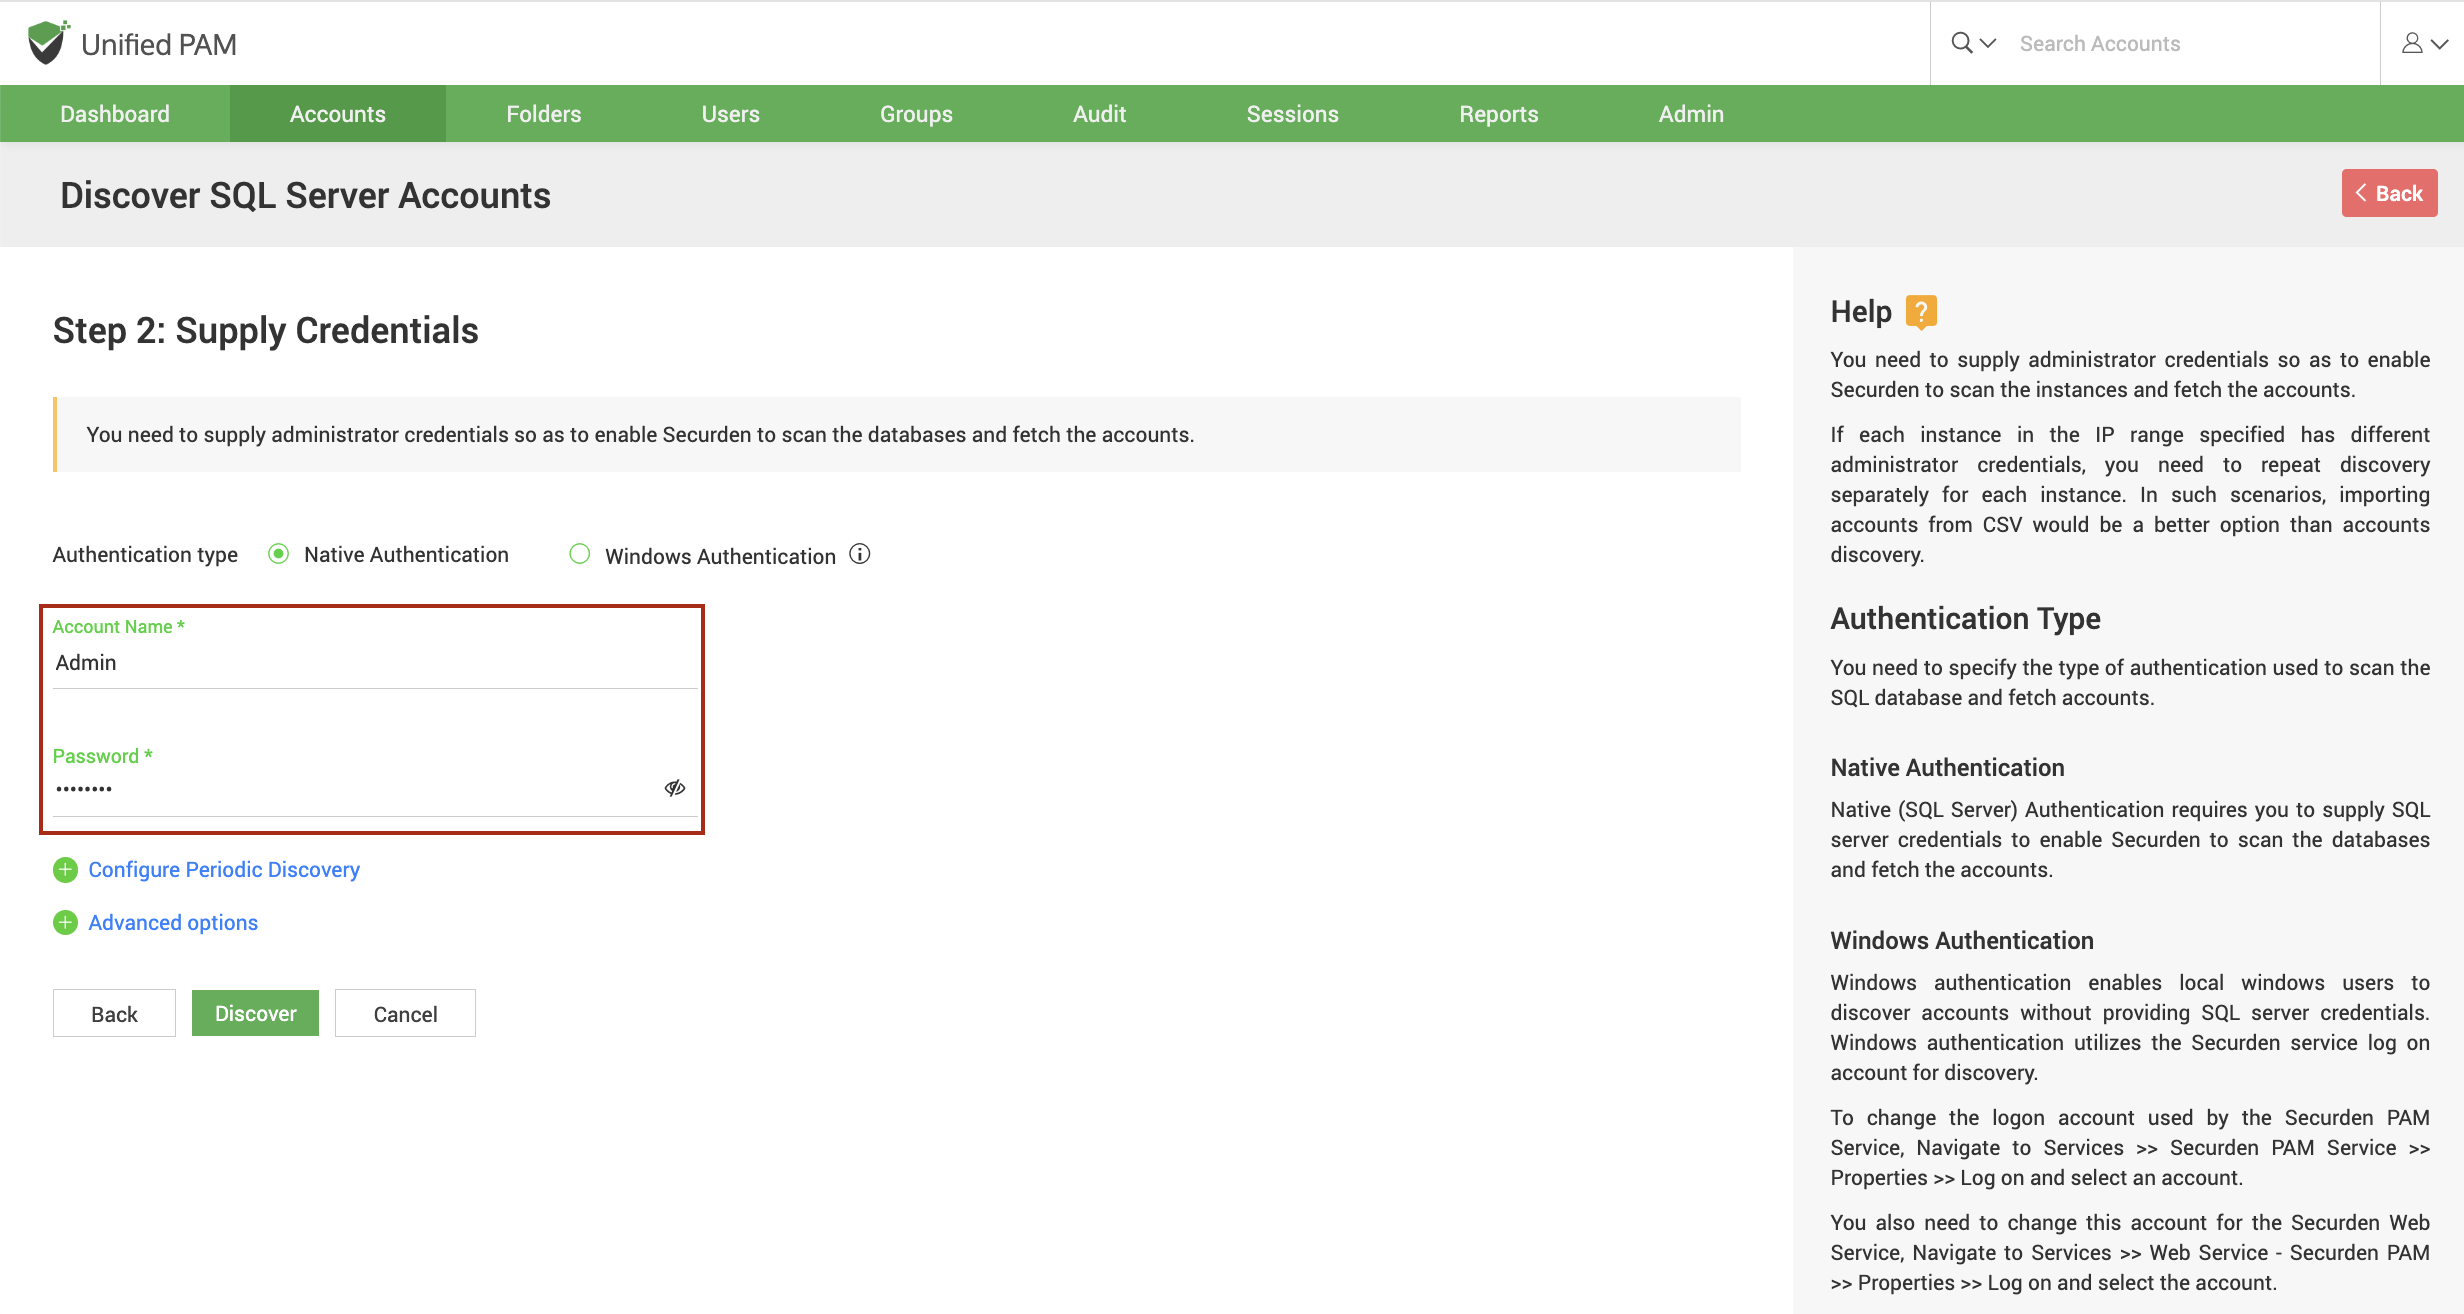
Step 2: Supply Administrator Credentials and Discover
Before Securden can discover accounts from the SQL server, it needs to go through authentication. You need to specify the username and password of the administrator account.
Note
If each instance in the IP range specified has different administrator credentials, you need to repeat the discovery separately for each instance. In such scenarios, importing accounts from CSV would be a better option than accounts discovery.
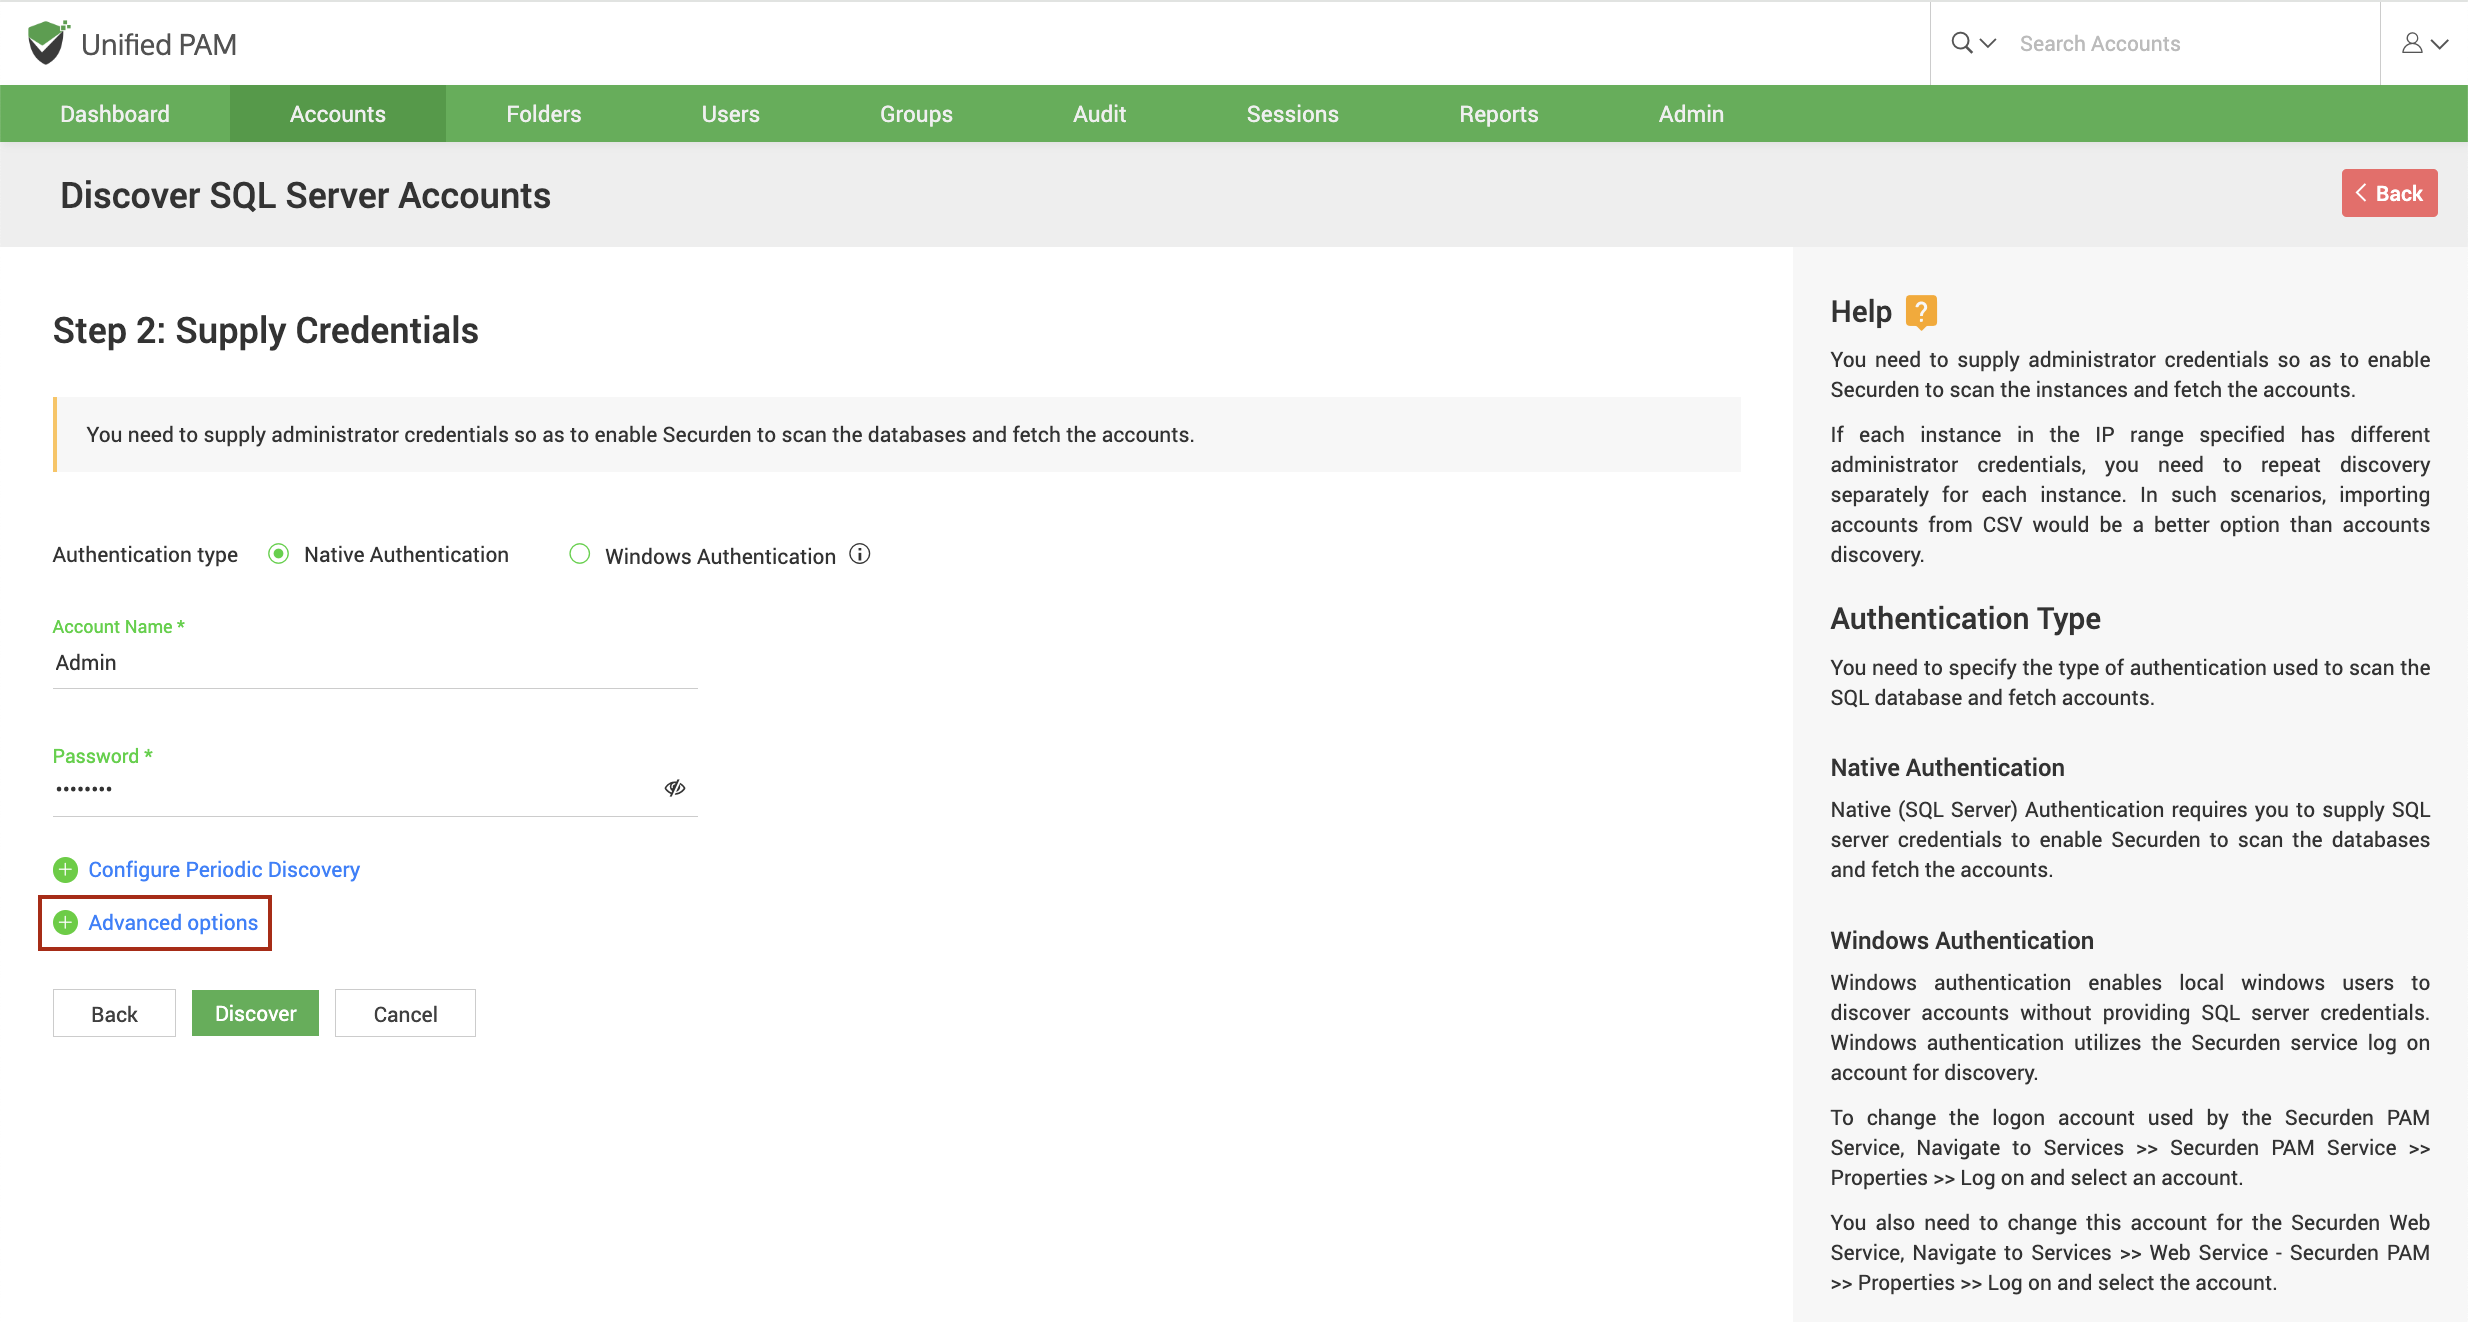
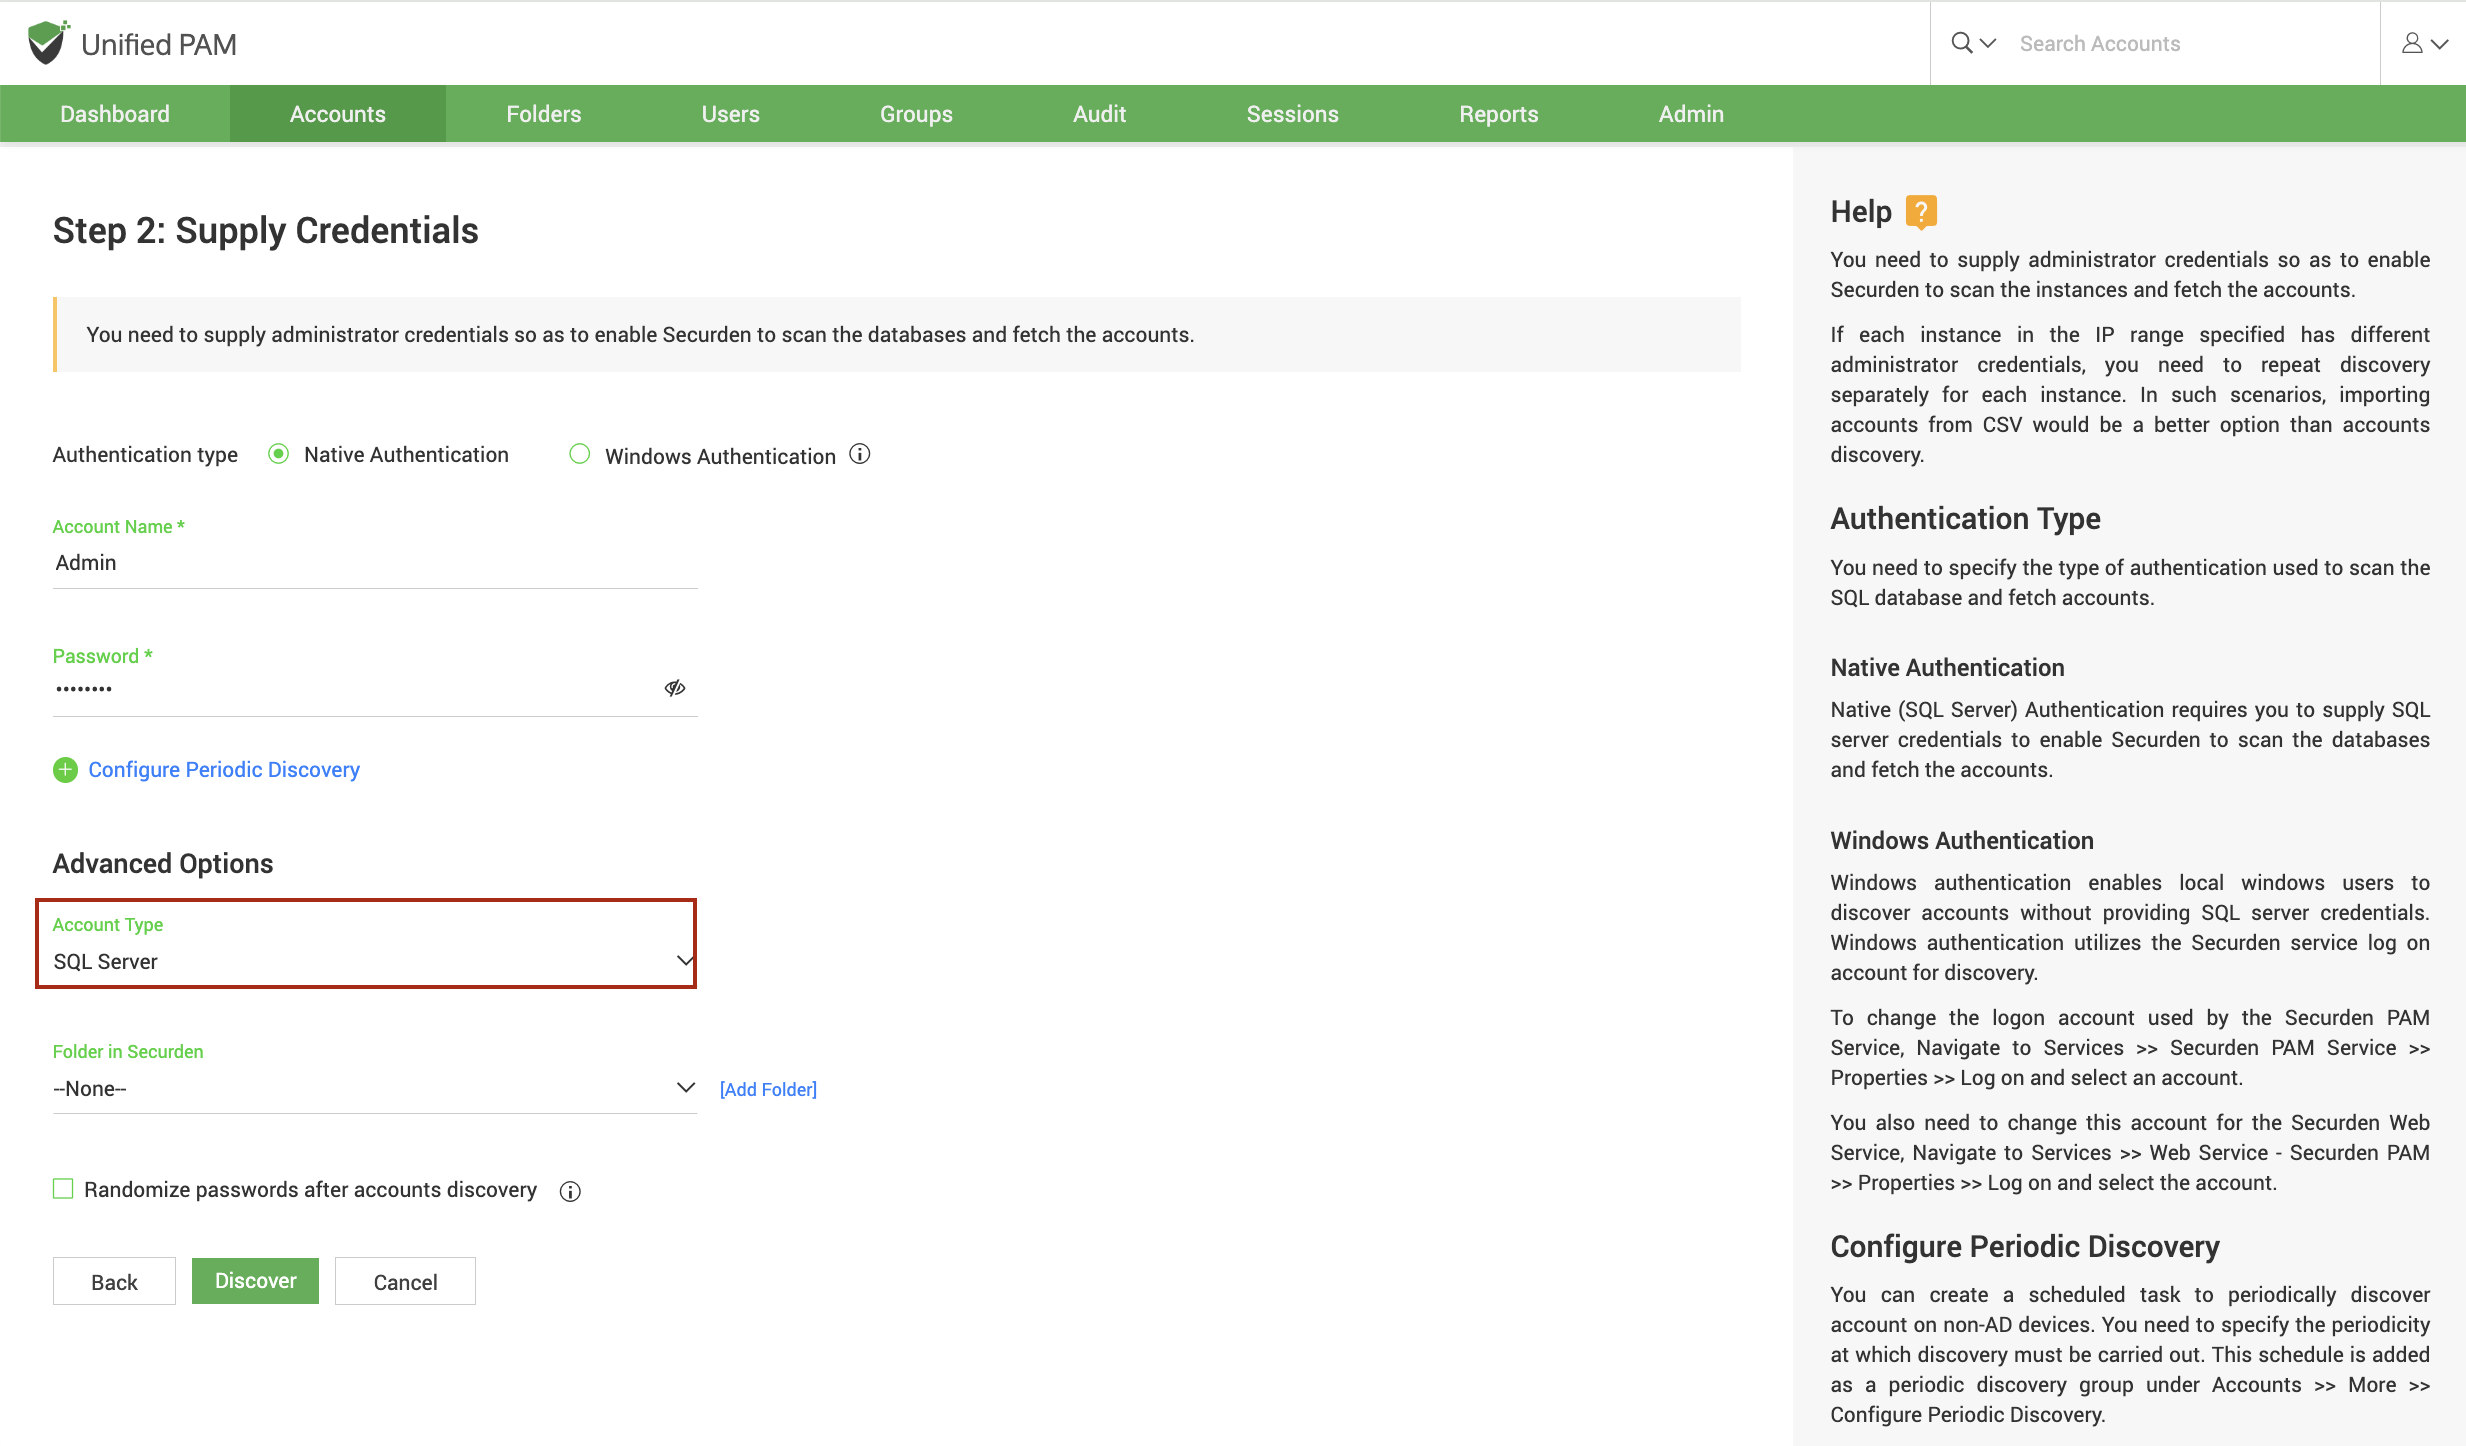
Advanced Options
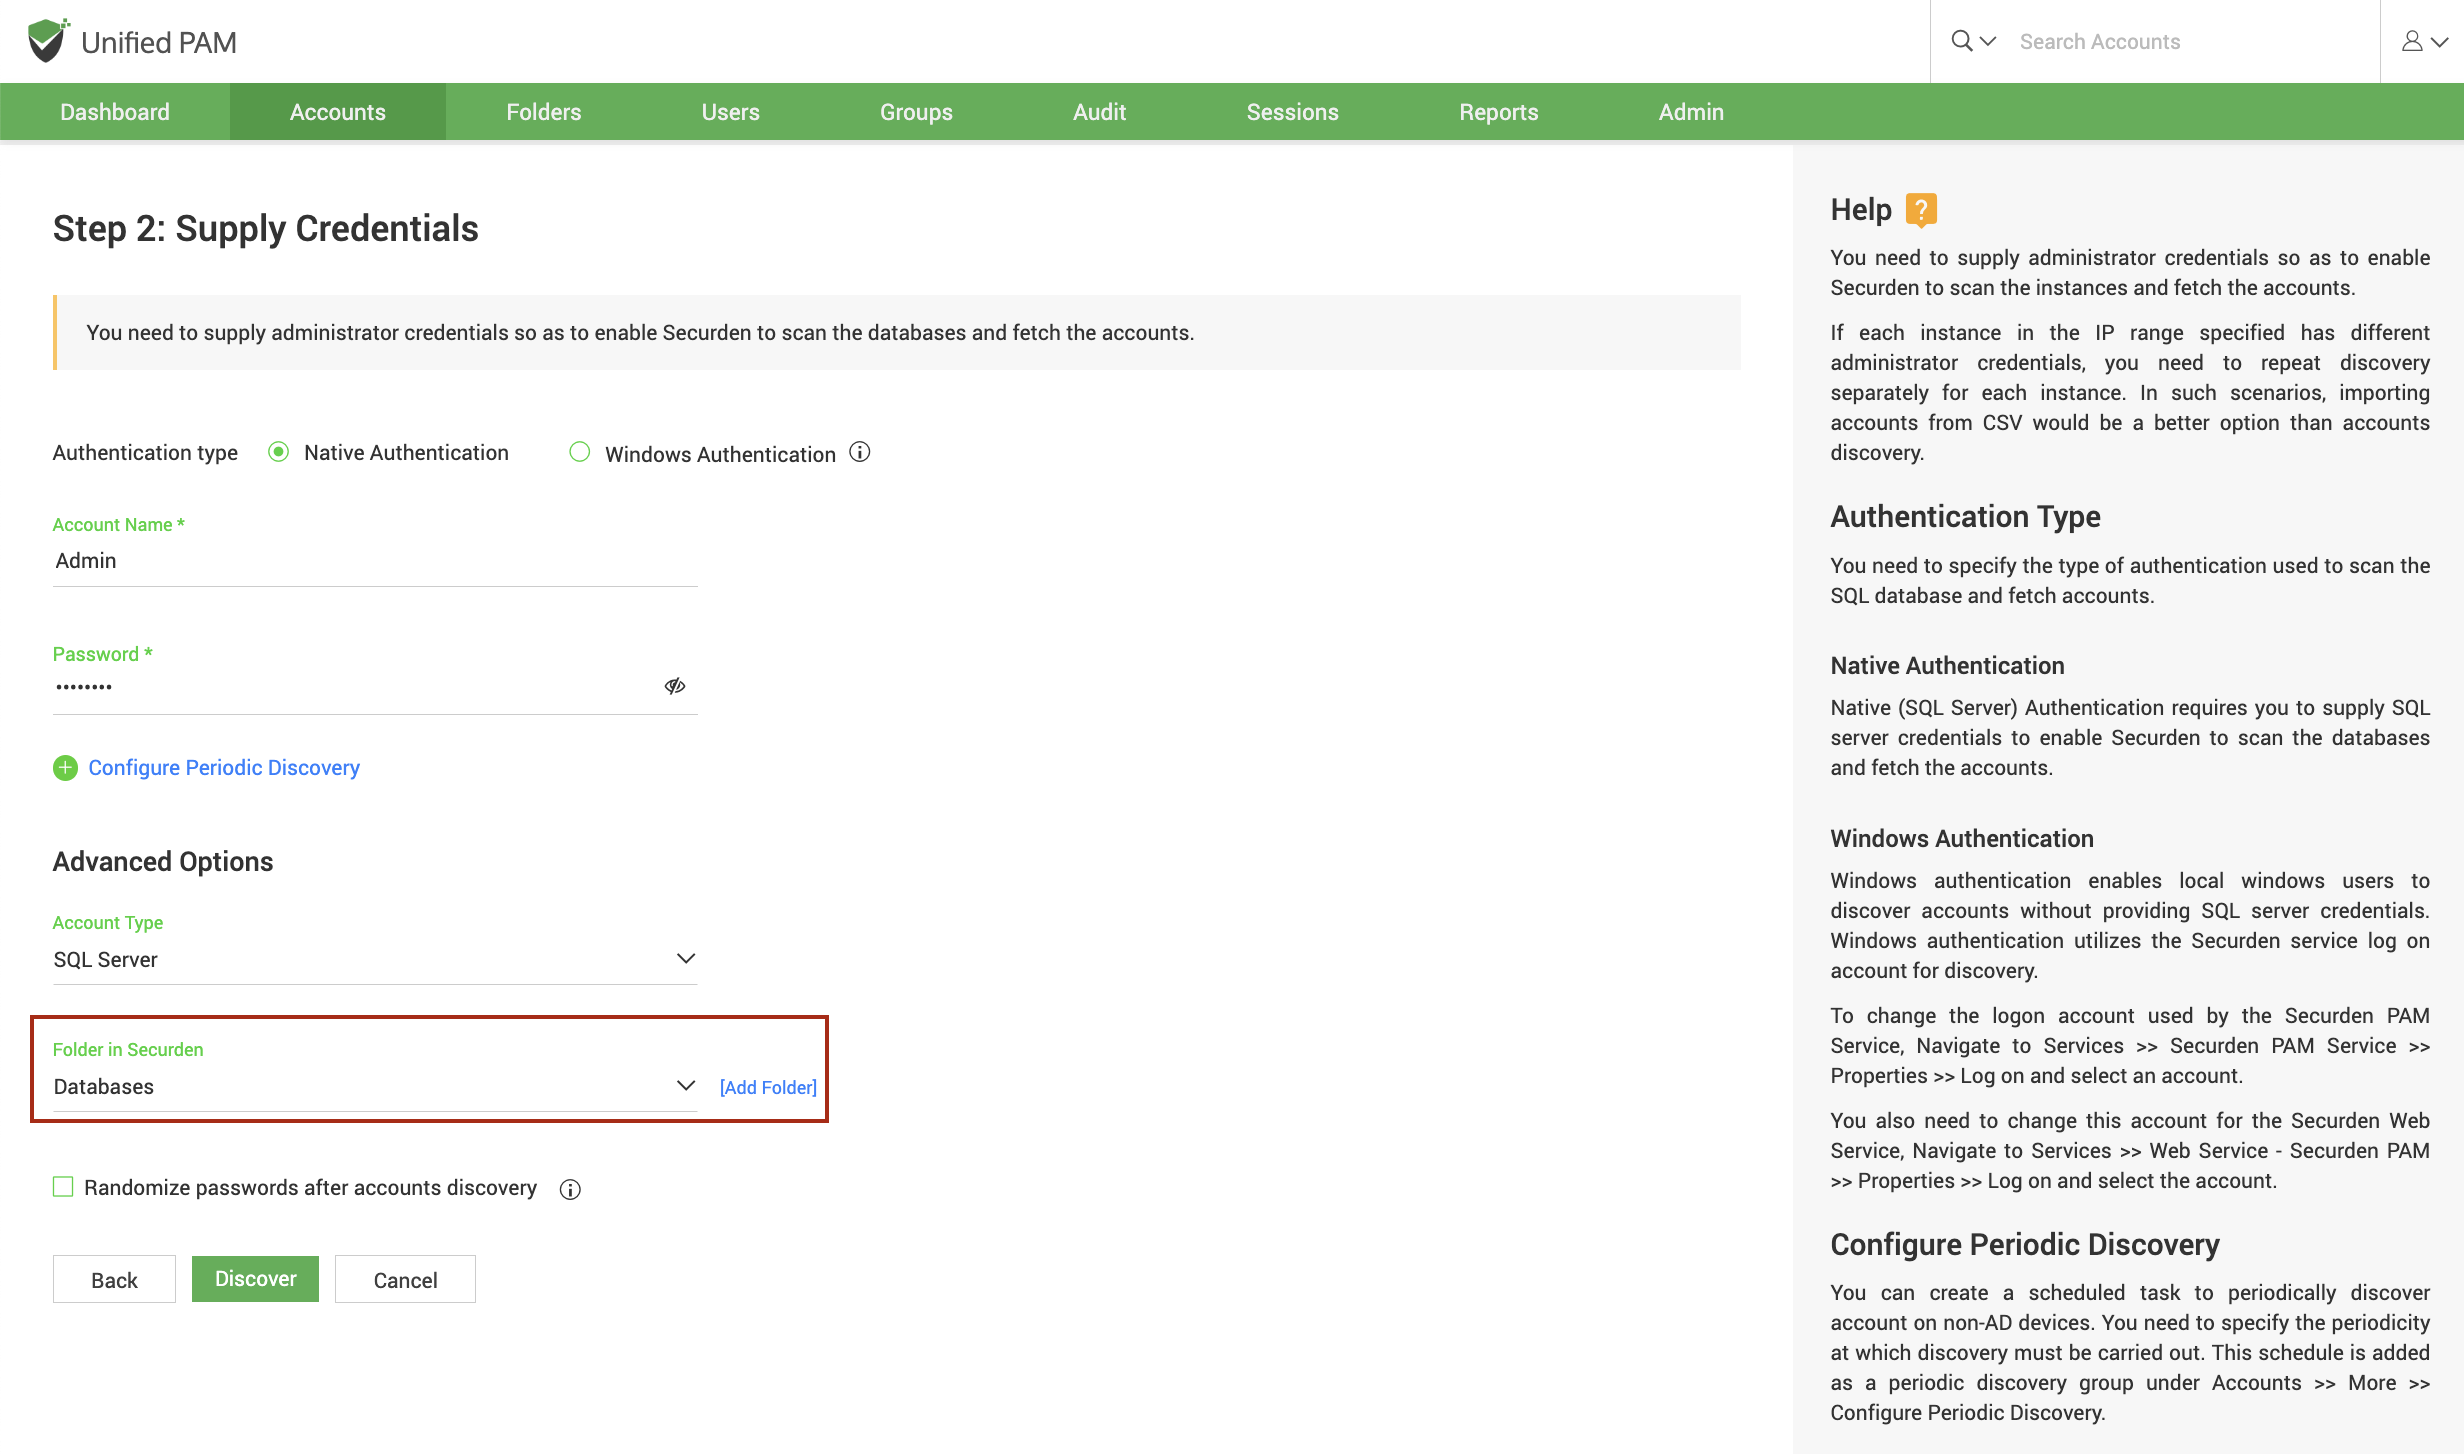
Securden provides some advanced capabilities to populate all the discovered accounts under a specific account type and/or a specific folder. This comes in handy when perfoeming operations in bulk on those accounts.
Account Type
You can select one of the compatible account types from the drop-down. If you want to assign a different account type from the available list of types, you need to navigate to Admin >> Account Management >> Account Types and add a new custom account type or modify an existing custom account type according to your needs.
Folder
You can open the drop-down menu and select the required folder from the folder tree. If you want to create a new folder, you can click [Add Folder] and create a new one.
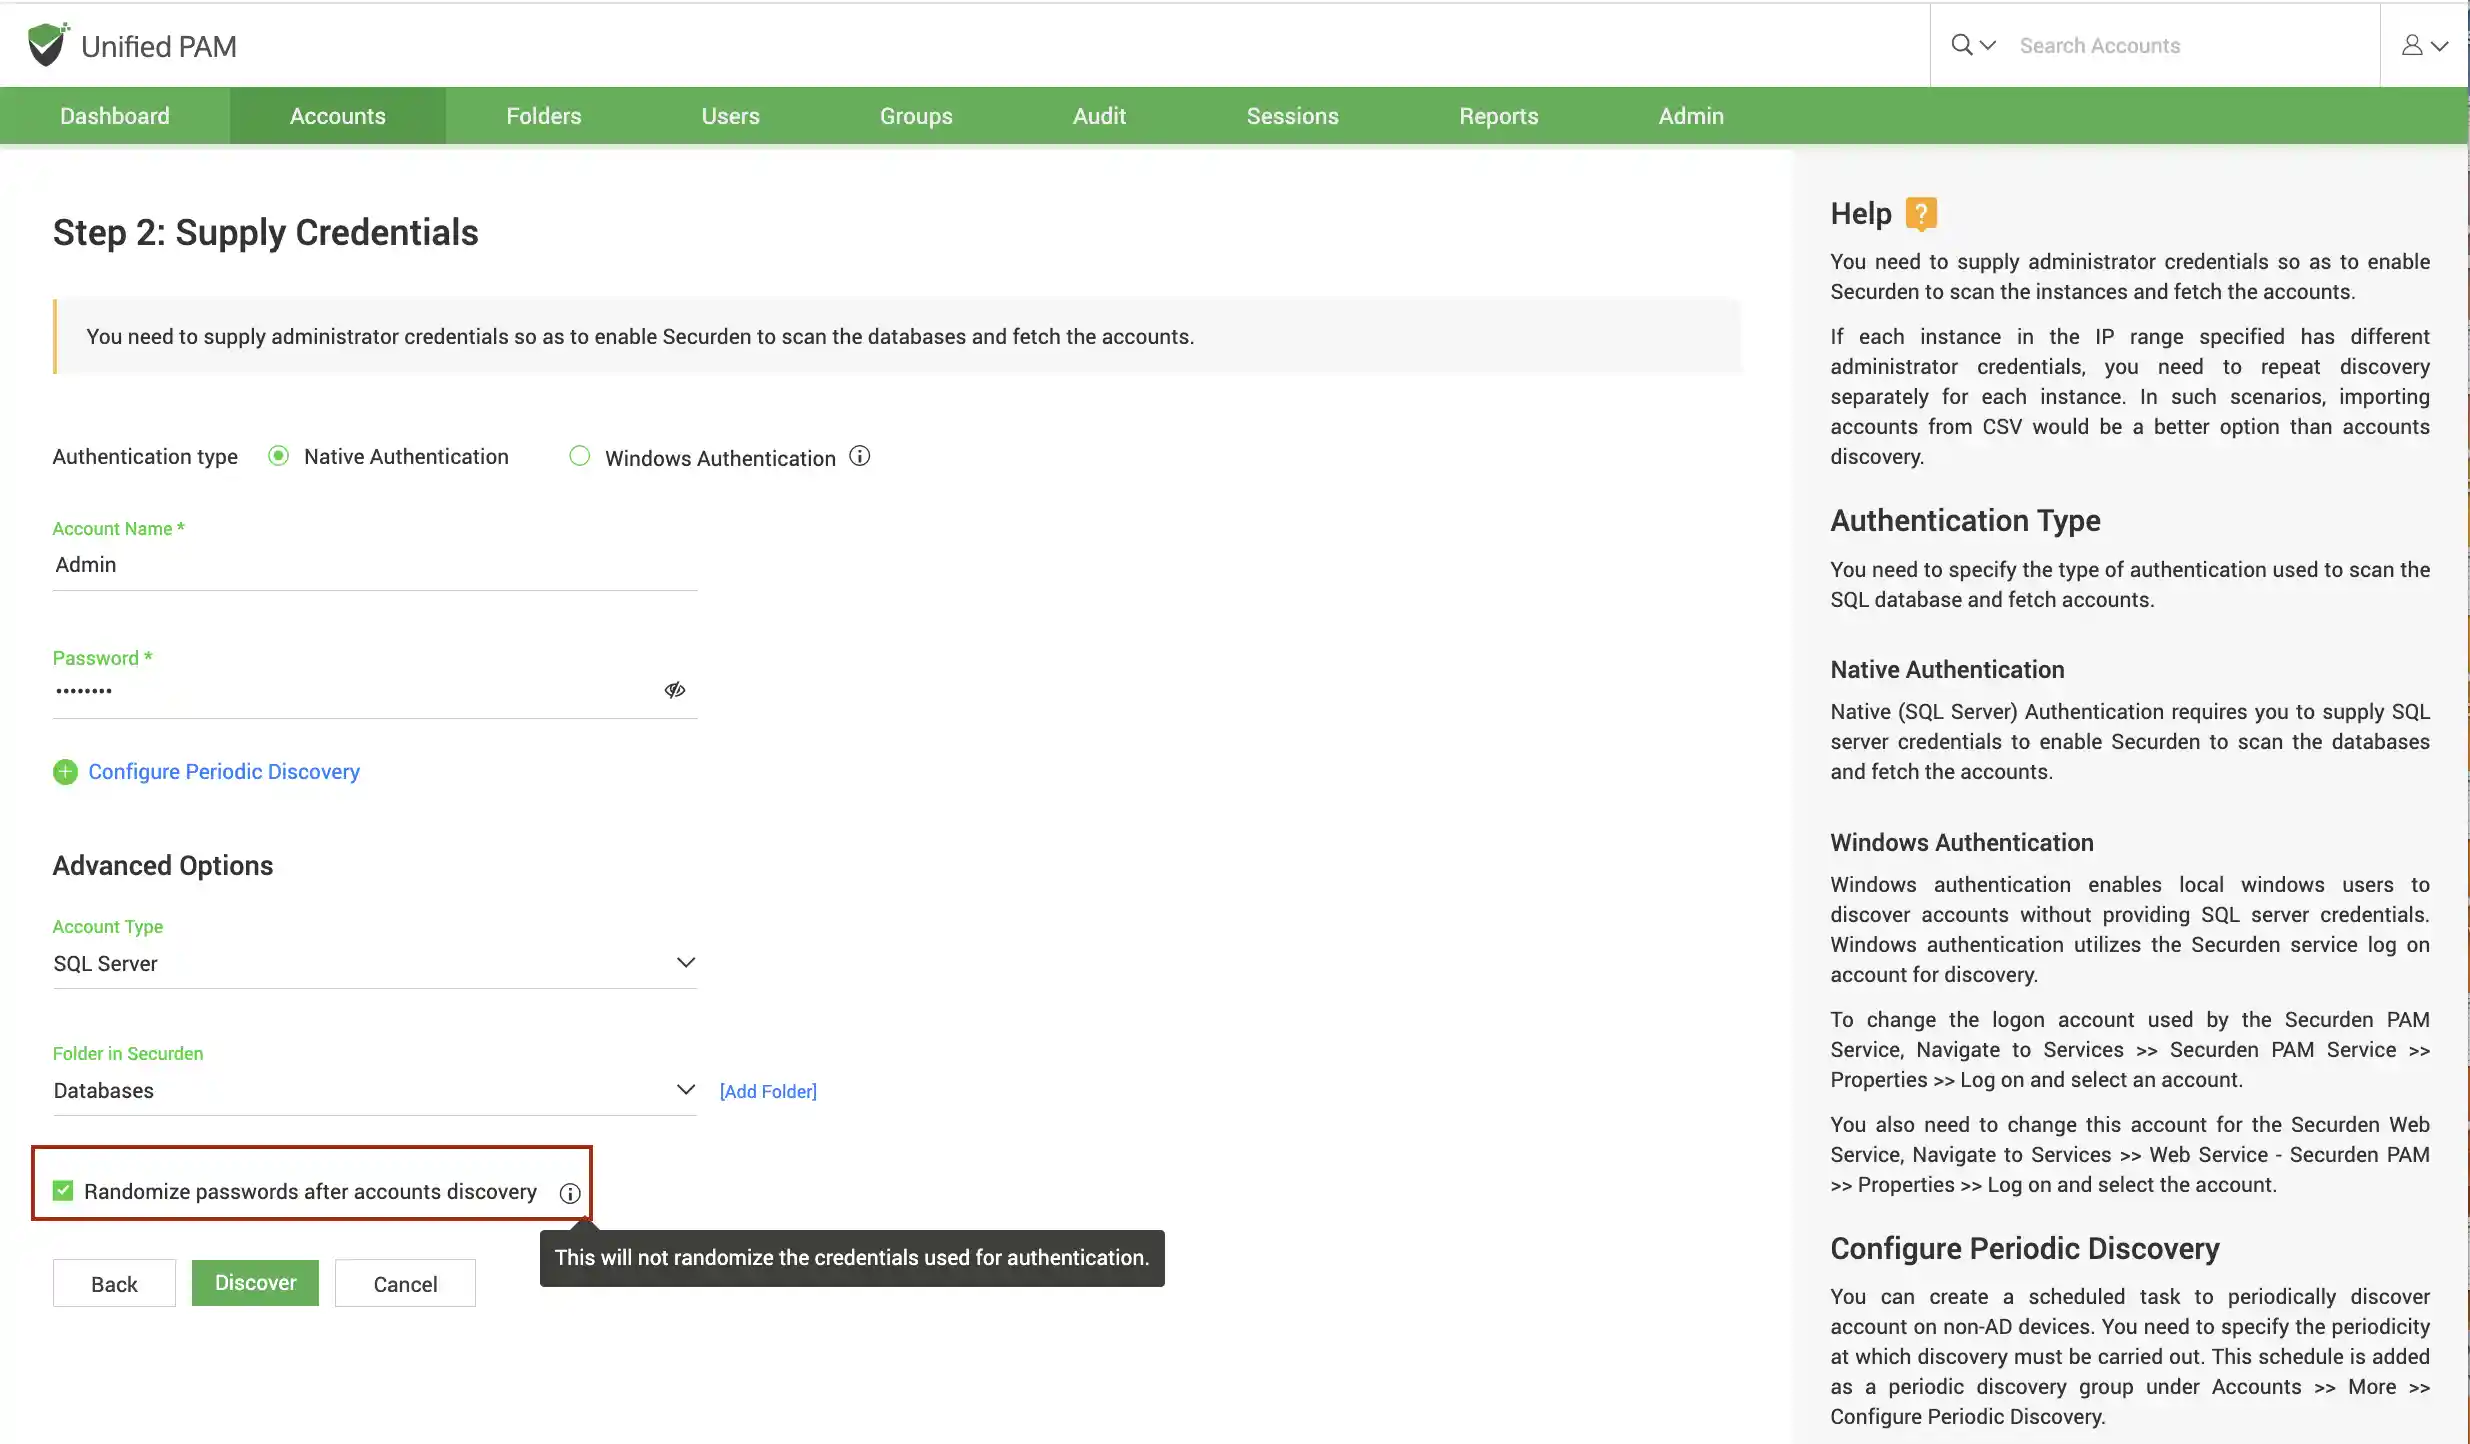
Randomize Passwords After Discovery
Immediately after the discovery, you can assign secure and unique passwords to the accounts. If you select this option, Securden creates passwords for the accounts on the target devices according to the password rules you specify.
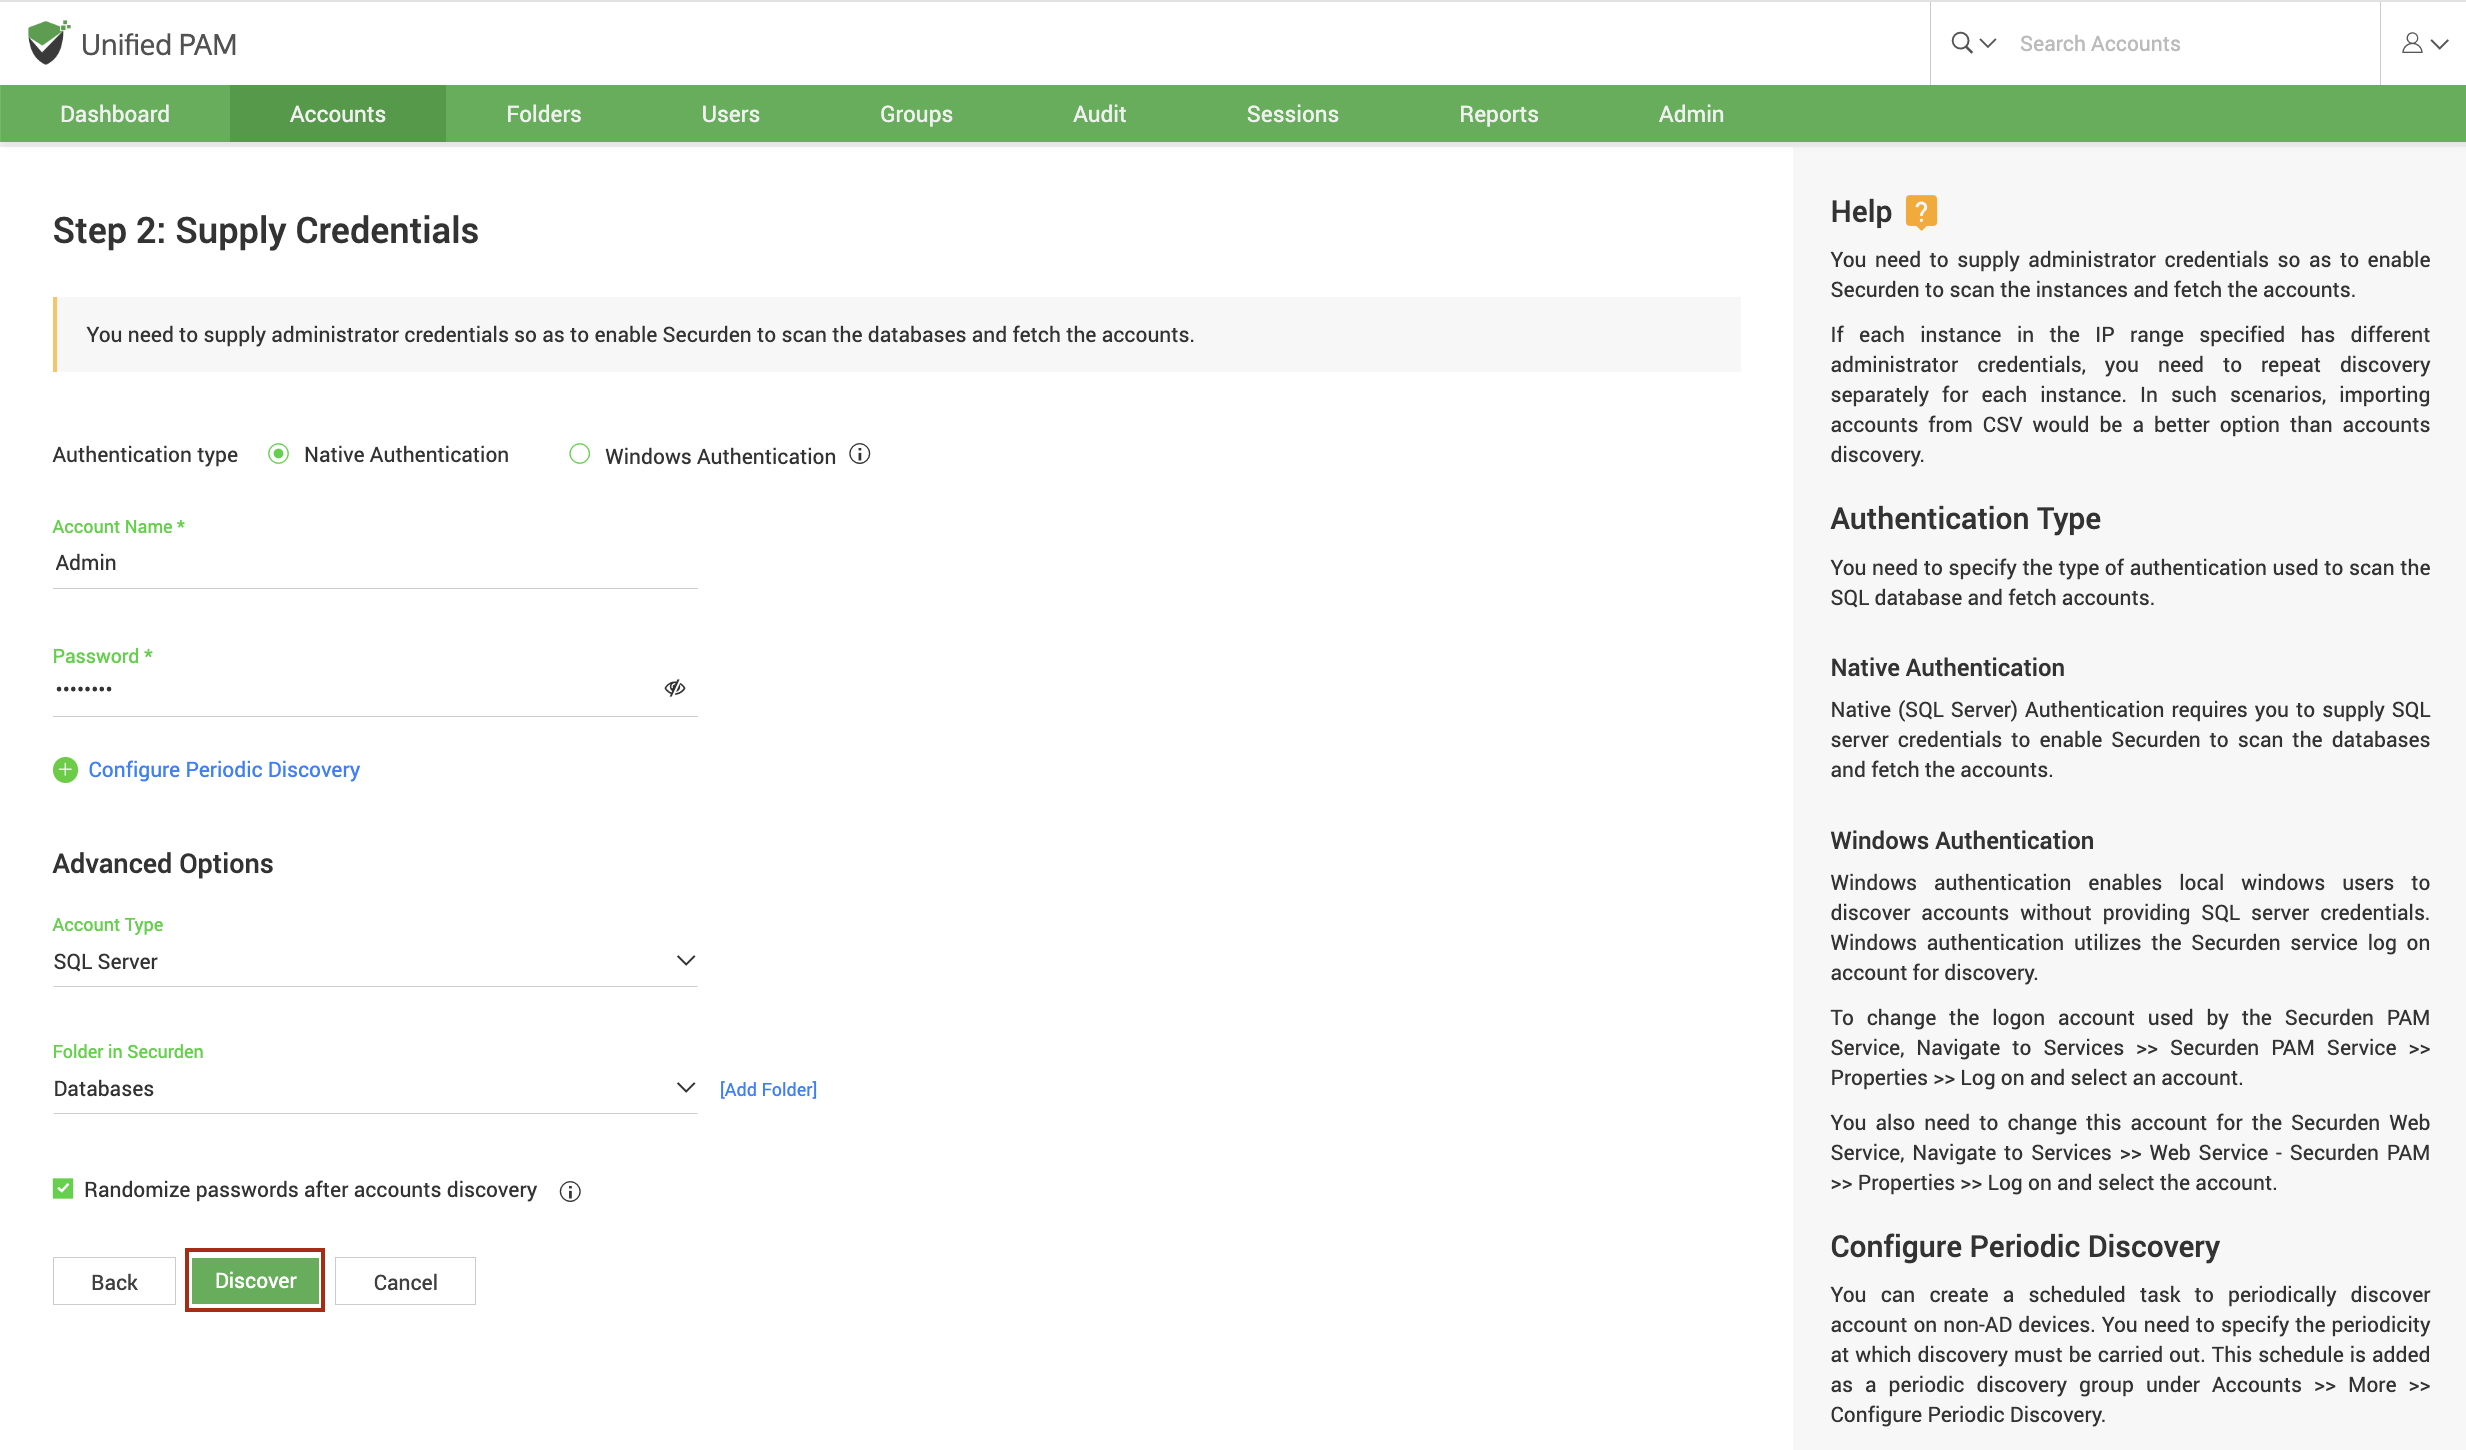
Once you have specified your criteria, click Discover.
The process takes a few minutes to complete. Once it is completed, complete results with a list of accounts and their status are displayed. You can view how many accounts were successfully imported.
