Configure Single Sign-On for Okta
To integrate Okta with Securden, you need to follow these steps:
-
Log in to your Okta account using your admin credentials.
-
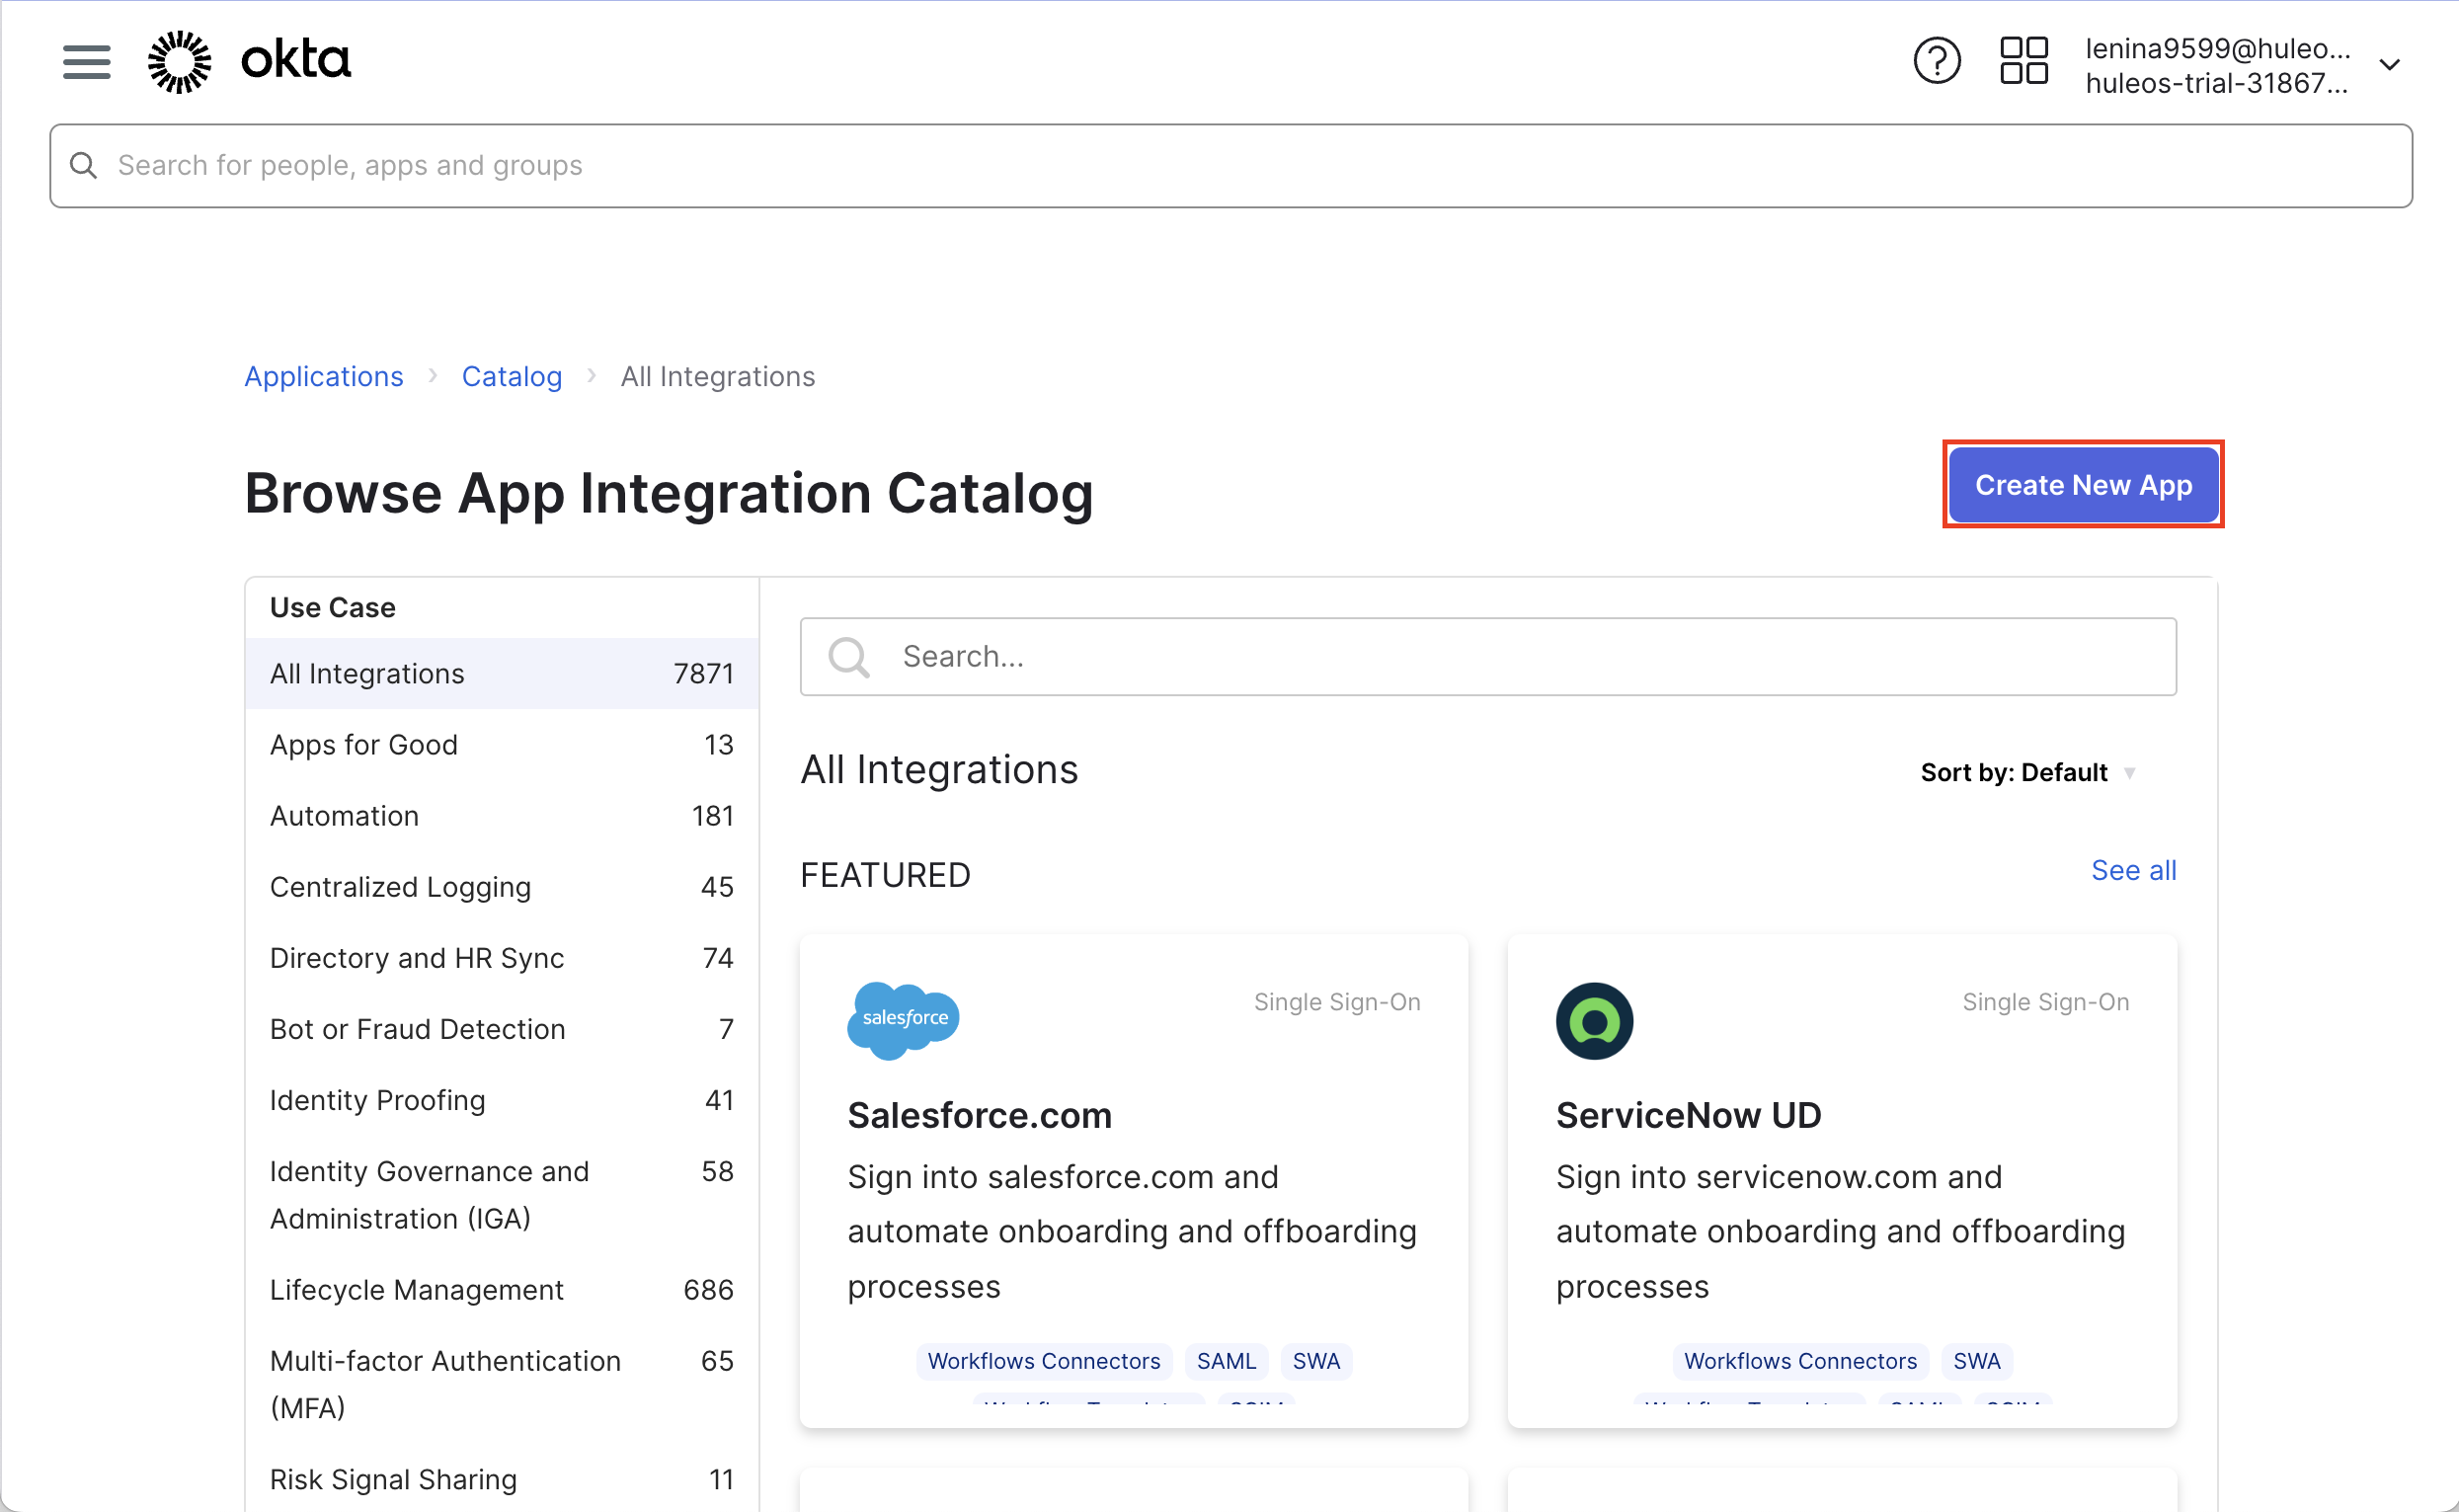
Navigate to Applications >> Add Applications >> Create New App.
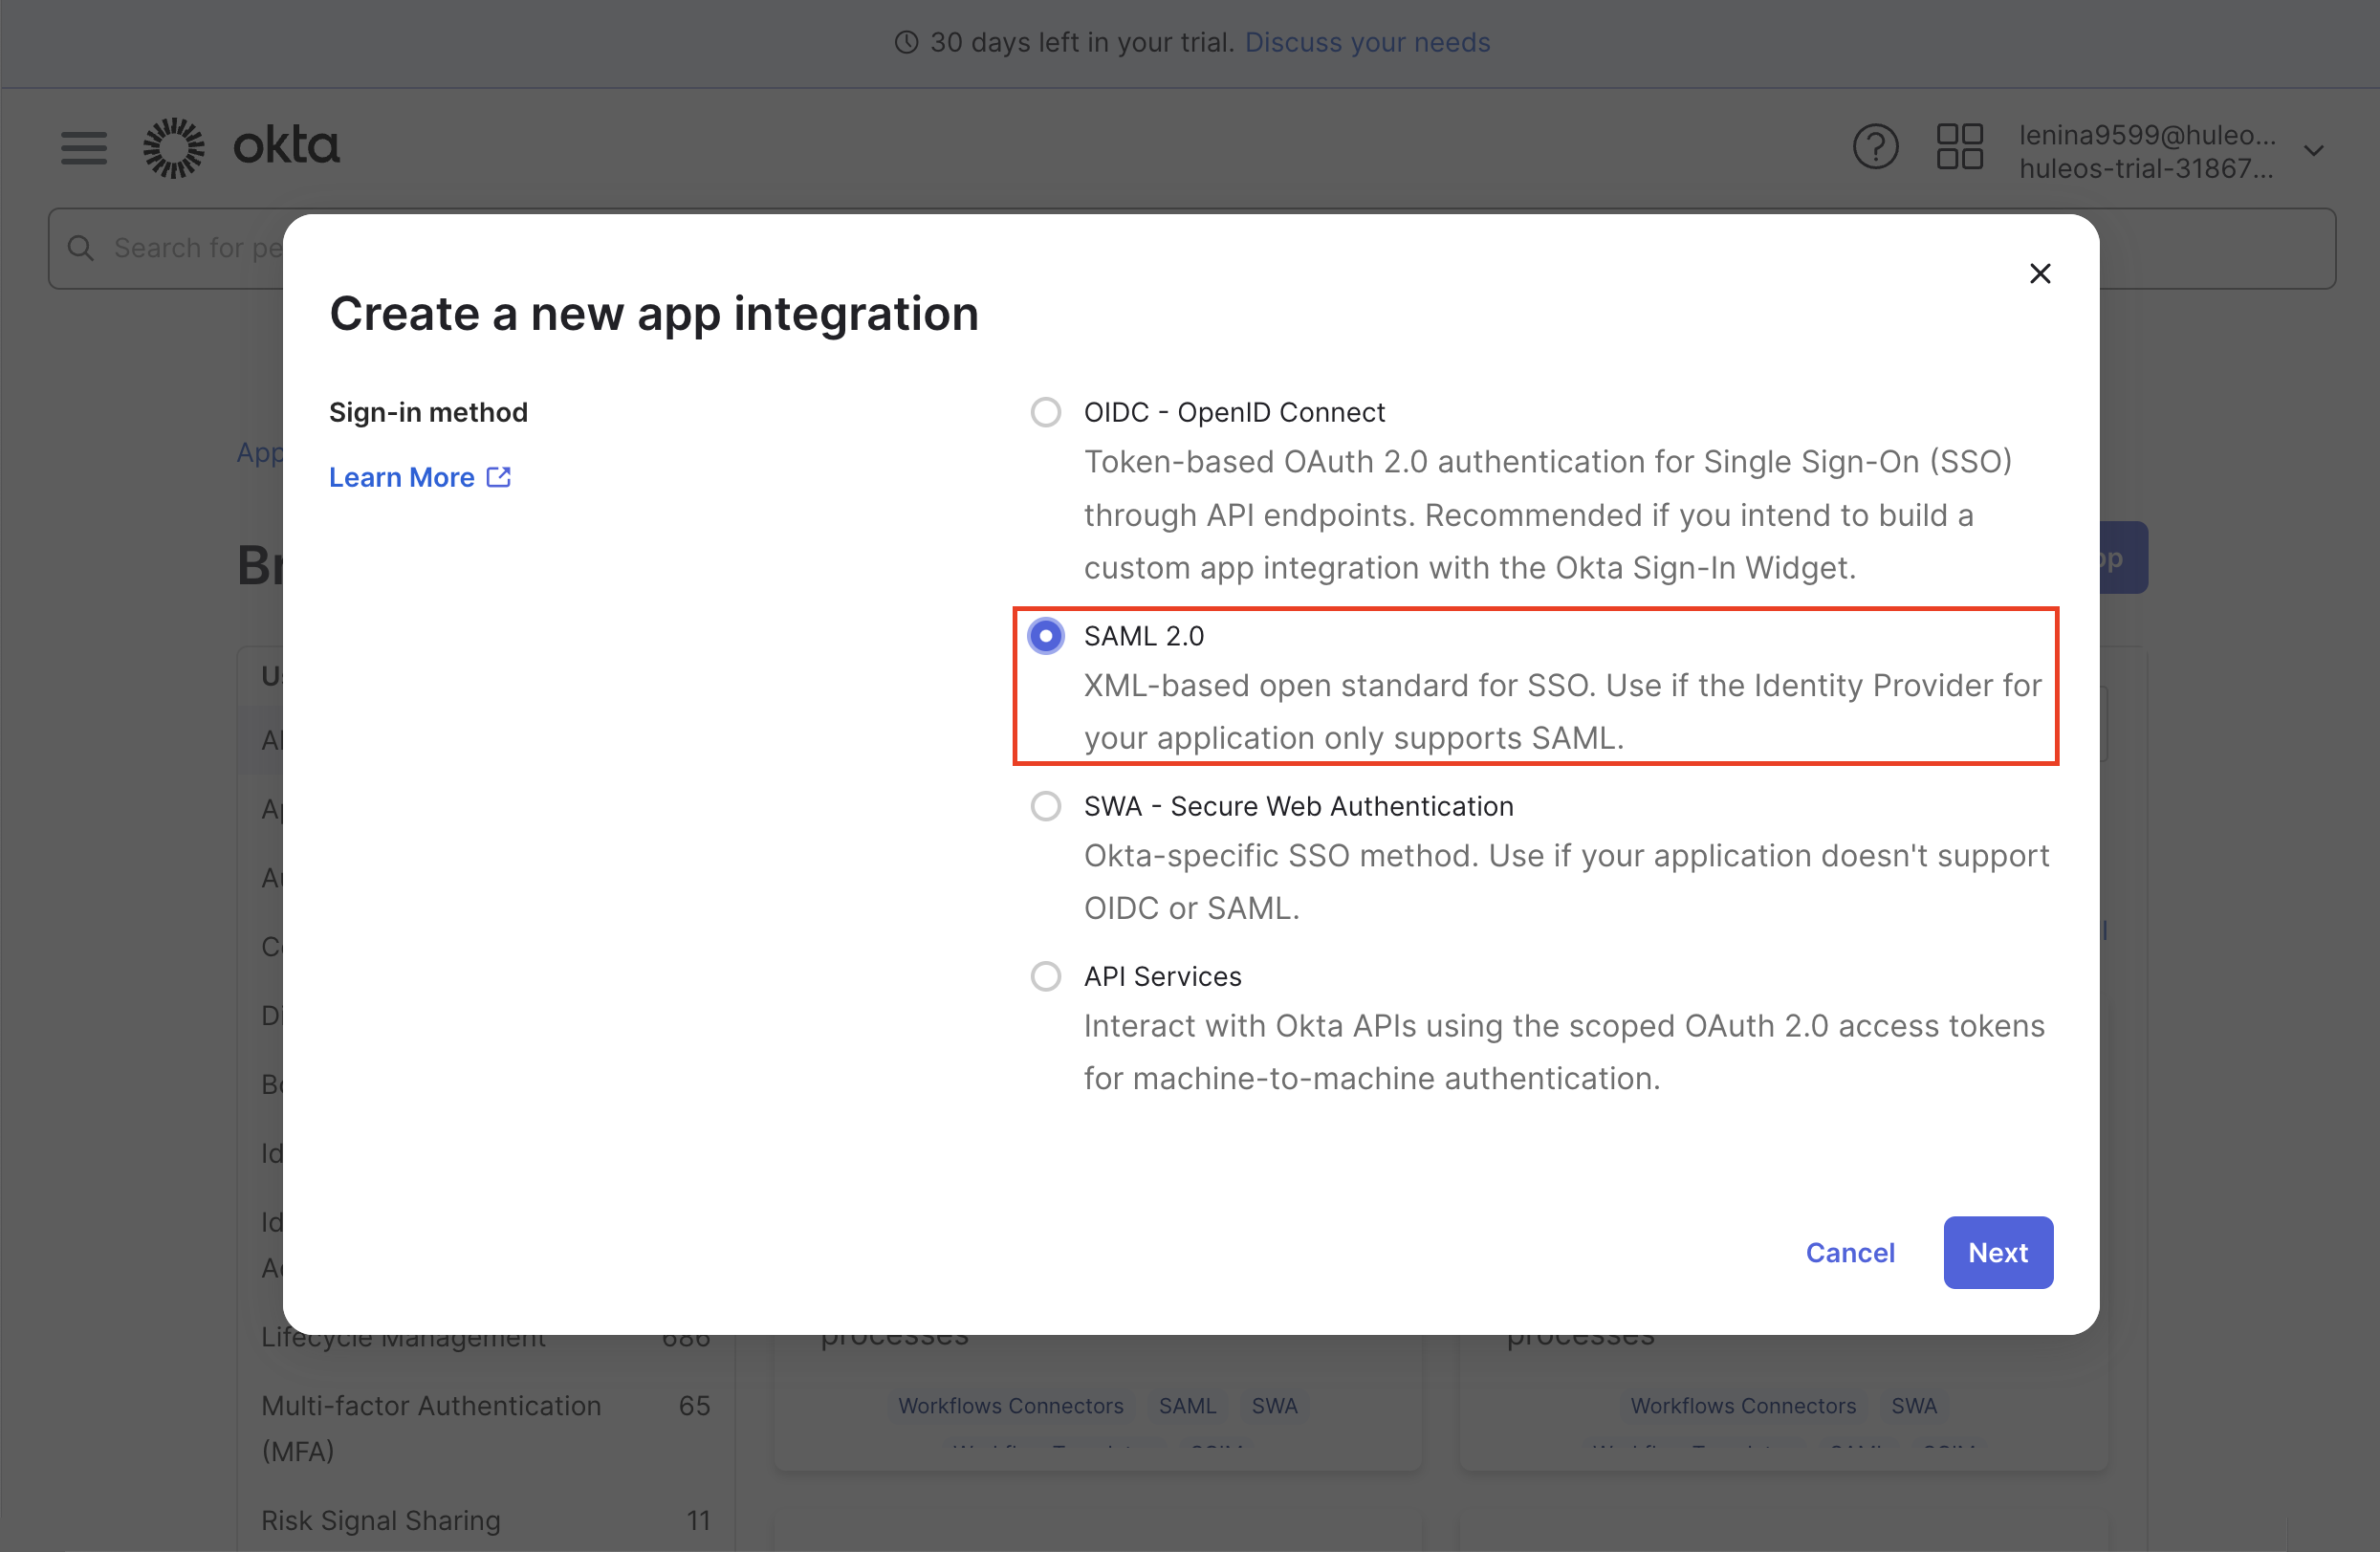
- In the pop-up window, choose SAML 2.0 as your sign-on method and click Create.
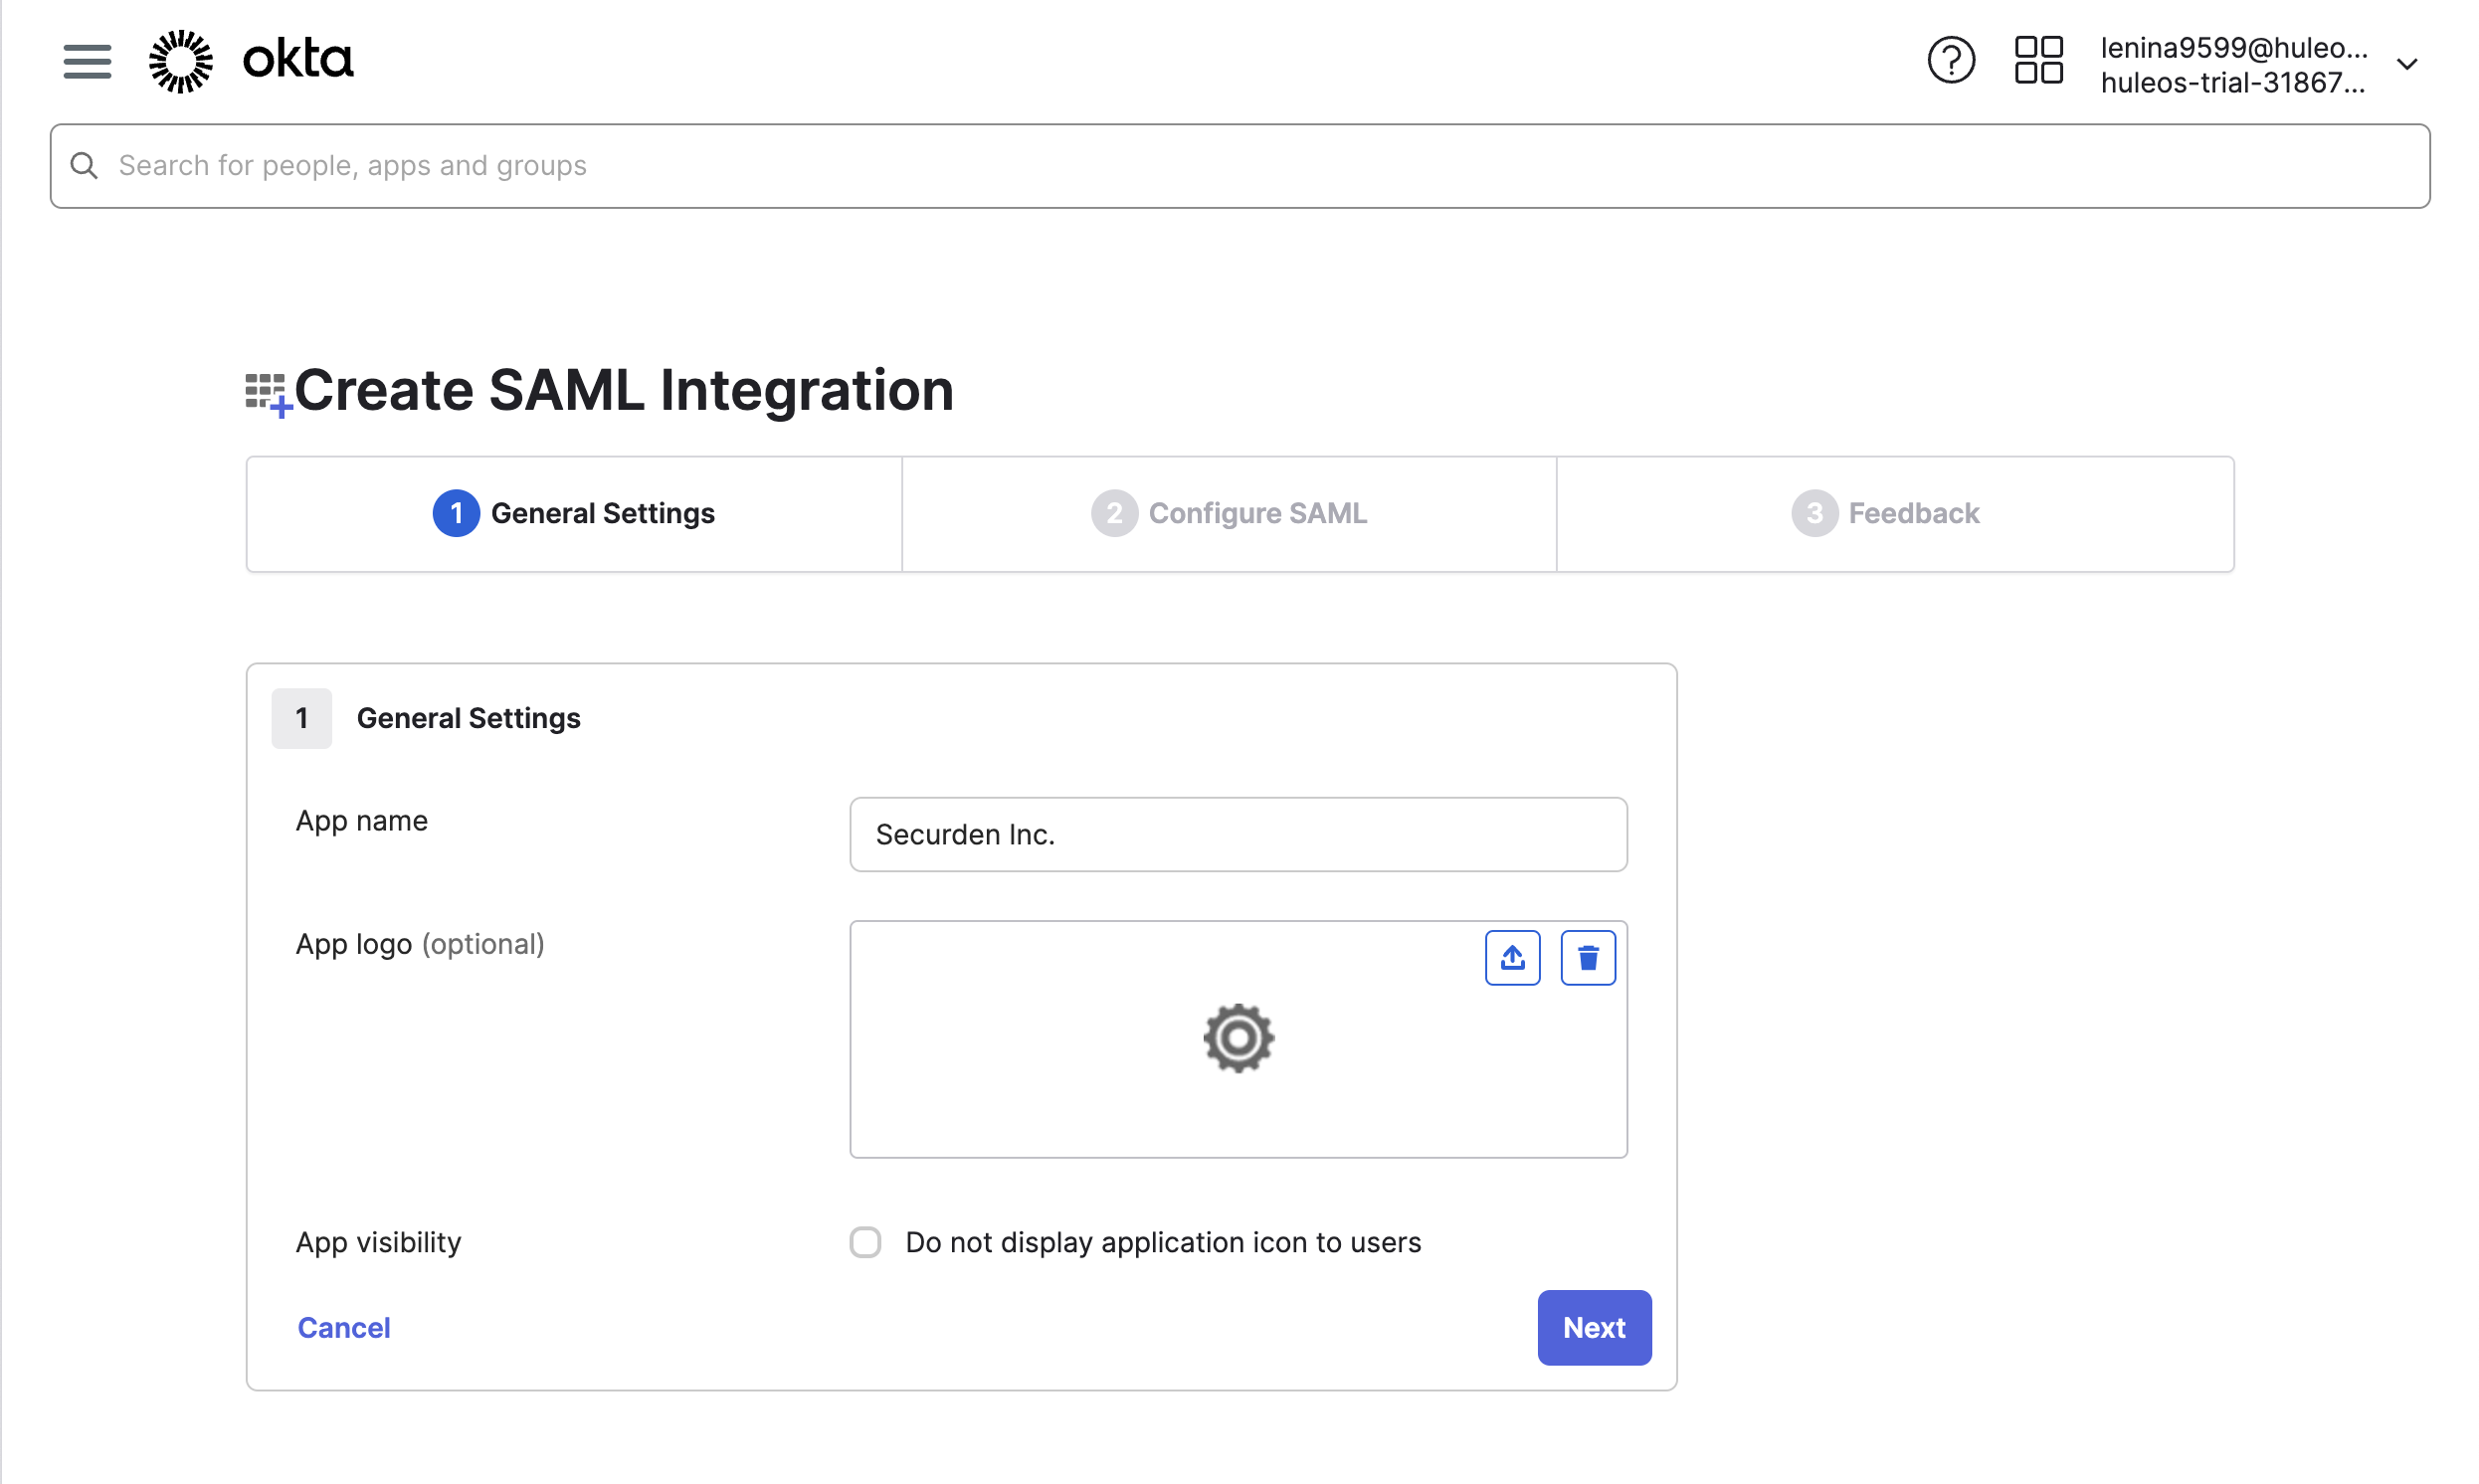
- In the Create SAML Integration window, enter the application name, and if you want, you can add the application logo as well. Then, click on Next.
-
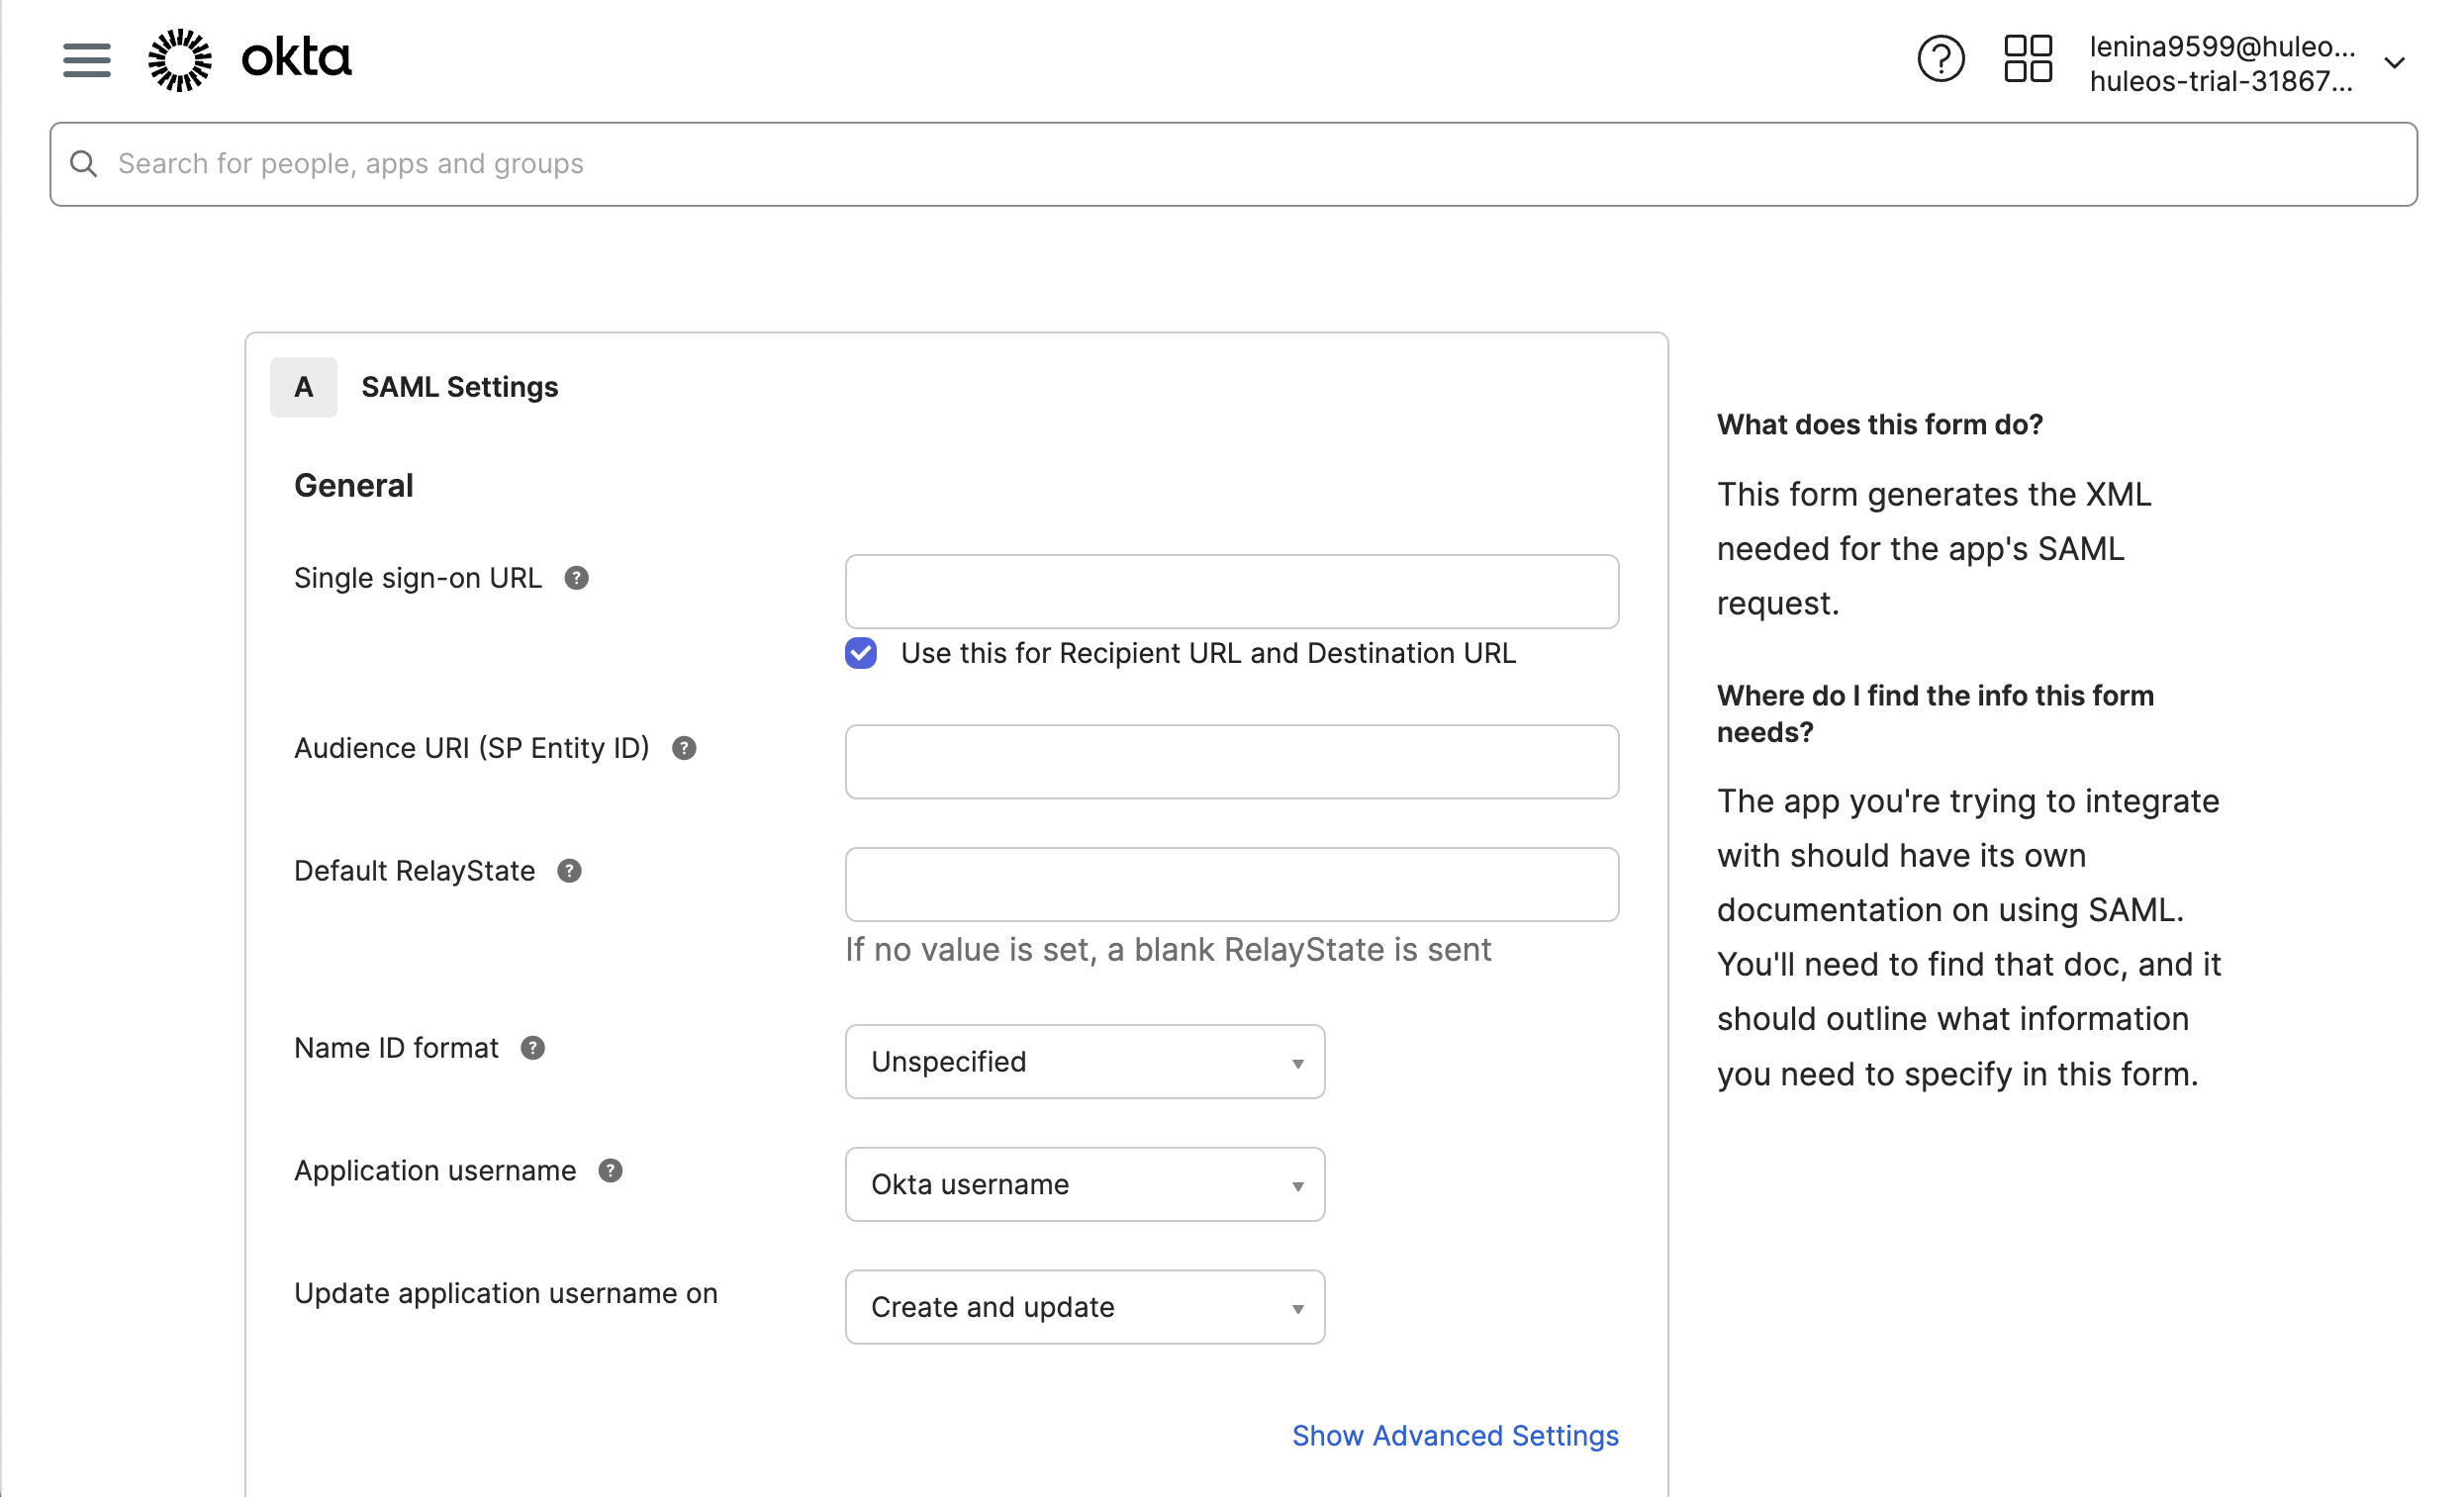
In the window that opens, you need to provide the Service Provider’s, a.k.a. Securden’s details for which you have to navigate to Admin >> Integrations >> SAML SSO. Use the provided details to integrate Securden with Okta.
-
Navigate to the Okta SAML settings page. Enter the Securden Service Provider details in Okta’s Configure SAML settings page.
- If you have used AD to import users, choose the Custom option for Name ID Format. Specify the following custom format:
toUpperCase(substringBefore( substringAfter(user.email, "@"), ".")) + "\" + substringBefore( user.email, "@").
-
If you did not use AD for user import, you can choose the Okta Username Prefix option.
-
Click on the Finish button to complete the SAML creation process. Navigate to the Sign On tab and click on View Setup Instructions button.
-
Navigate to Securden >> Admin >> Integrations >> SAML SSO.
-
Click on the Configure IdP Details option to display the IdP options. Here, you need to enter details of your SAML IdP. You can add the details manually or choose to import them from the IdP Metadata file.


