Configure Single Sign-On for One Login
- Navigate to Applications >> Applications >> Add Apps in the OneLogin administrator dashboard.
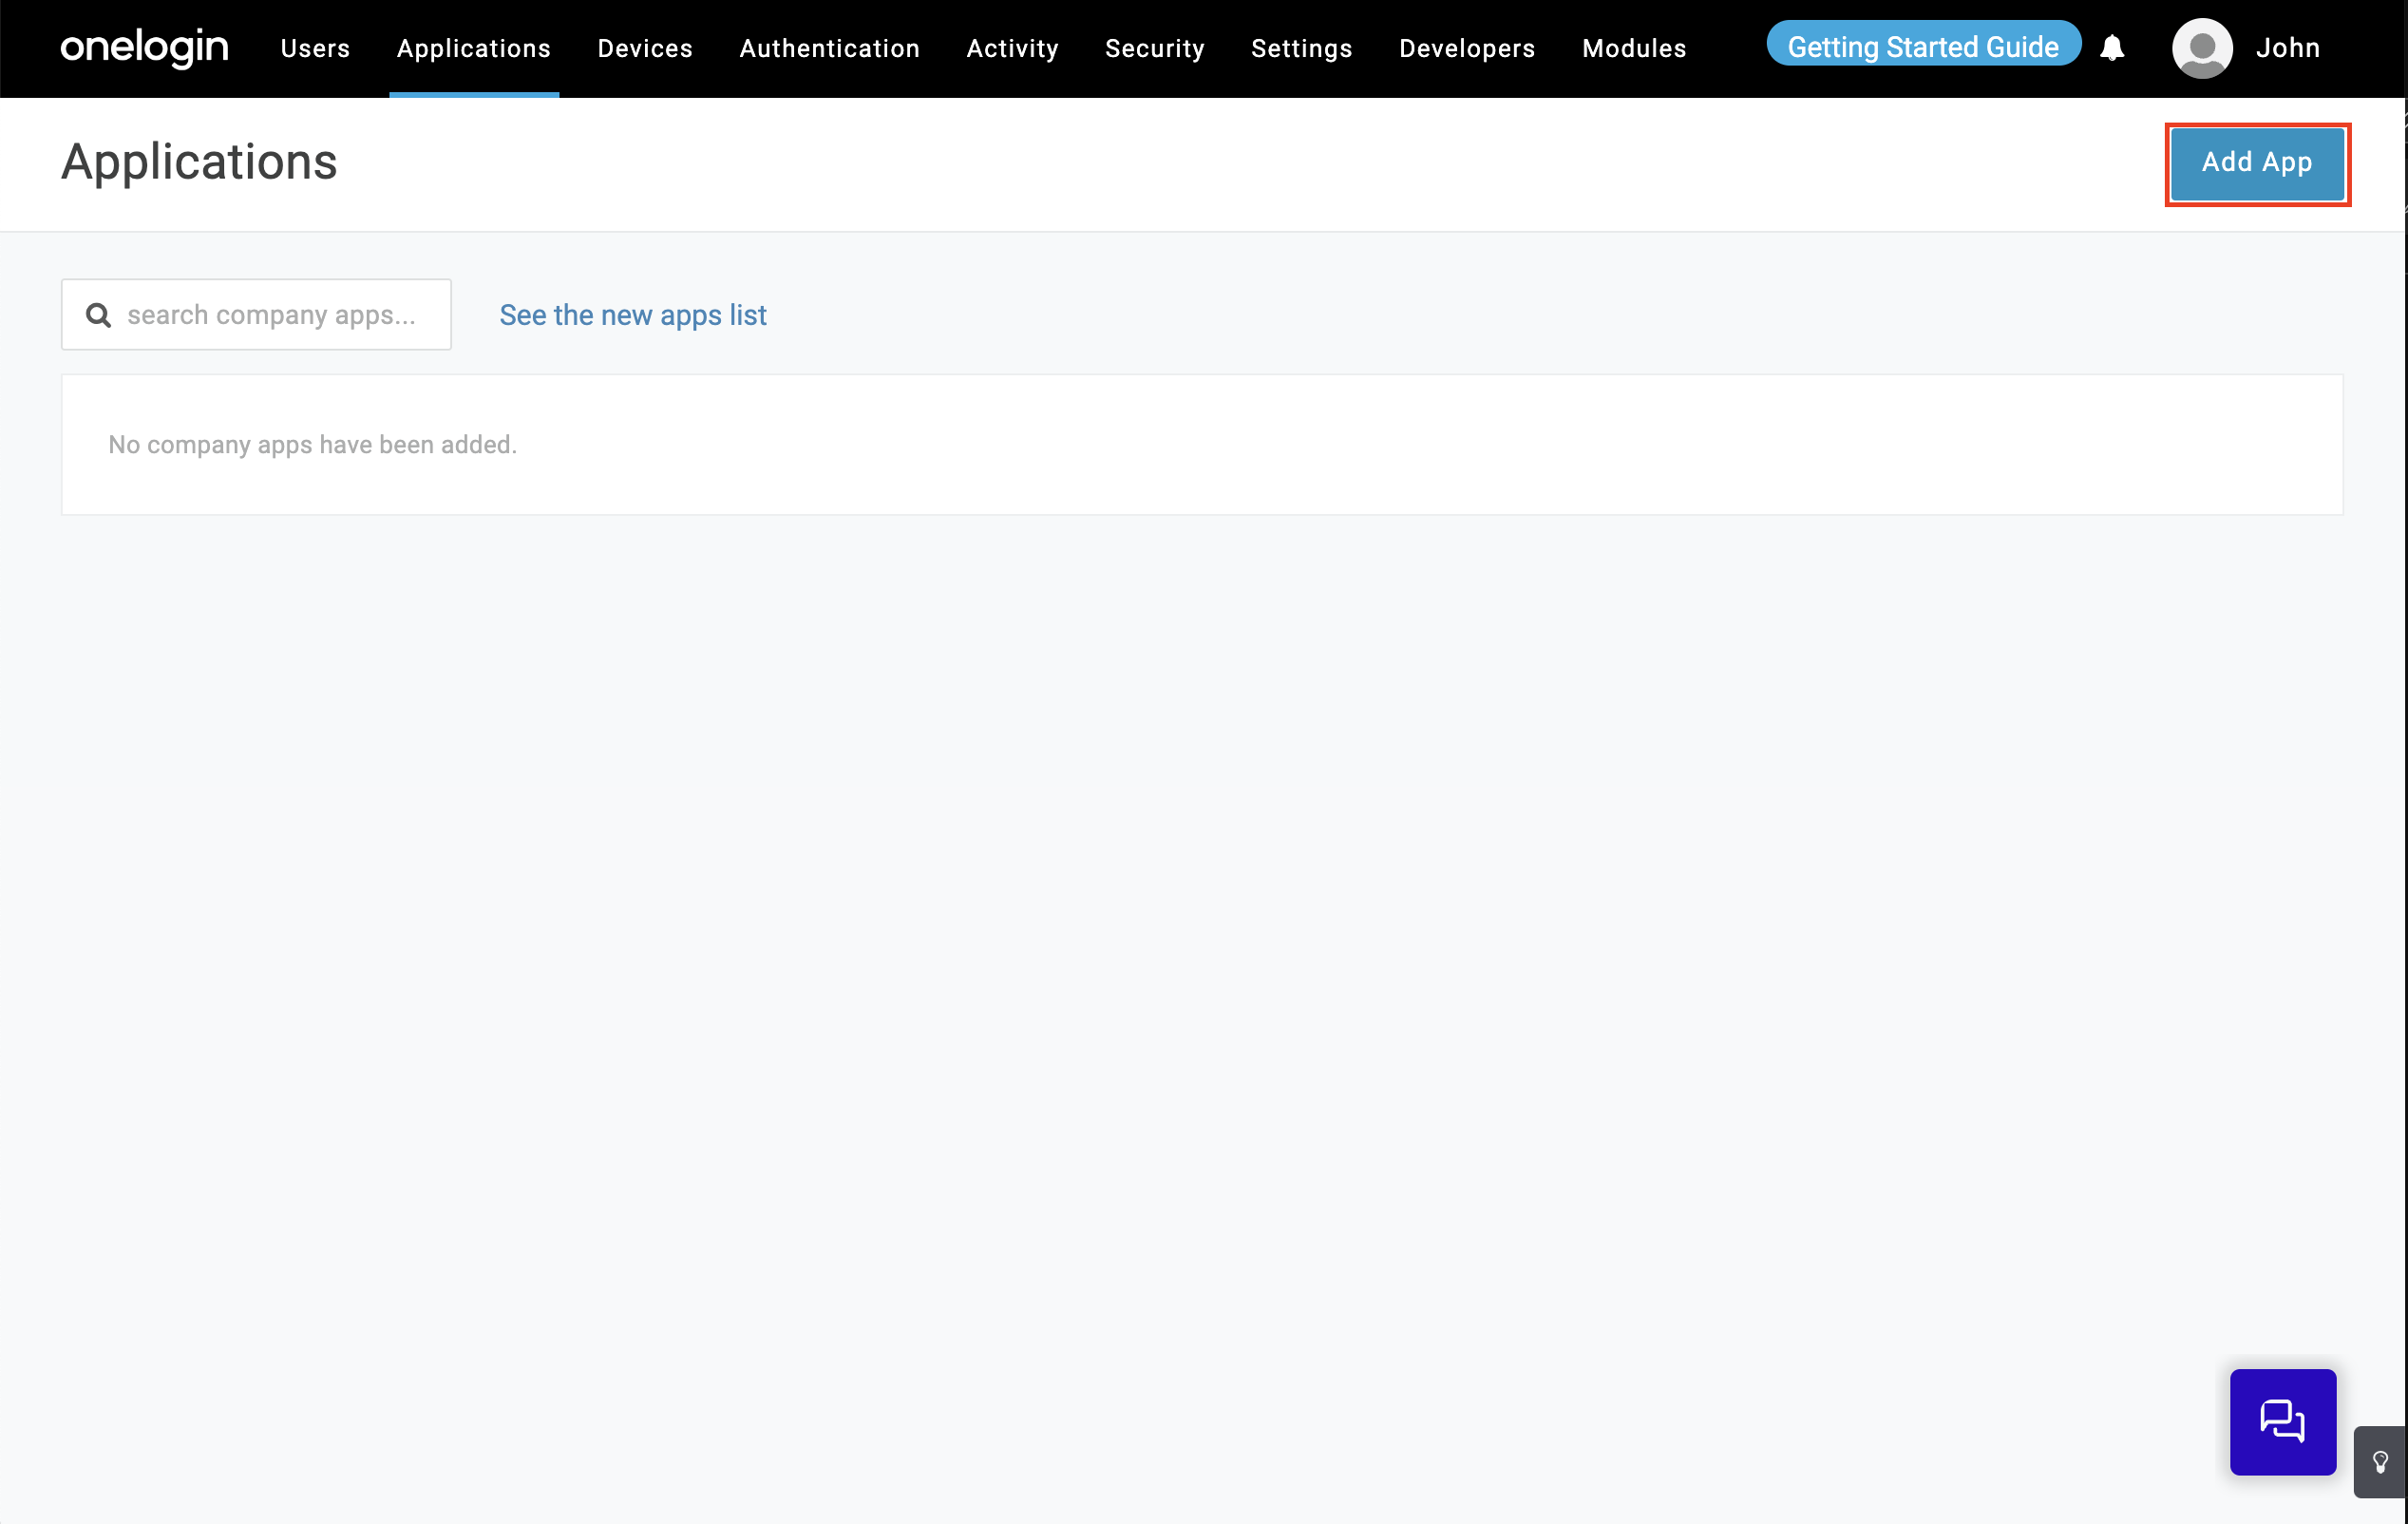
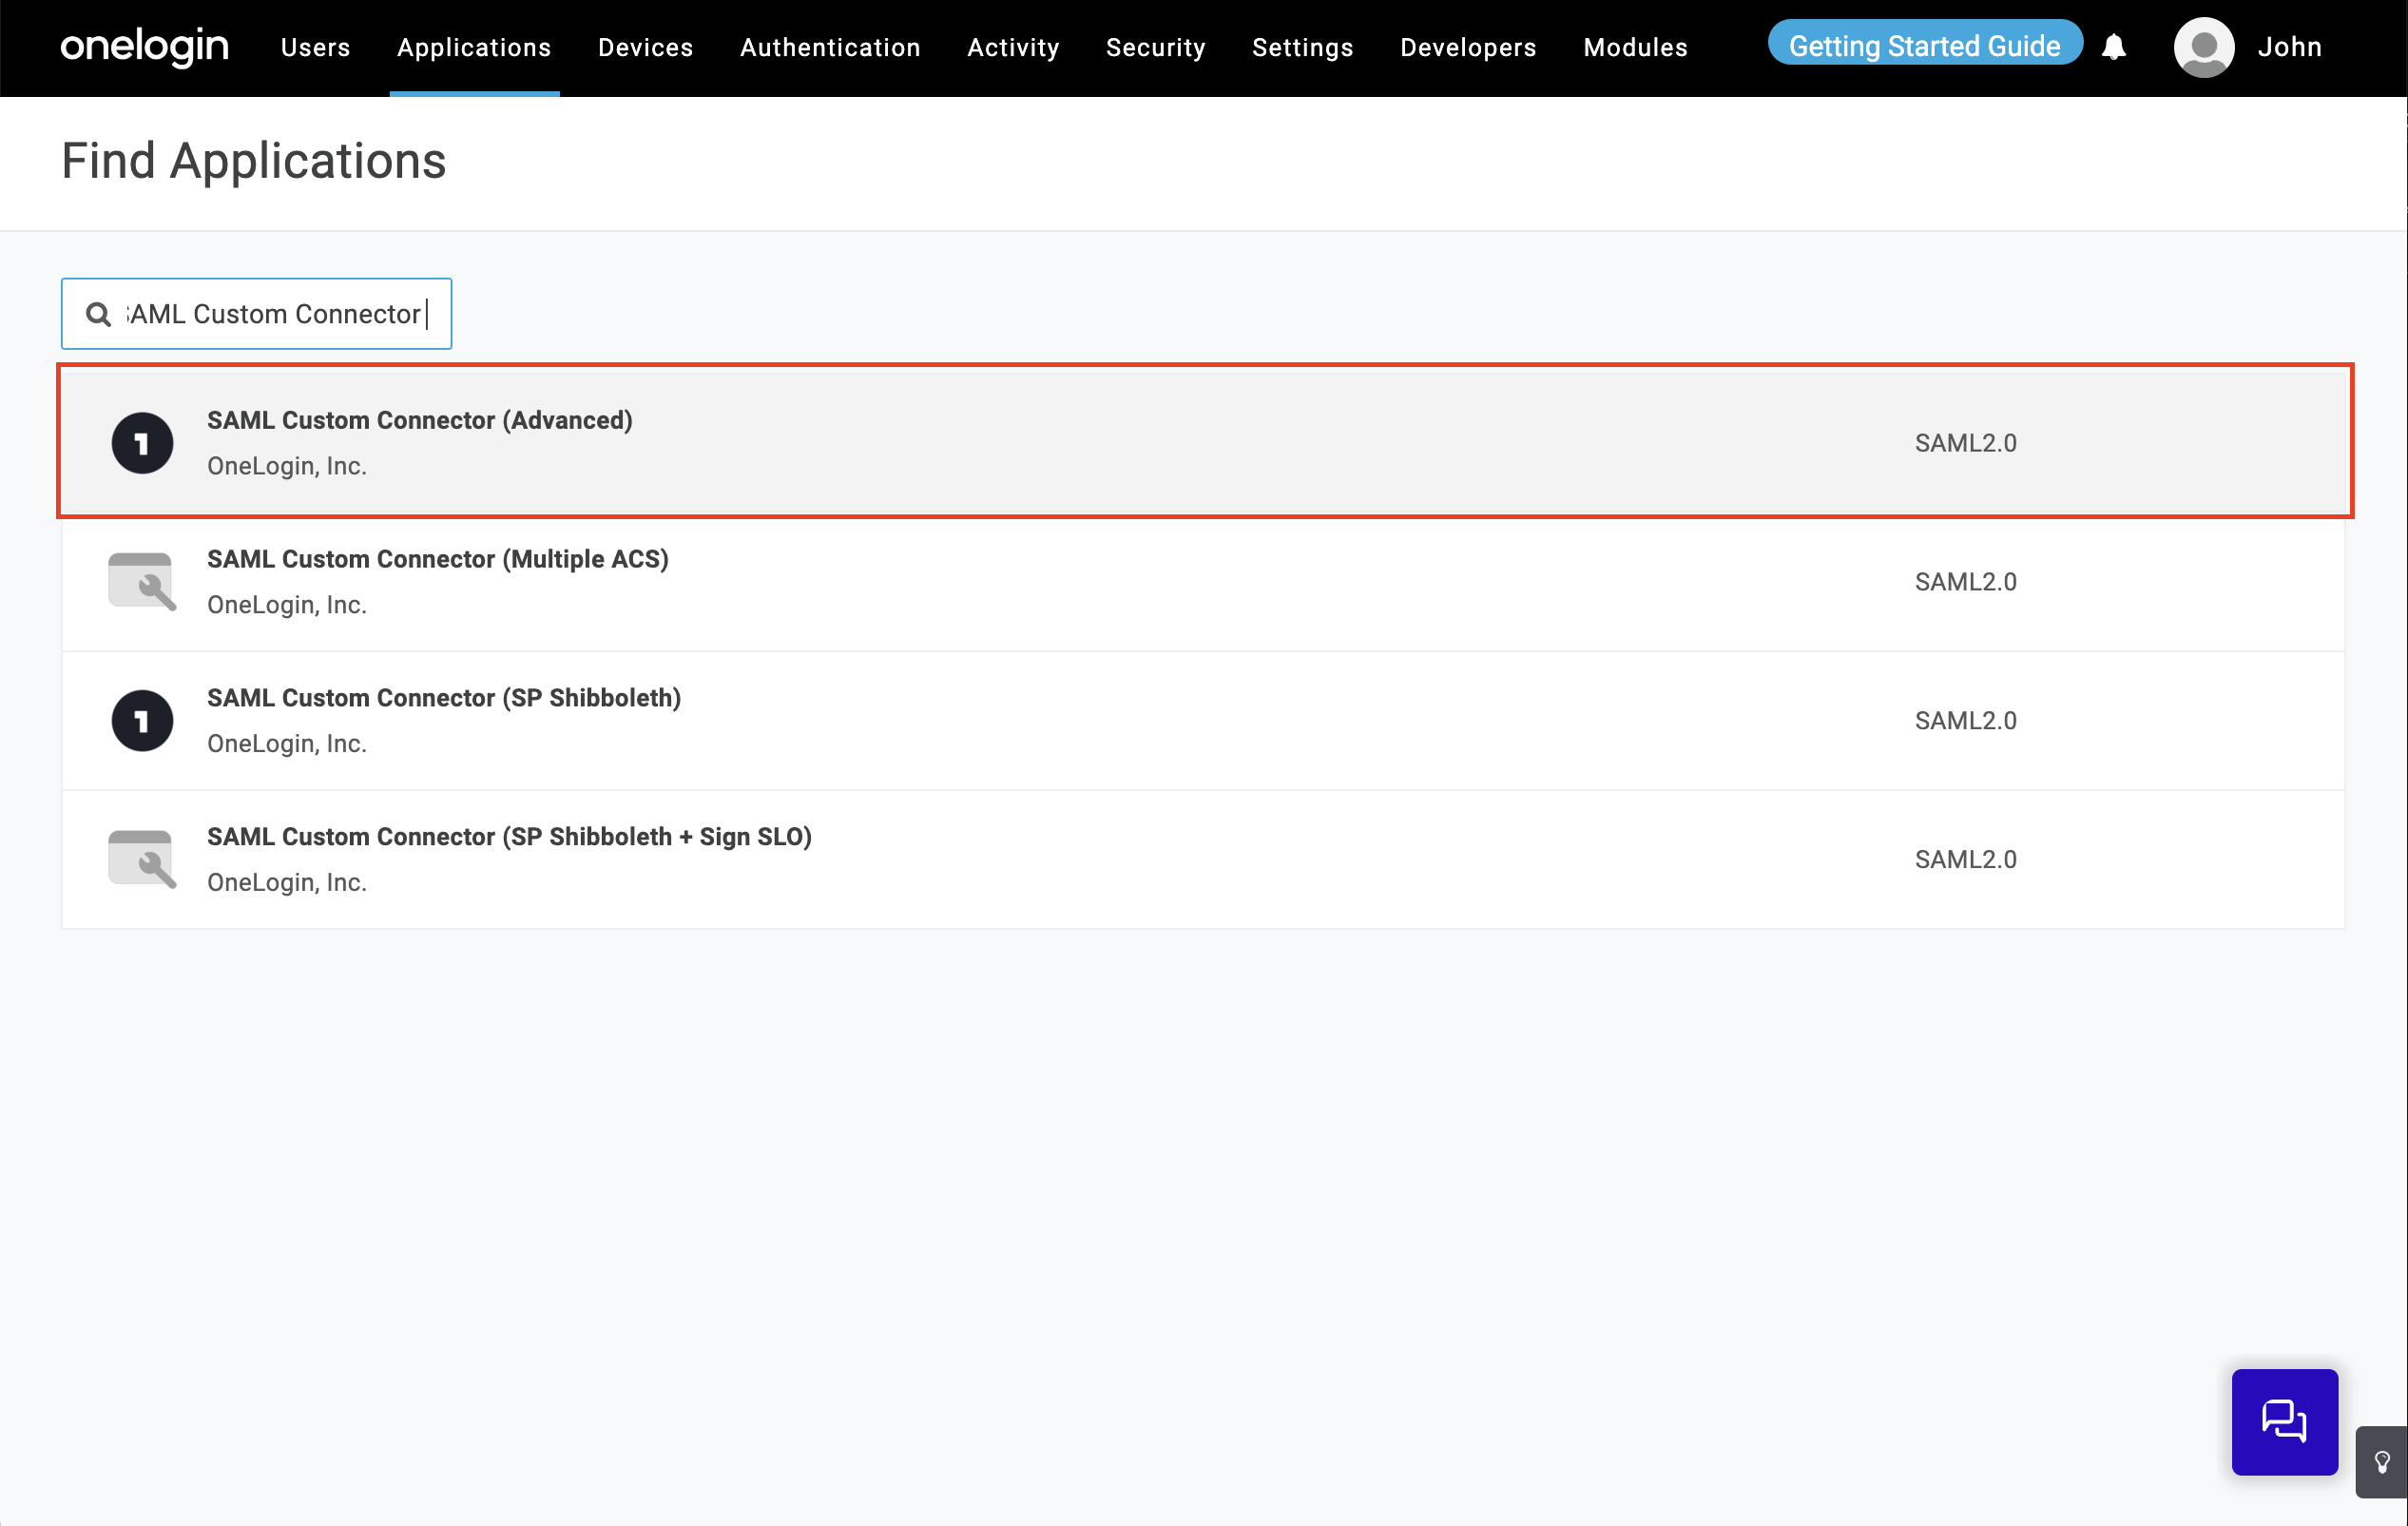
- Search for SAML Custom Connector (Advanced) and select the application type as shown below.
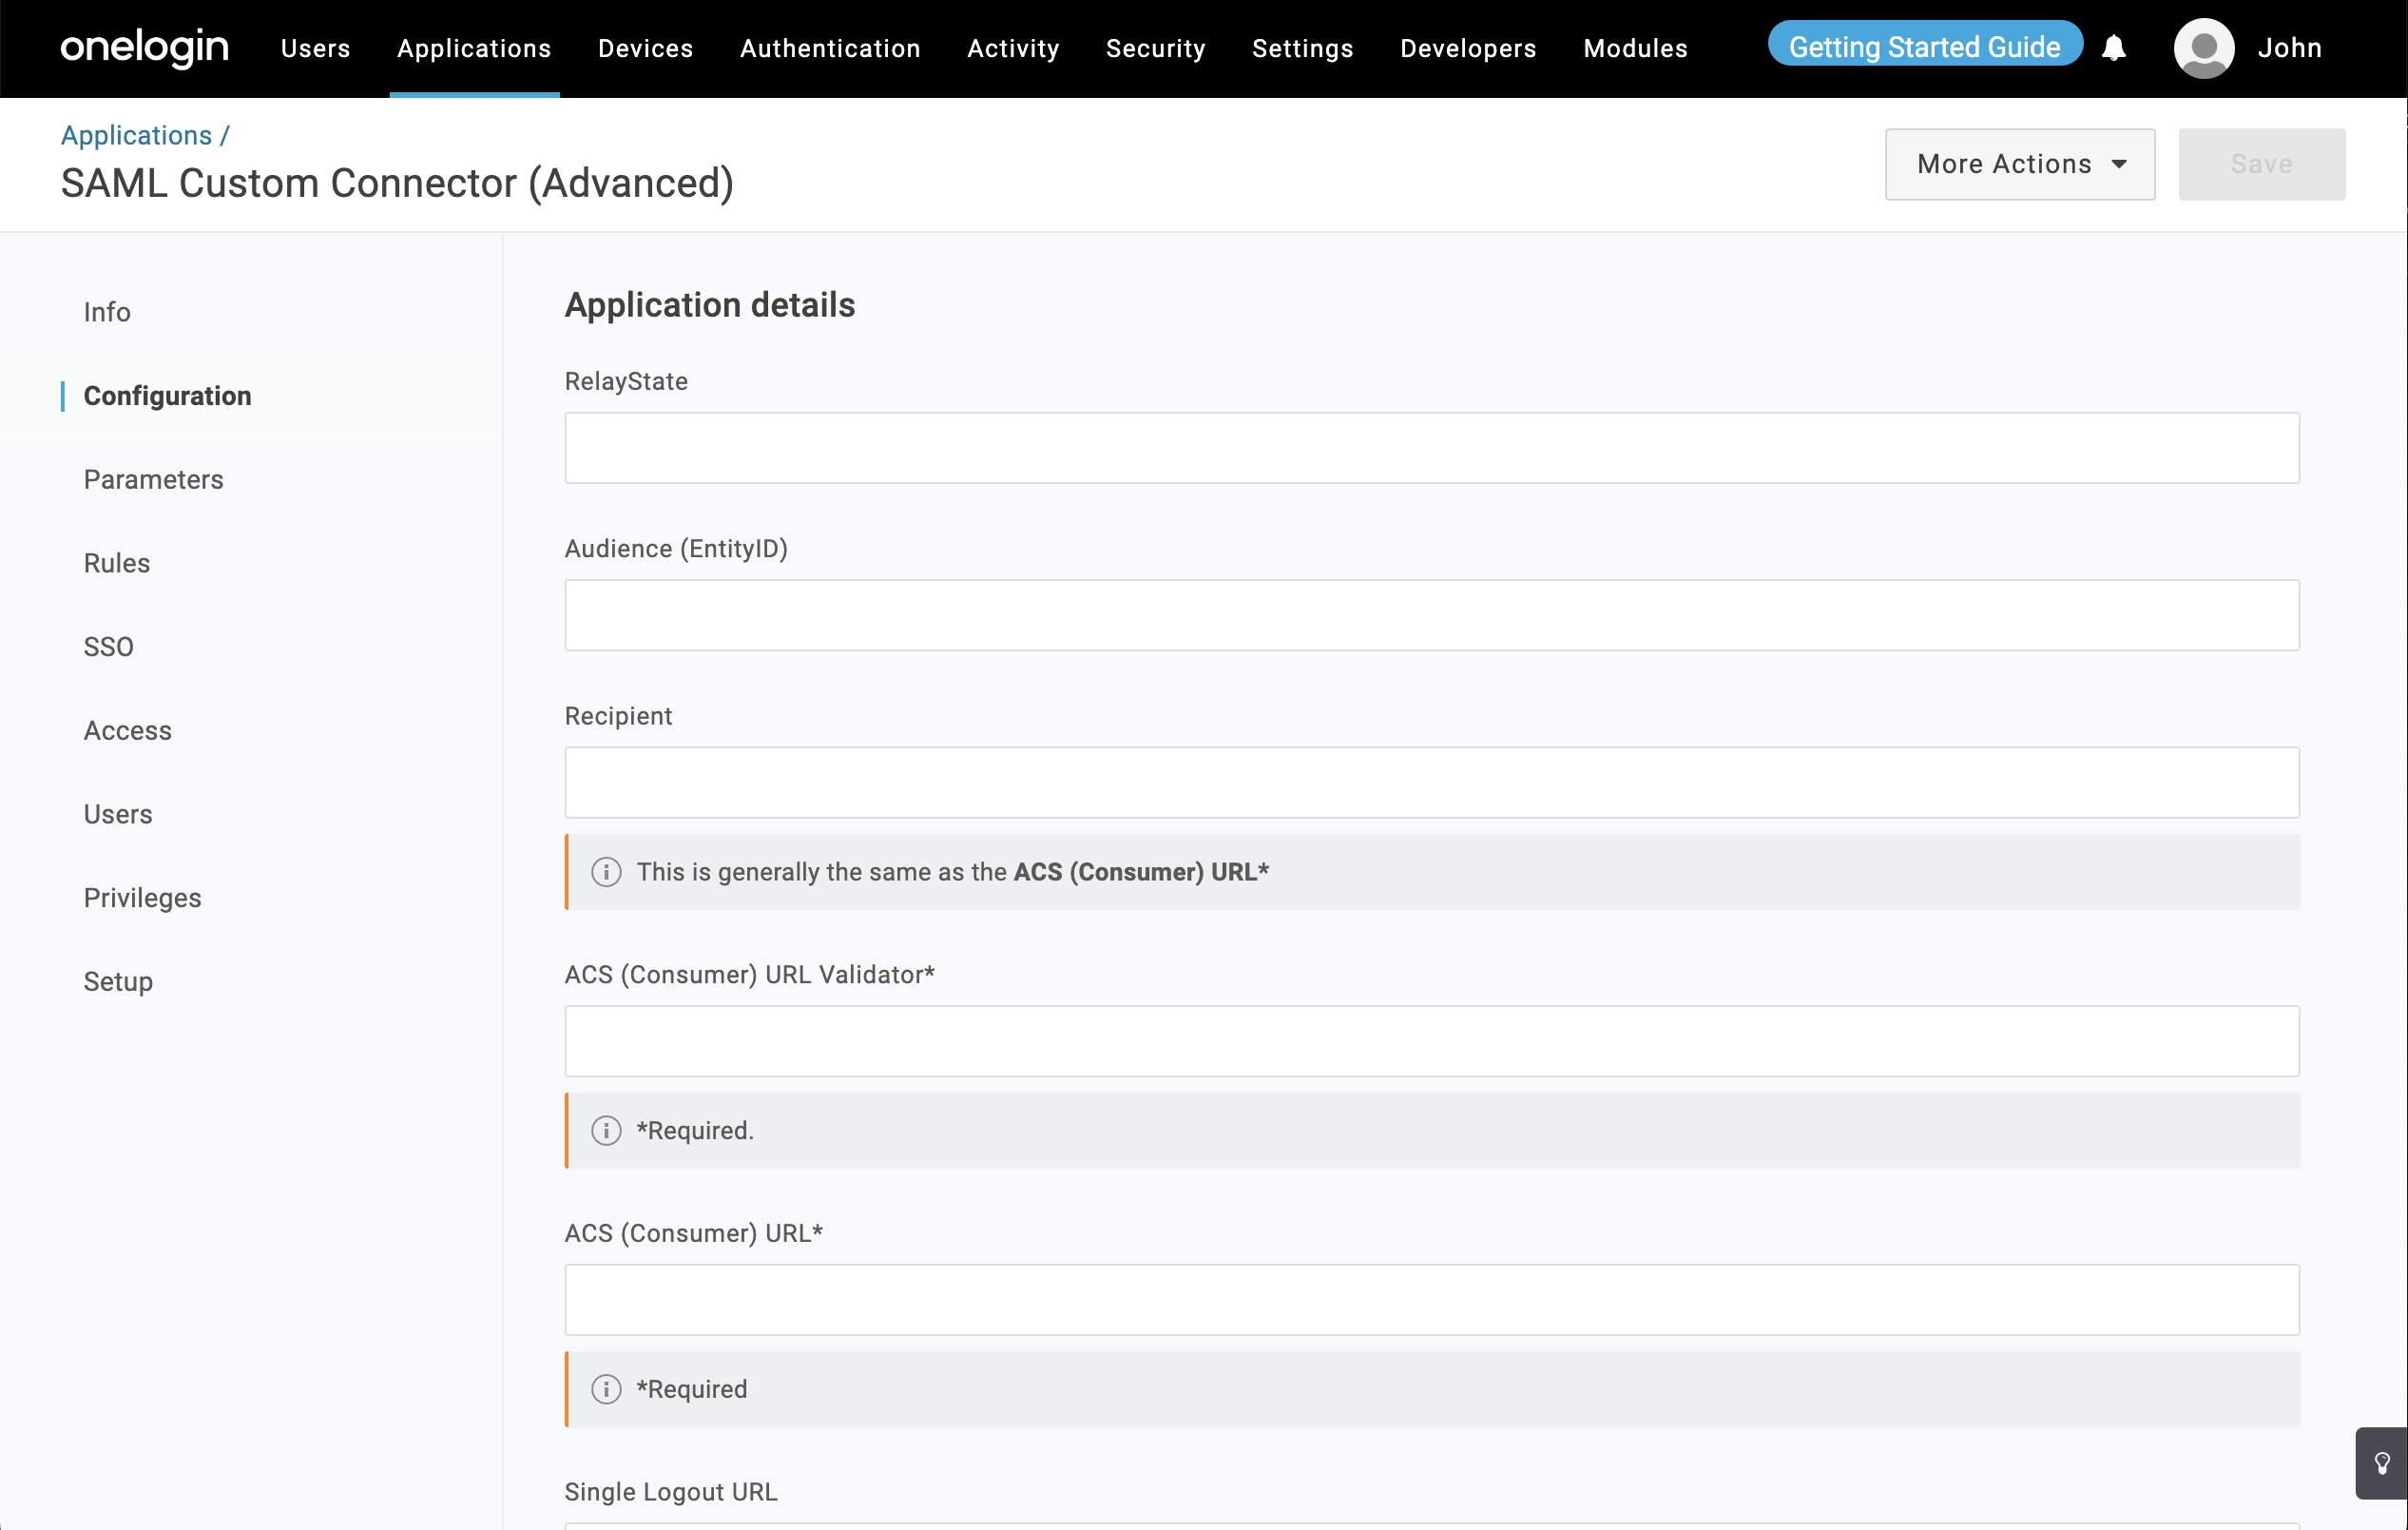
- Navigate to Configurations tab here, you need to provide the Service Provider’s, a.k.a. Securden’s details for which you have to navigate to Admin >> Integrations >> SAML SSO. Use the provided details to integrate Securden with One Login.
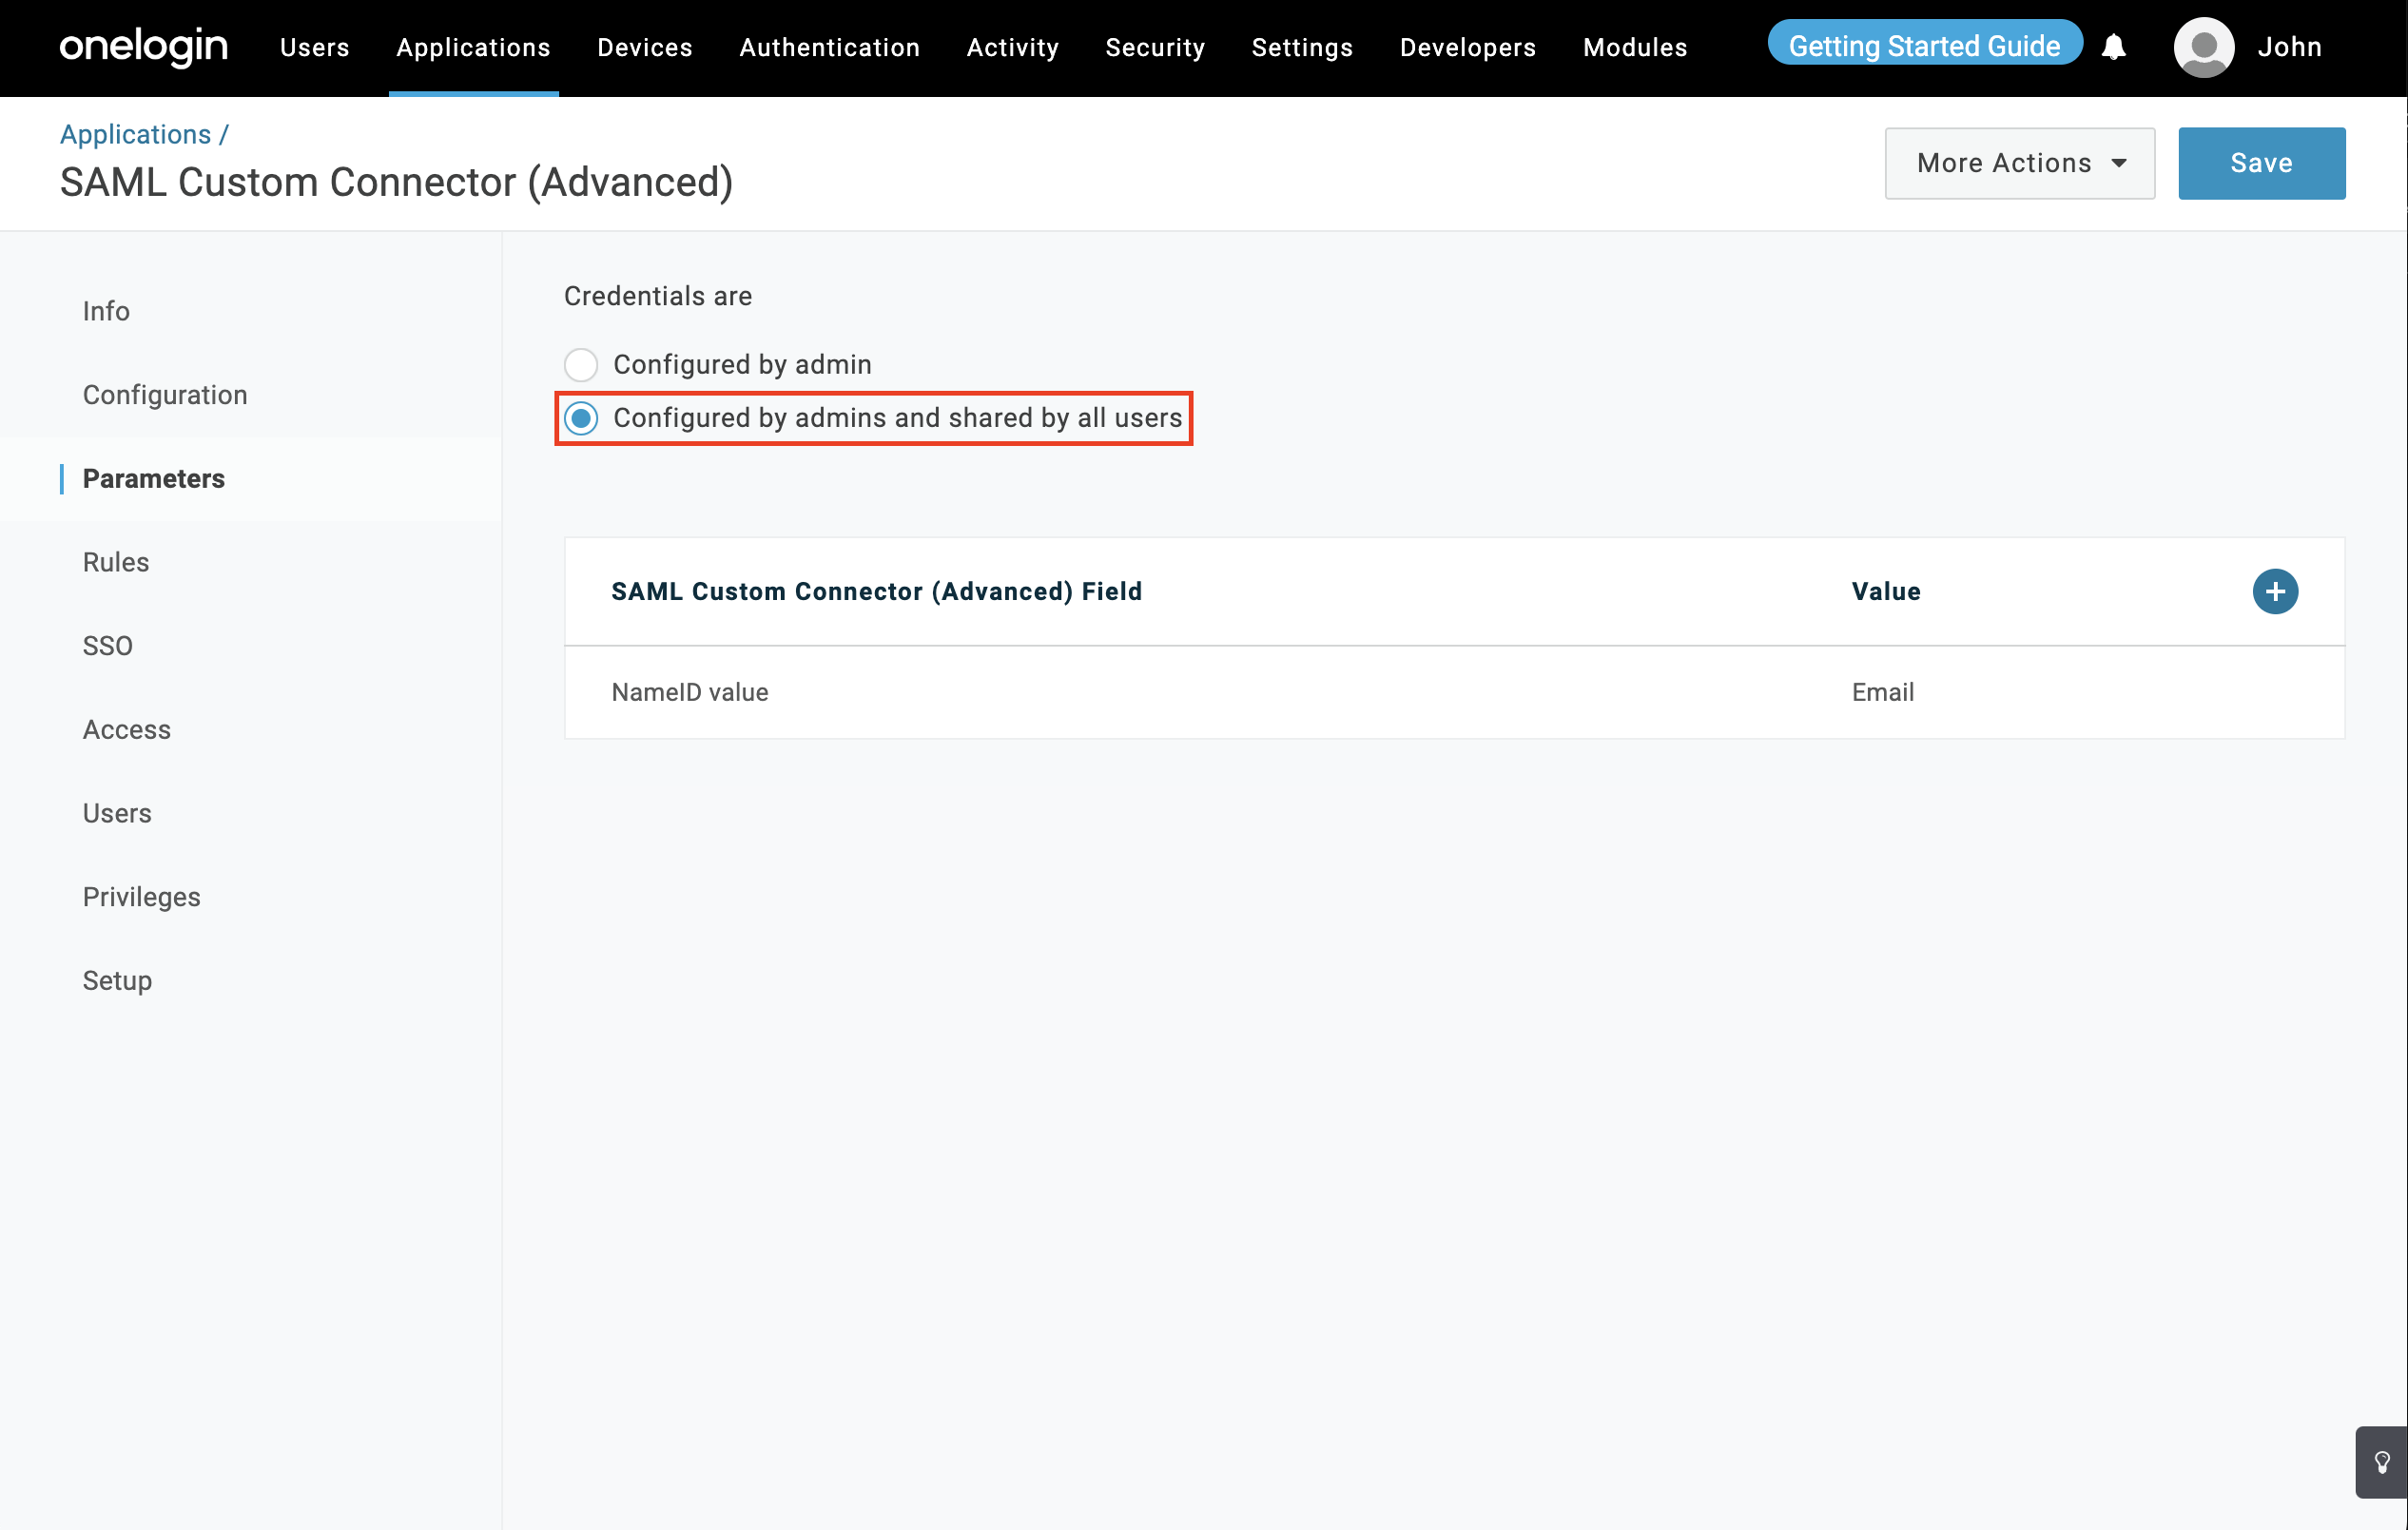
- Navigate to the Parameters section and select the option named Configured by admin and shared by all users. Set the parameters based on email and user name and click Save.
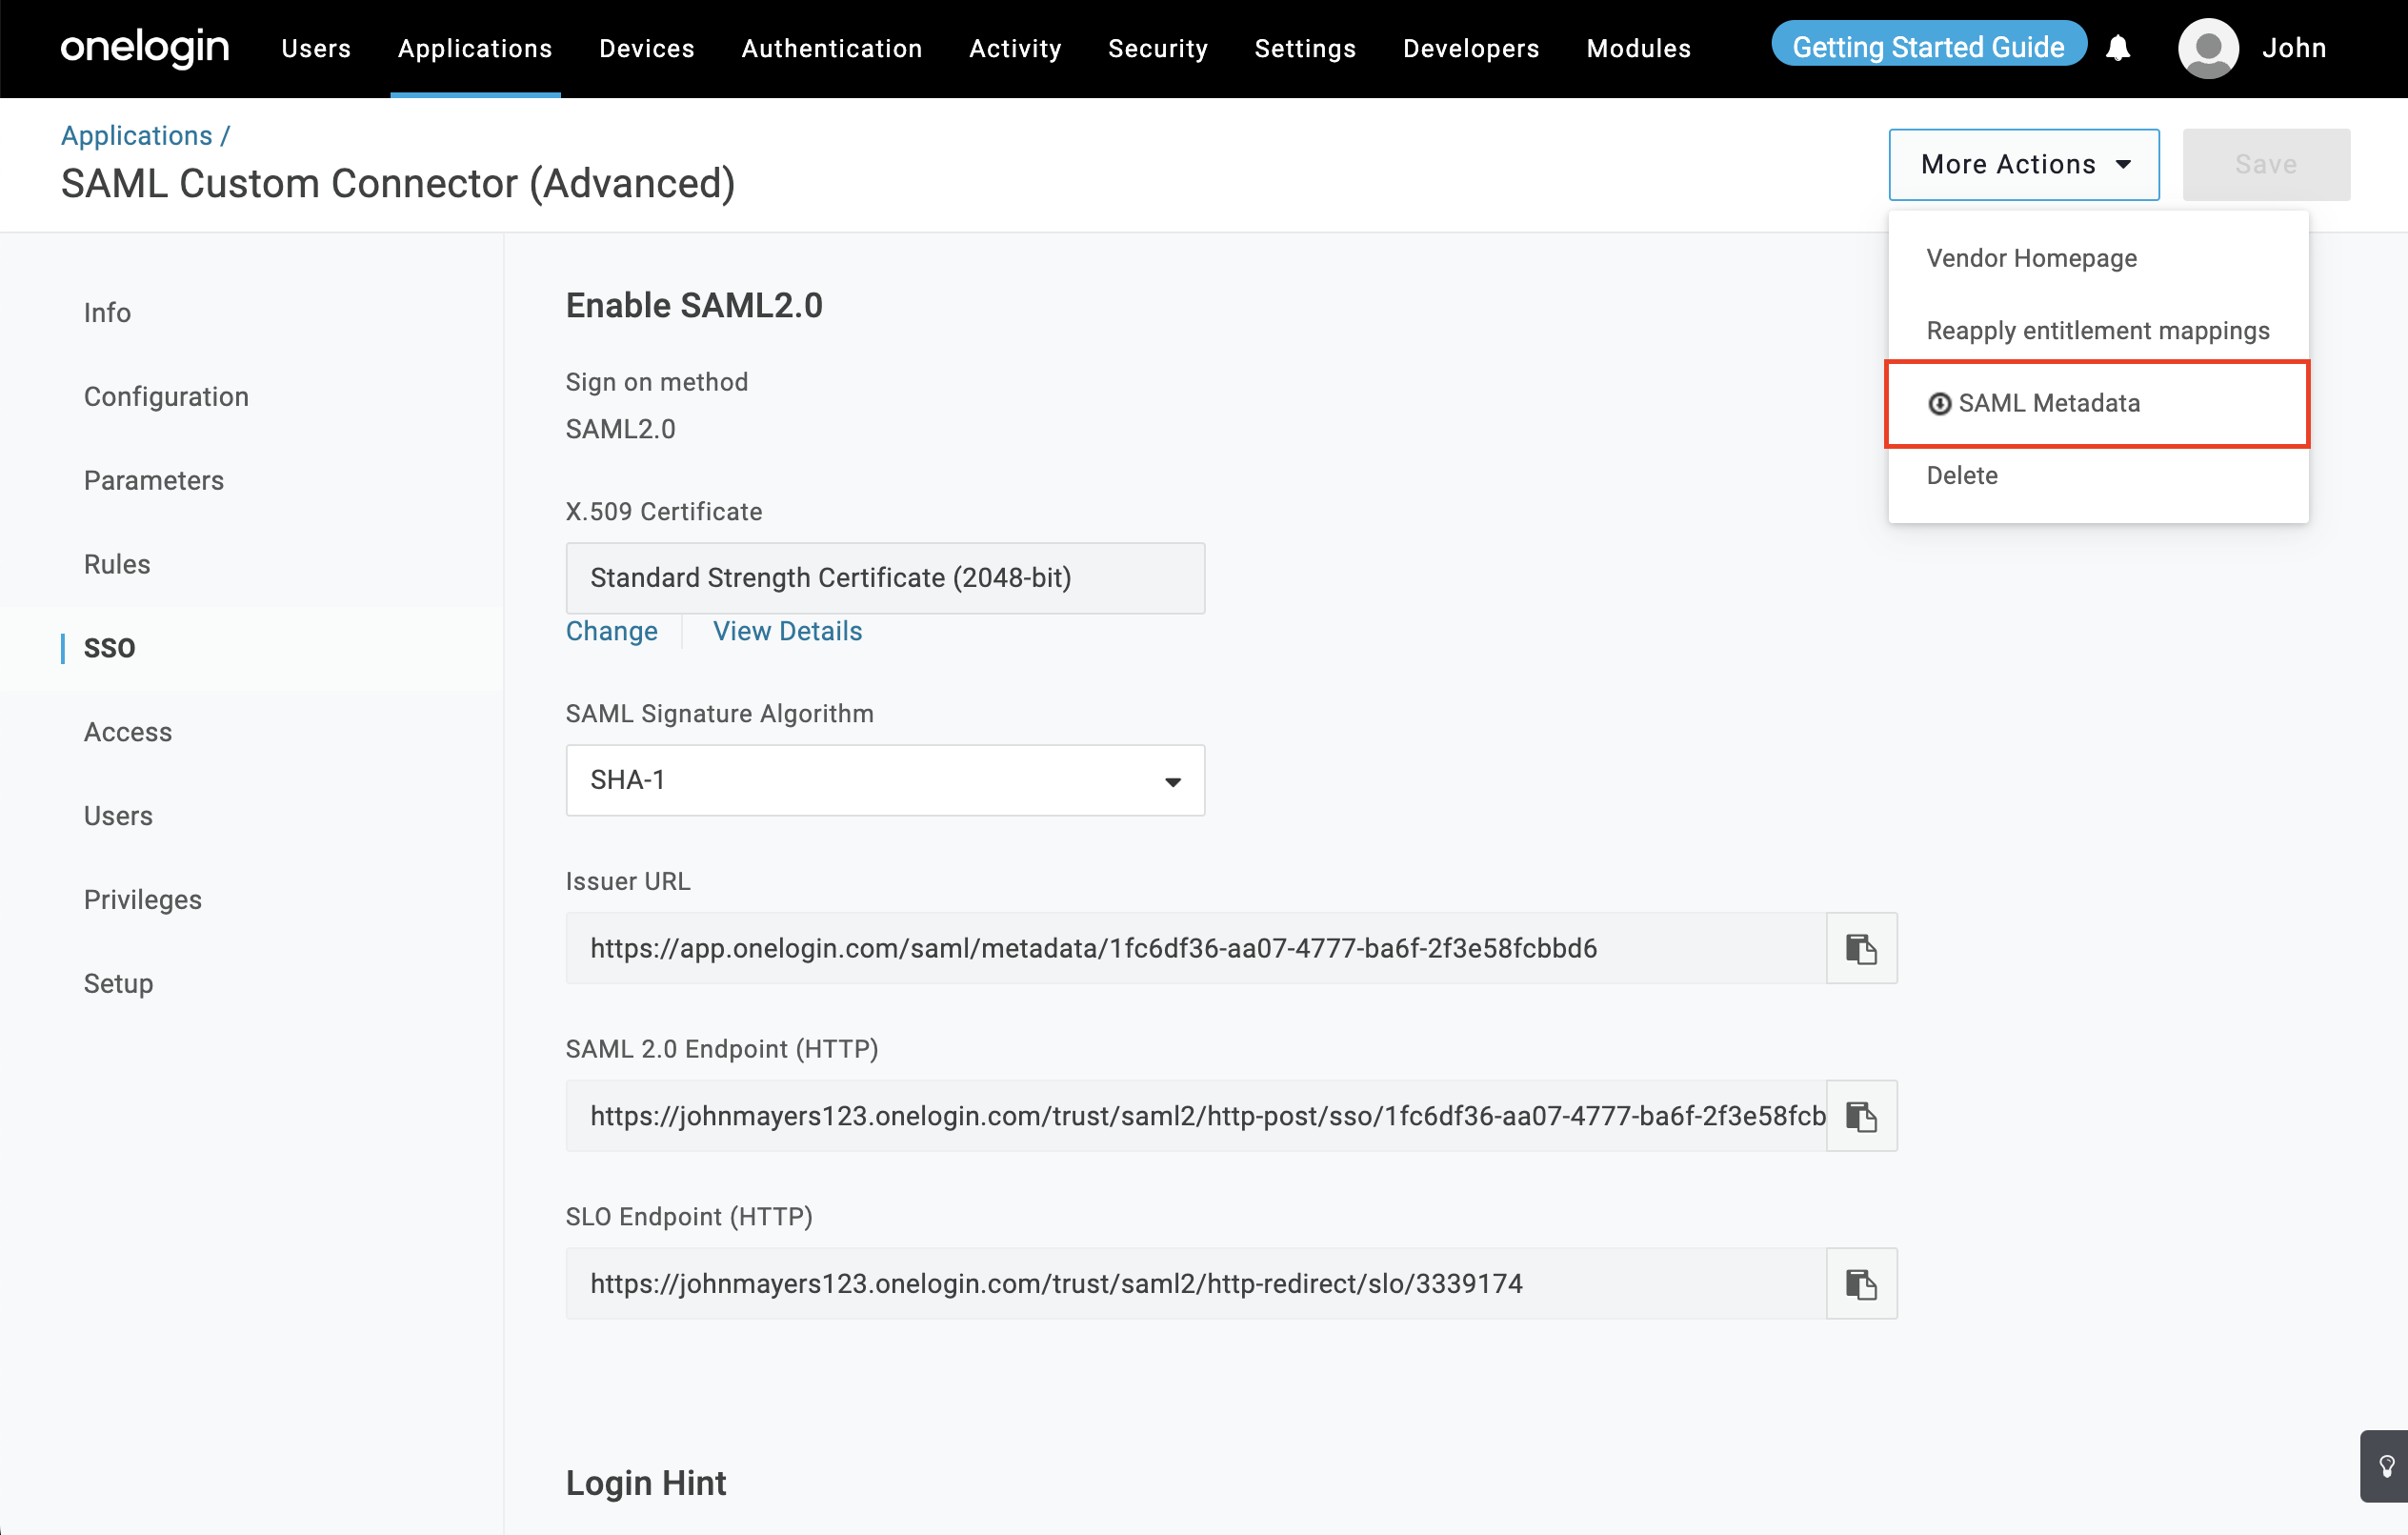
- Go to More Actions and download the IdP meta data as shown below.
- Click on the Save button to complete the SAML creation process and navigate to Securden >> Admin >> Integrations >> SAML SSO.
- Toggle the Enable SAML SSO switch on
- Click on the Configure IdP Details option to display the IdP options. Here, you need to enter details of your SAML IdP. You can add the details manually or choose to import them from the IdP Metadata file.
- Click the Save button to complete the setup.
- You can now assign Securden to your users. Navigate to Applications >> SAML Custom Connector (Advanced) >> Users. Select the required users and assign them the application.

