Launching connections to thick application clients
In addition to the default modes of launching web-based connections and through native clients, you can define custom application launchers to supply credentials and automatically launch any application, including thick application clients. Basically, you will be creating a profile for each such application capturing the input fields as found in the target application. You can configure the profile with placeholders to replace the required values from Securden repository at the time of launching the connections. You need to navigate to Admin >> Remote Sessions and Recordings >> Custom Application Launcher and configure the profiles. The custom application launcher is explained in detail further in the guide.
Configure URLs for Autofill
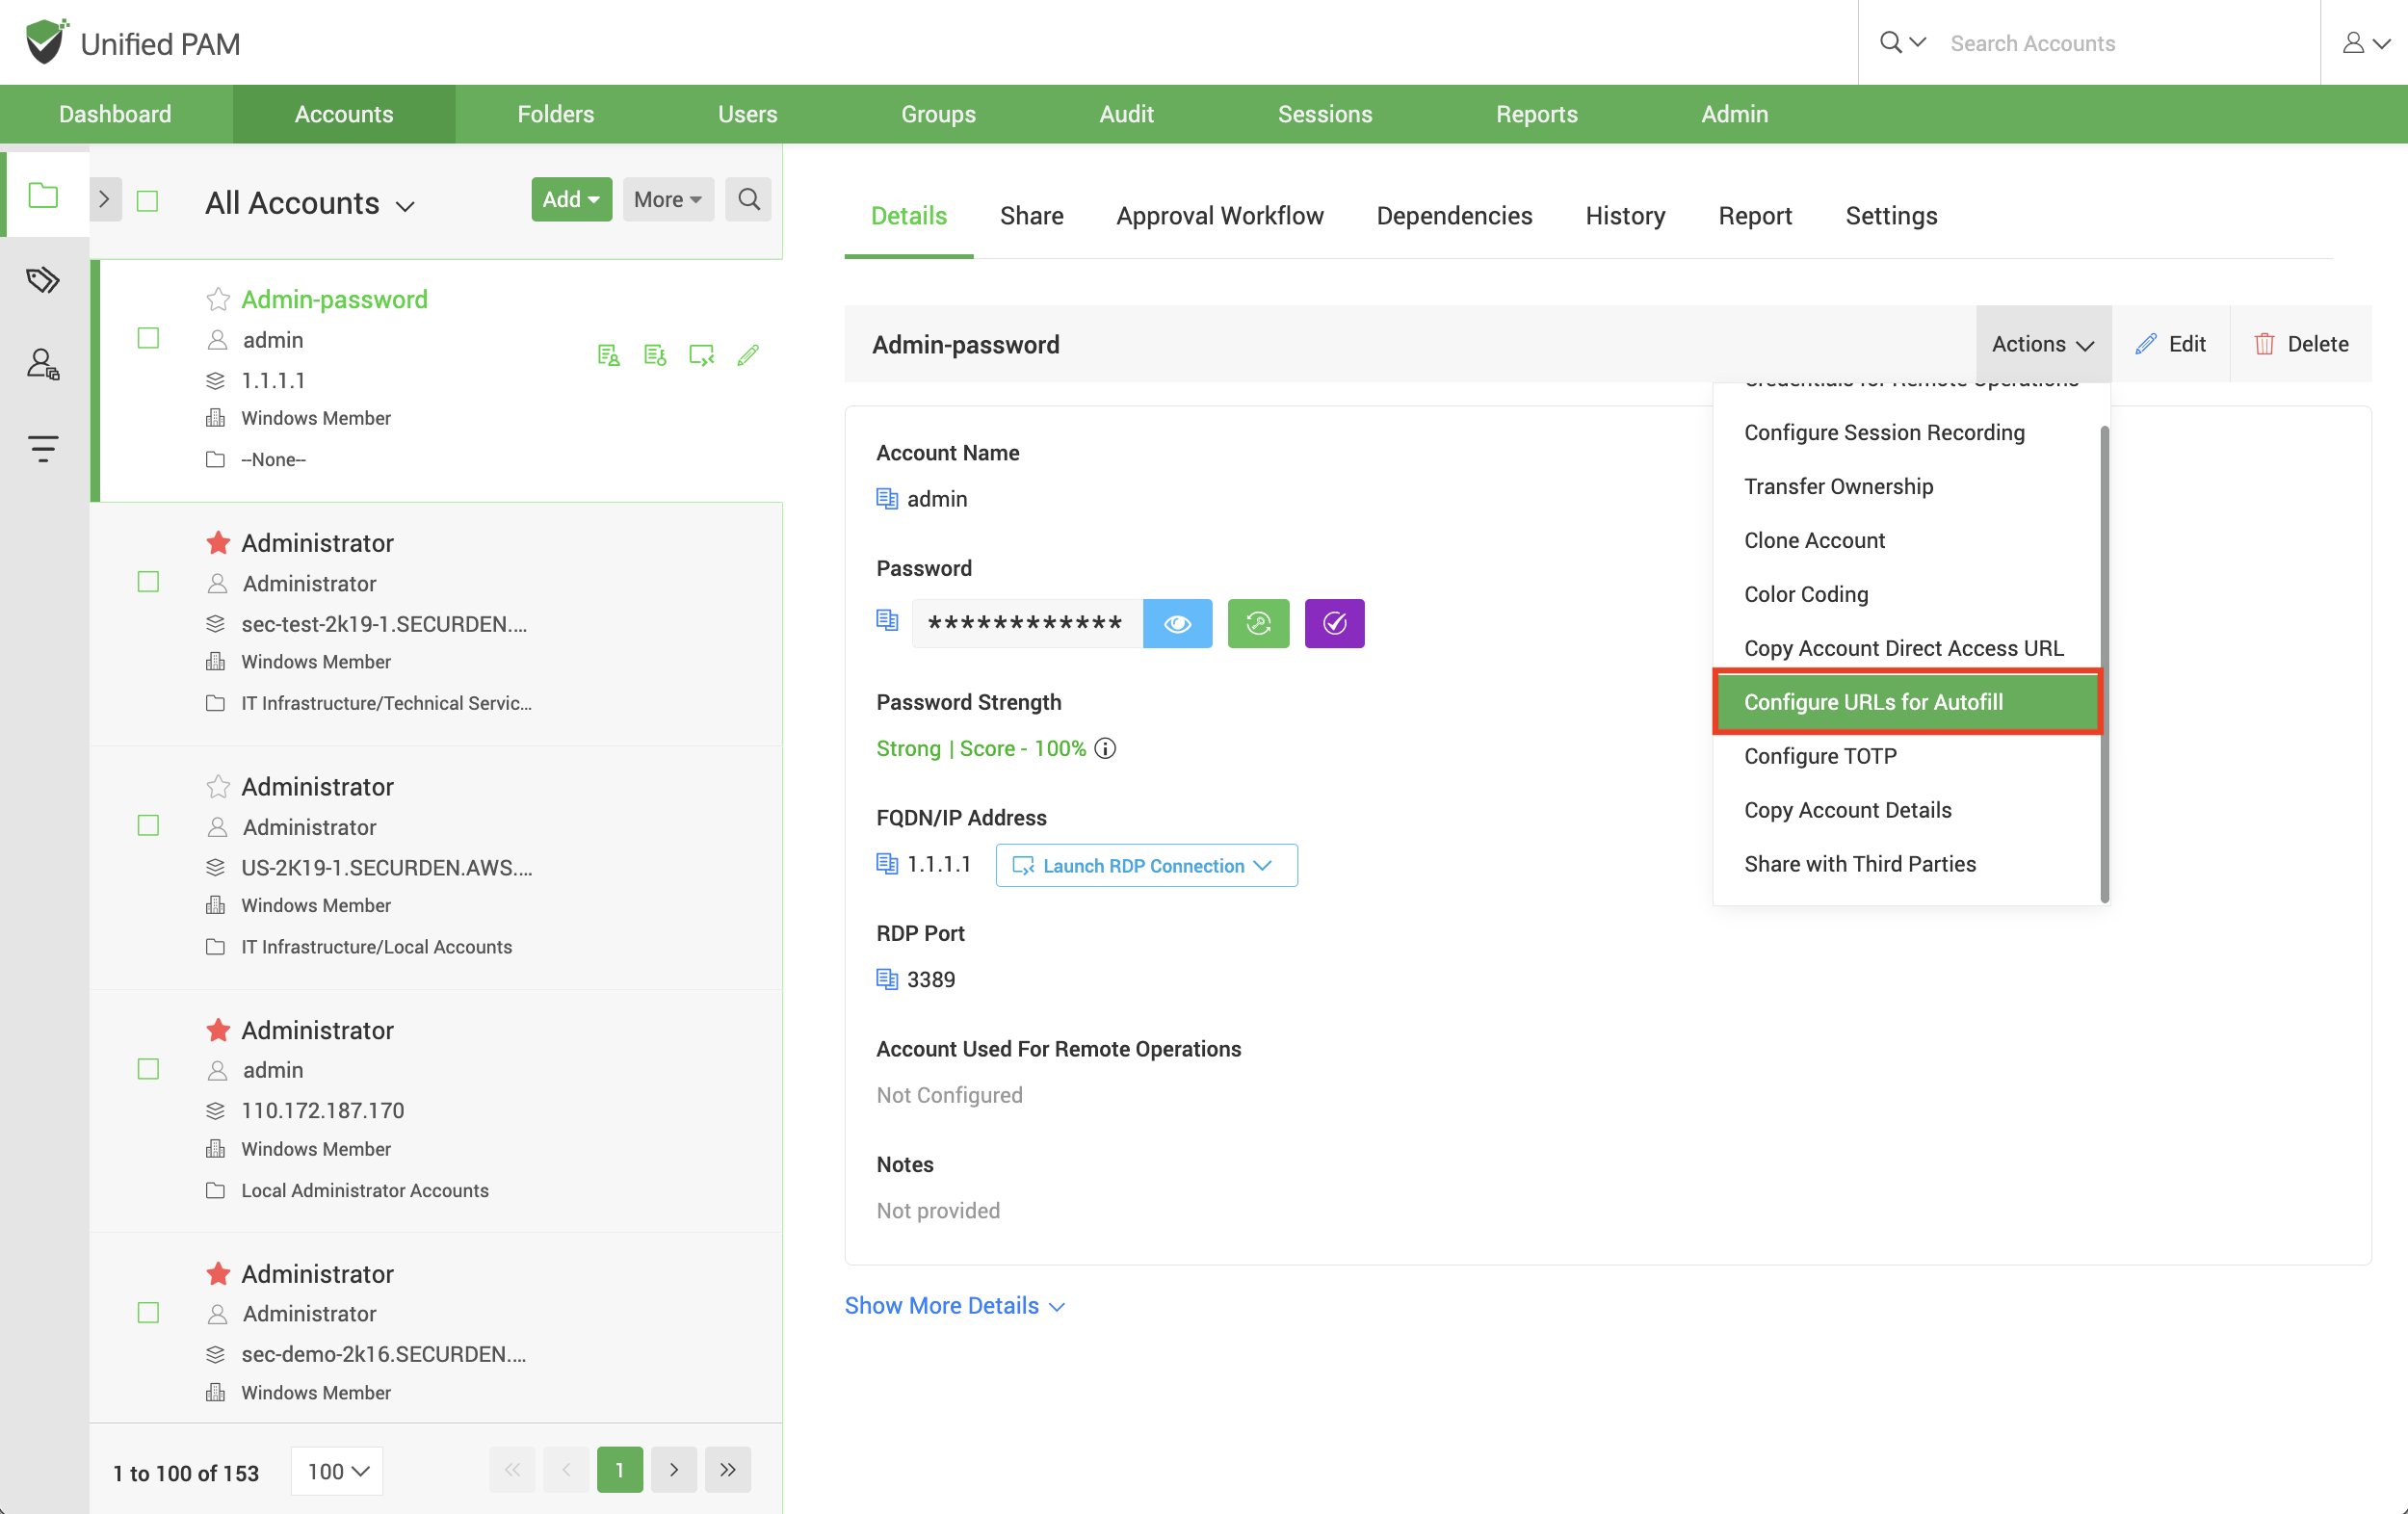
This feature lets you fill in the username and password automatically on websites and web applications. To add URLs on which you want to autofill username and password, navigate to Accounts >> Actions >> Configure URLs for Autofill.
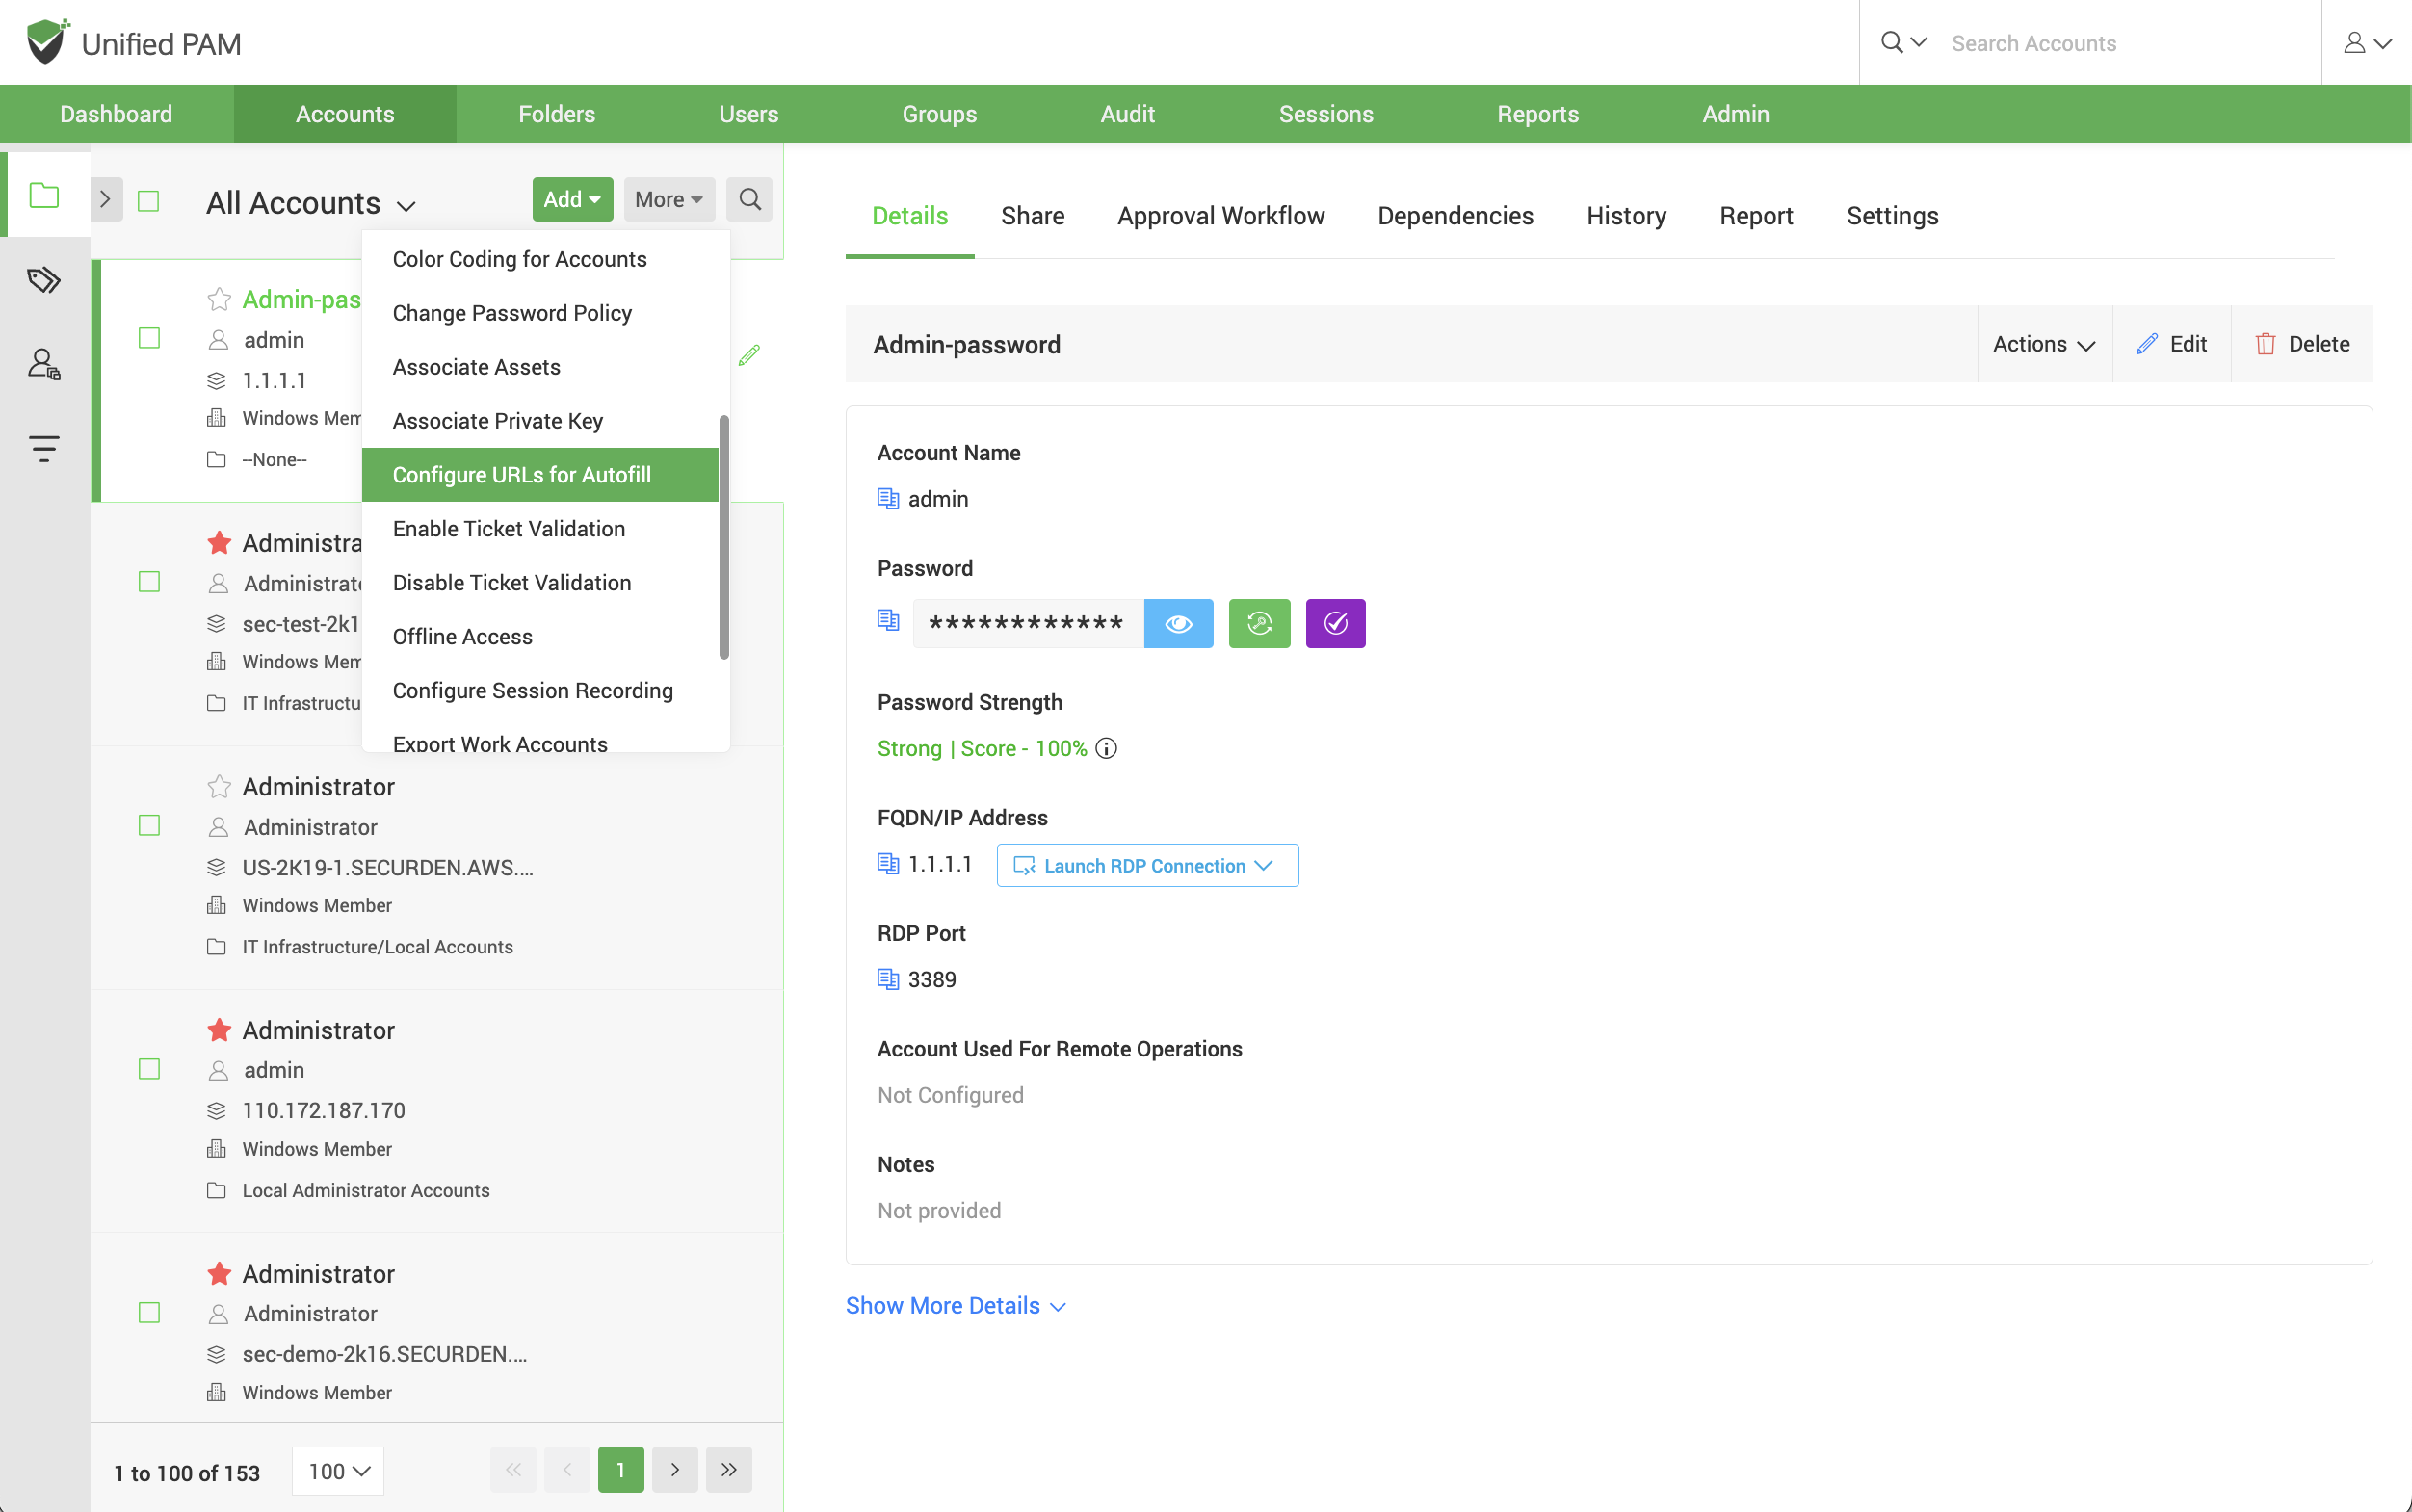
Alternatively, if you want to add the same URL to multiple accounts at the same time, you may do so by selecting the required accounts from the accounts tab and navigating to More >> Configure URLs for Autofill.
Securden browser extension helps you to autofill usernames and passwords on web applications and webpages. You can specify the URLs on which the username and password should be auto filled. When the user launches a connection to the web application/webpage, the Securden browser extension will auto fill the credentials on the webpage.
How to Add URLs to Accounts?
Follow the steps below to configure URLs for auto filling credentials.
- Navigate to Accounts tab and select the required account.
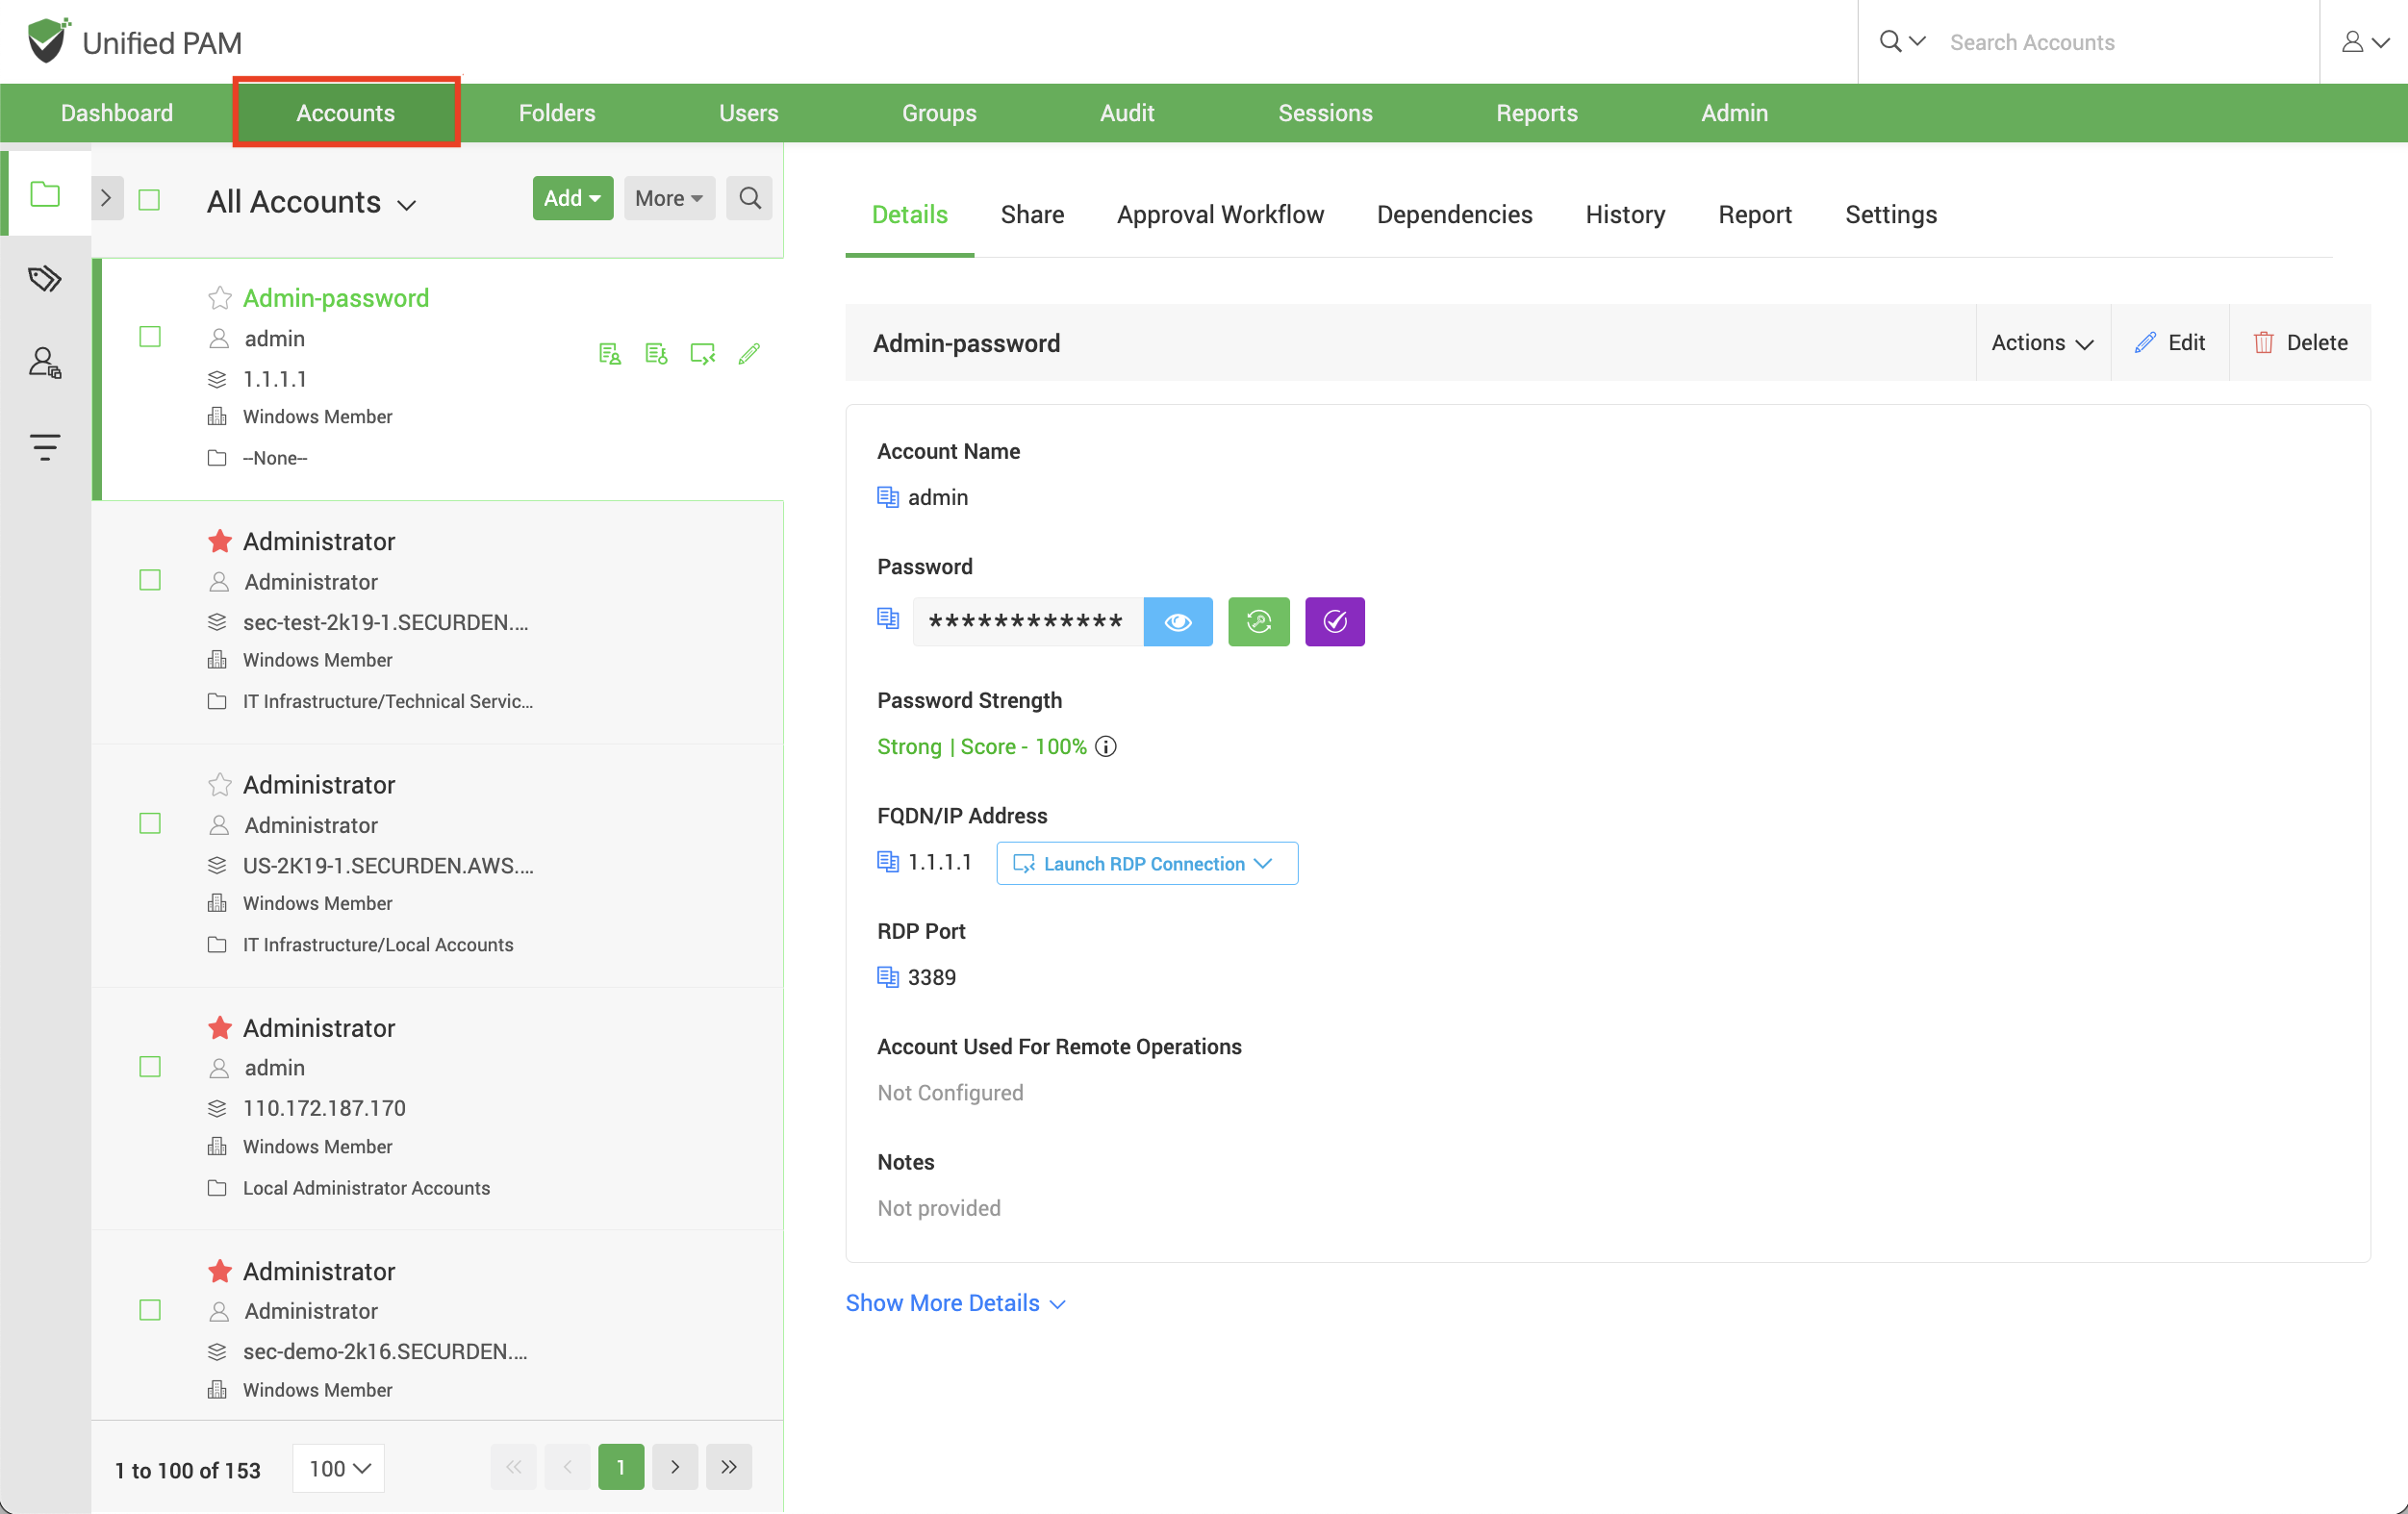
- In the Accounts tab, navigate to Actions >> Configure URLs for Autofill.
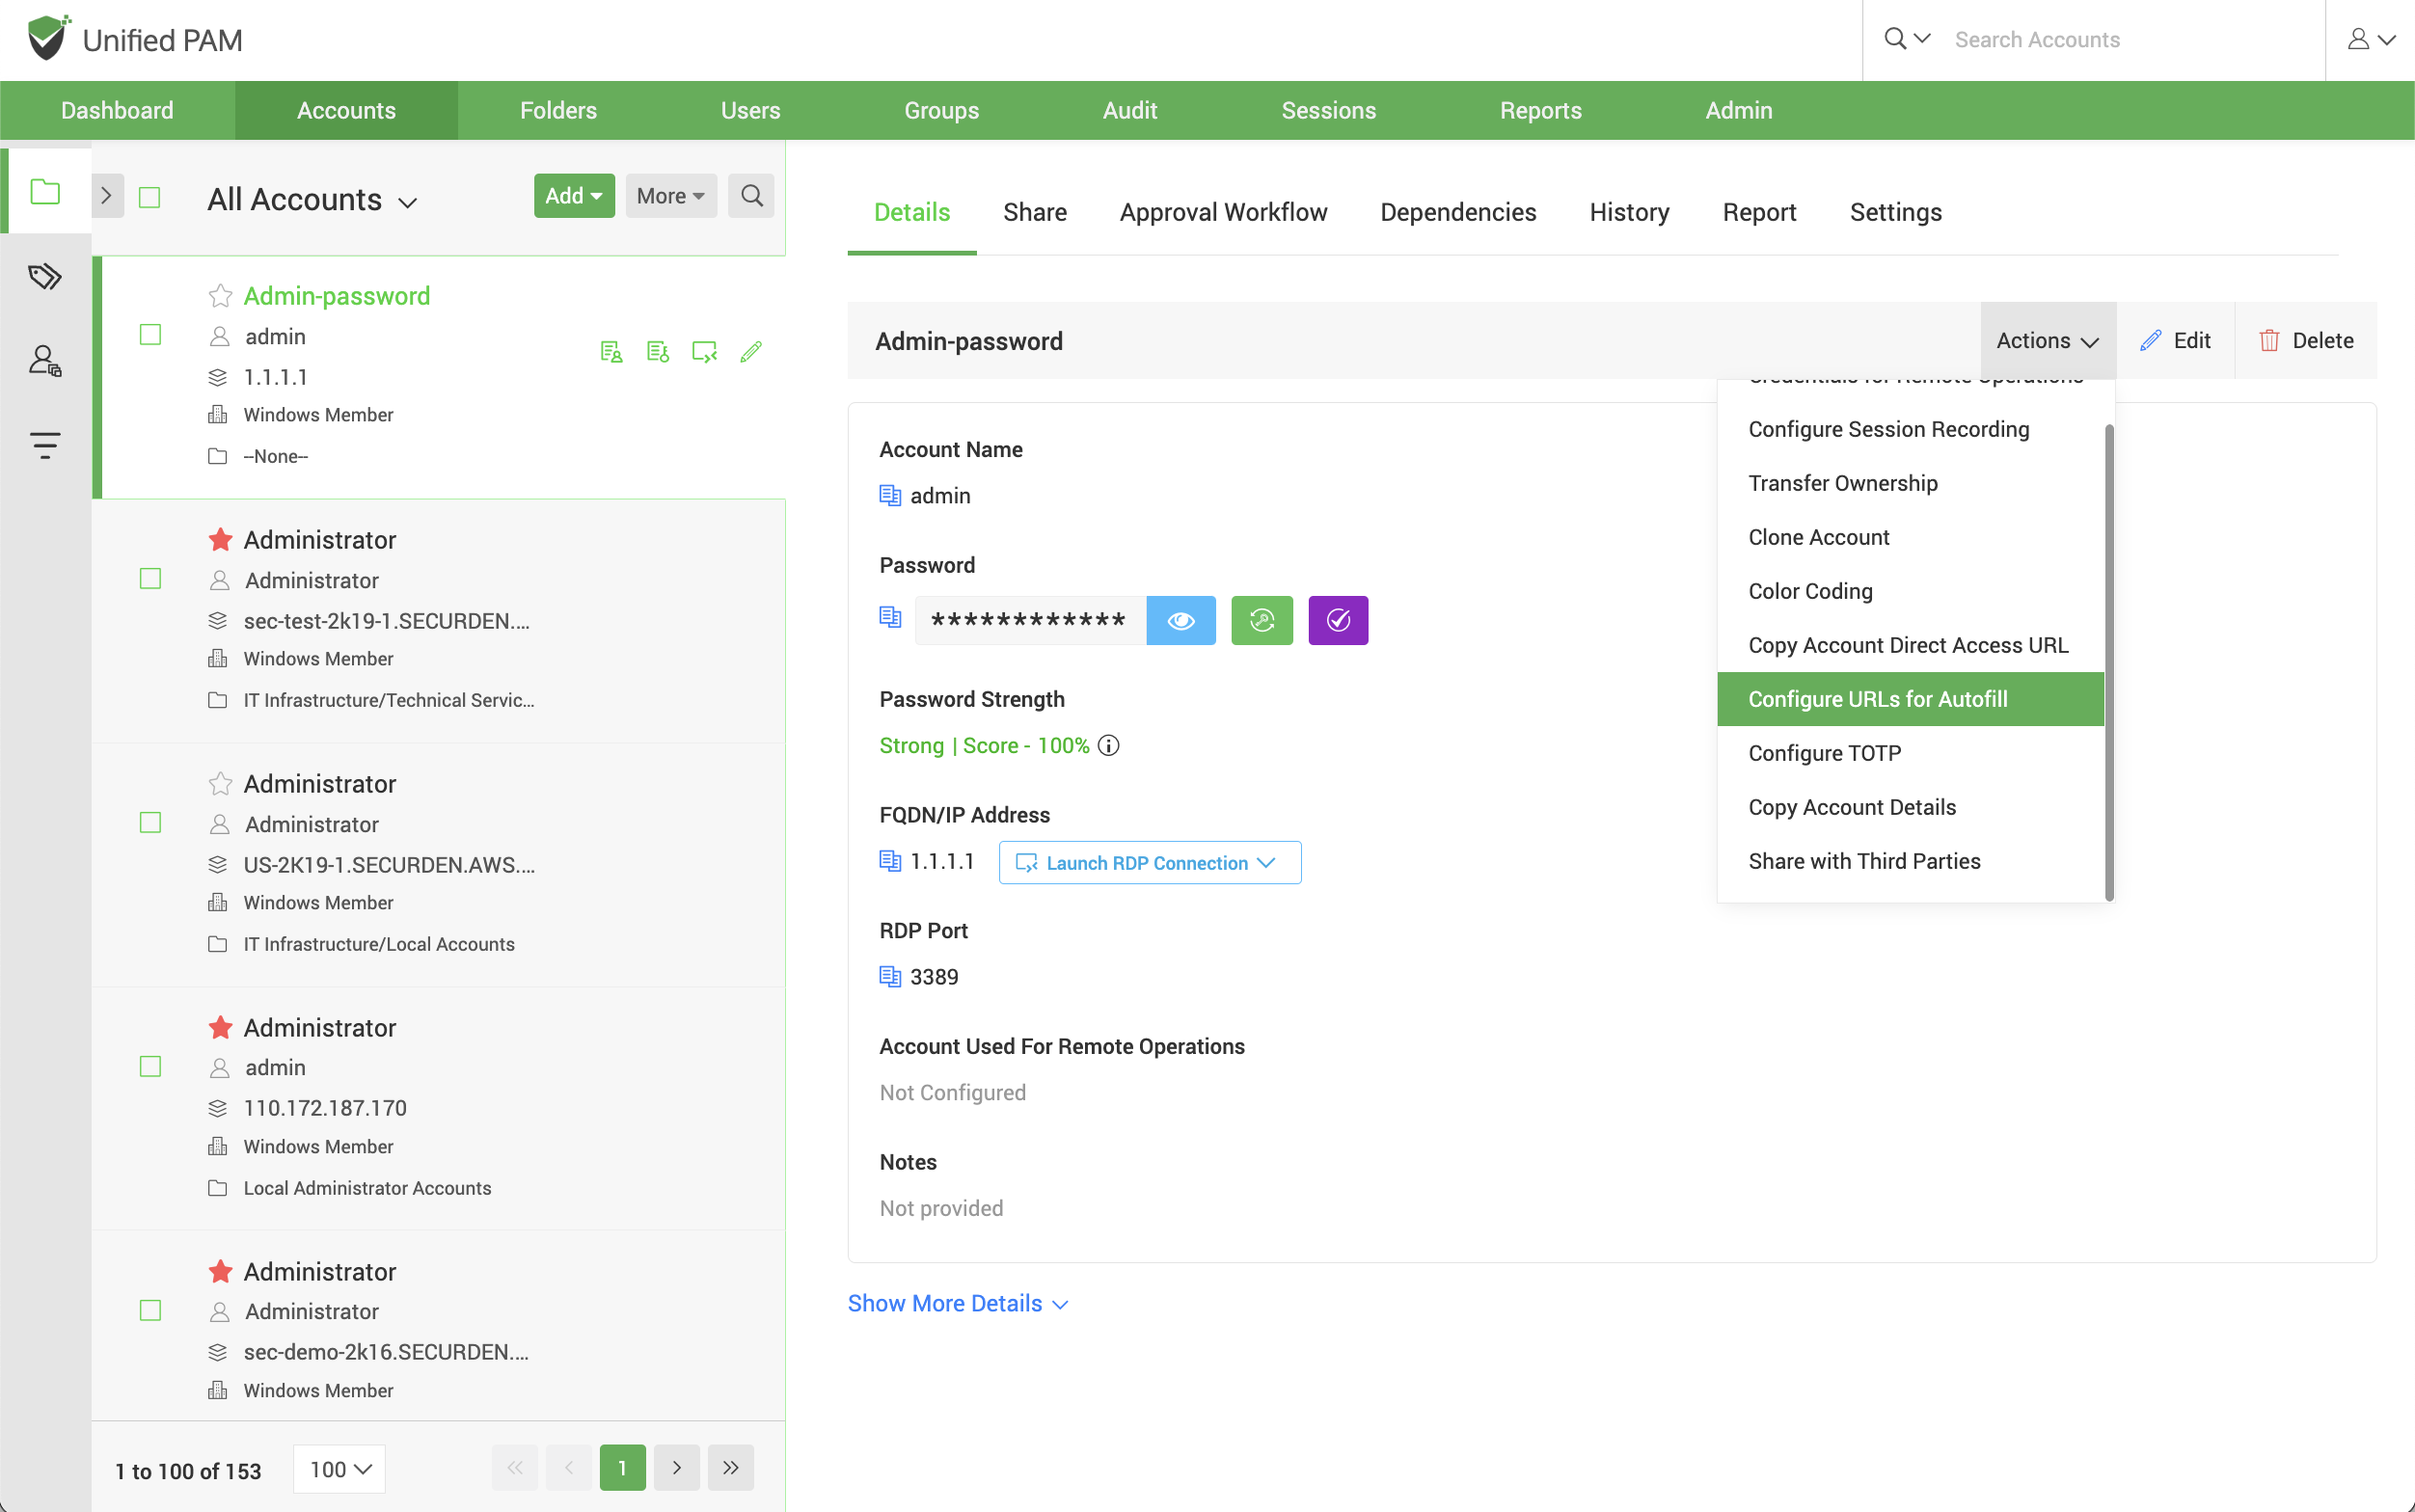
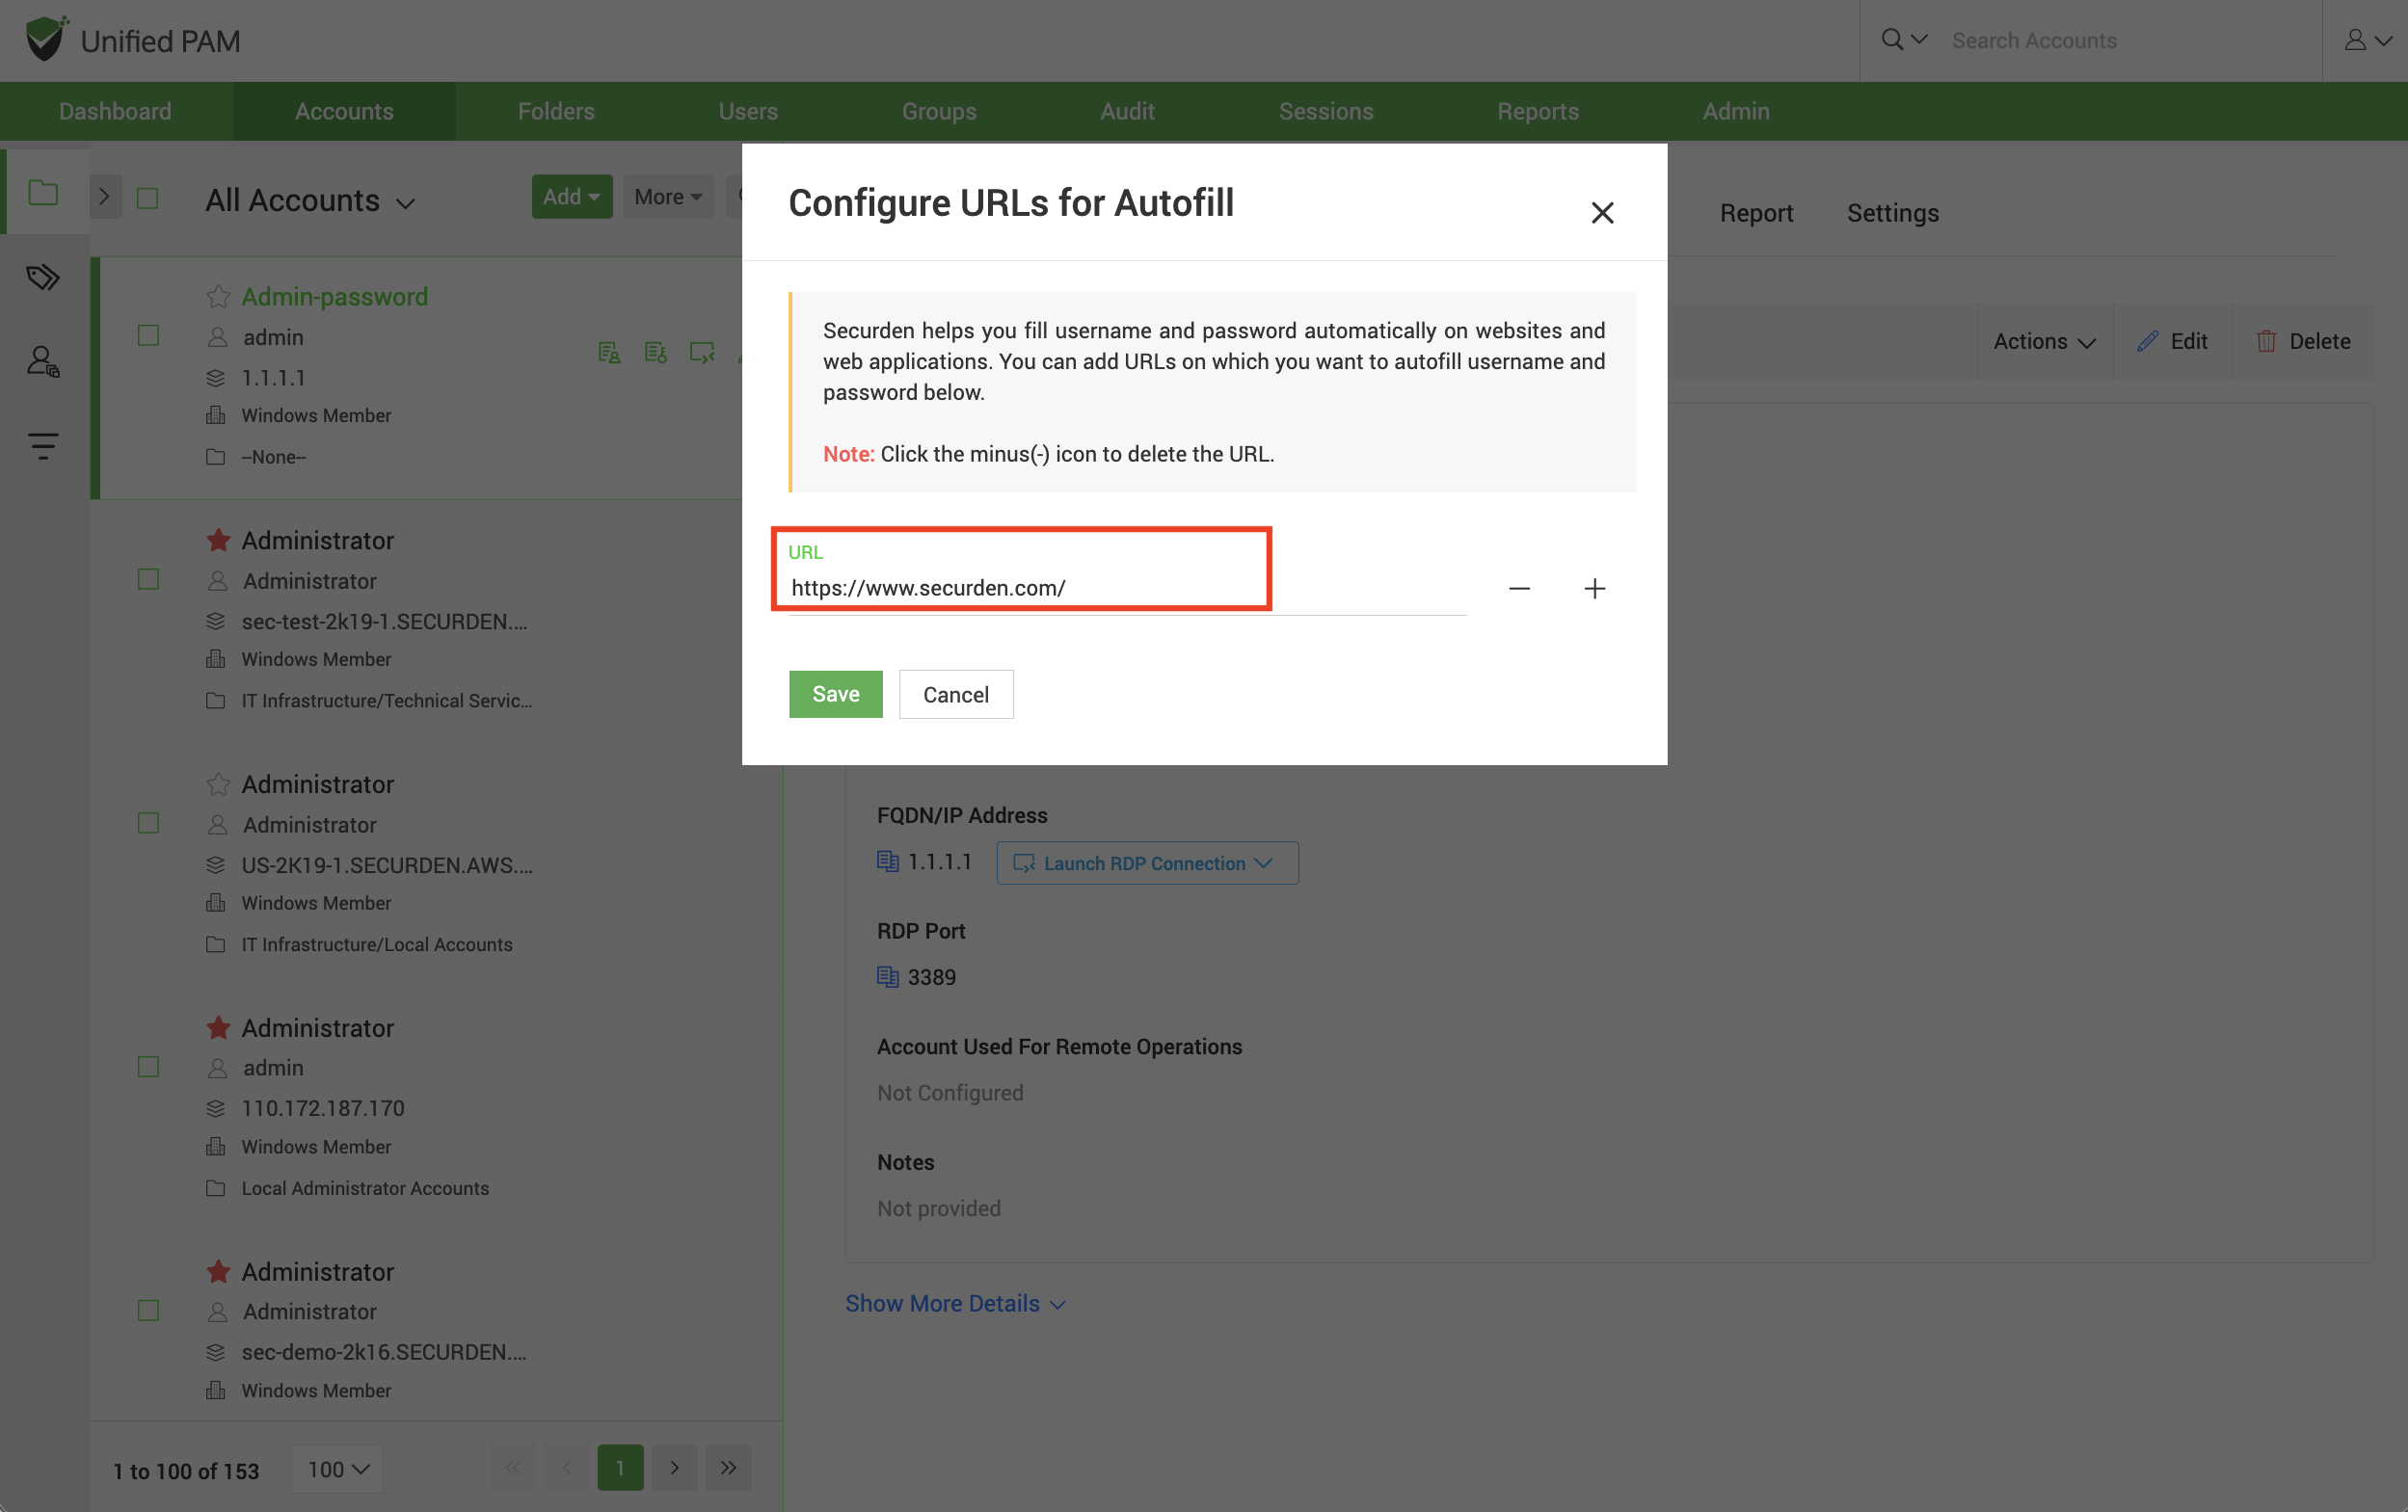
- In the popup, you need to specify the URL on which username and password should be auto filled.
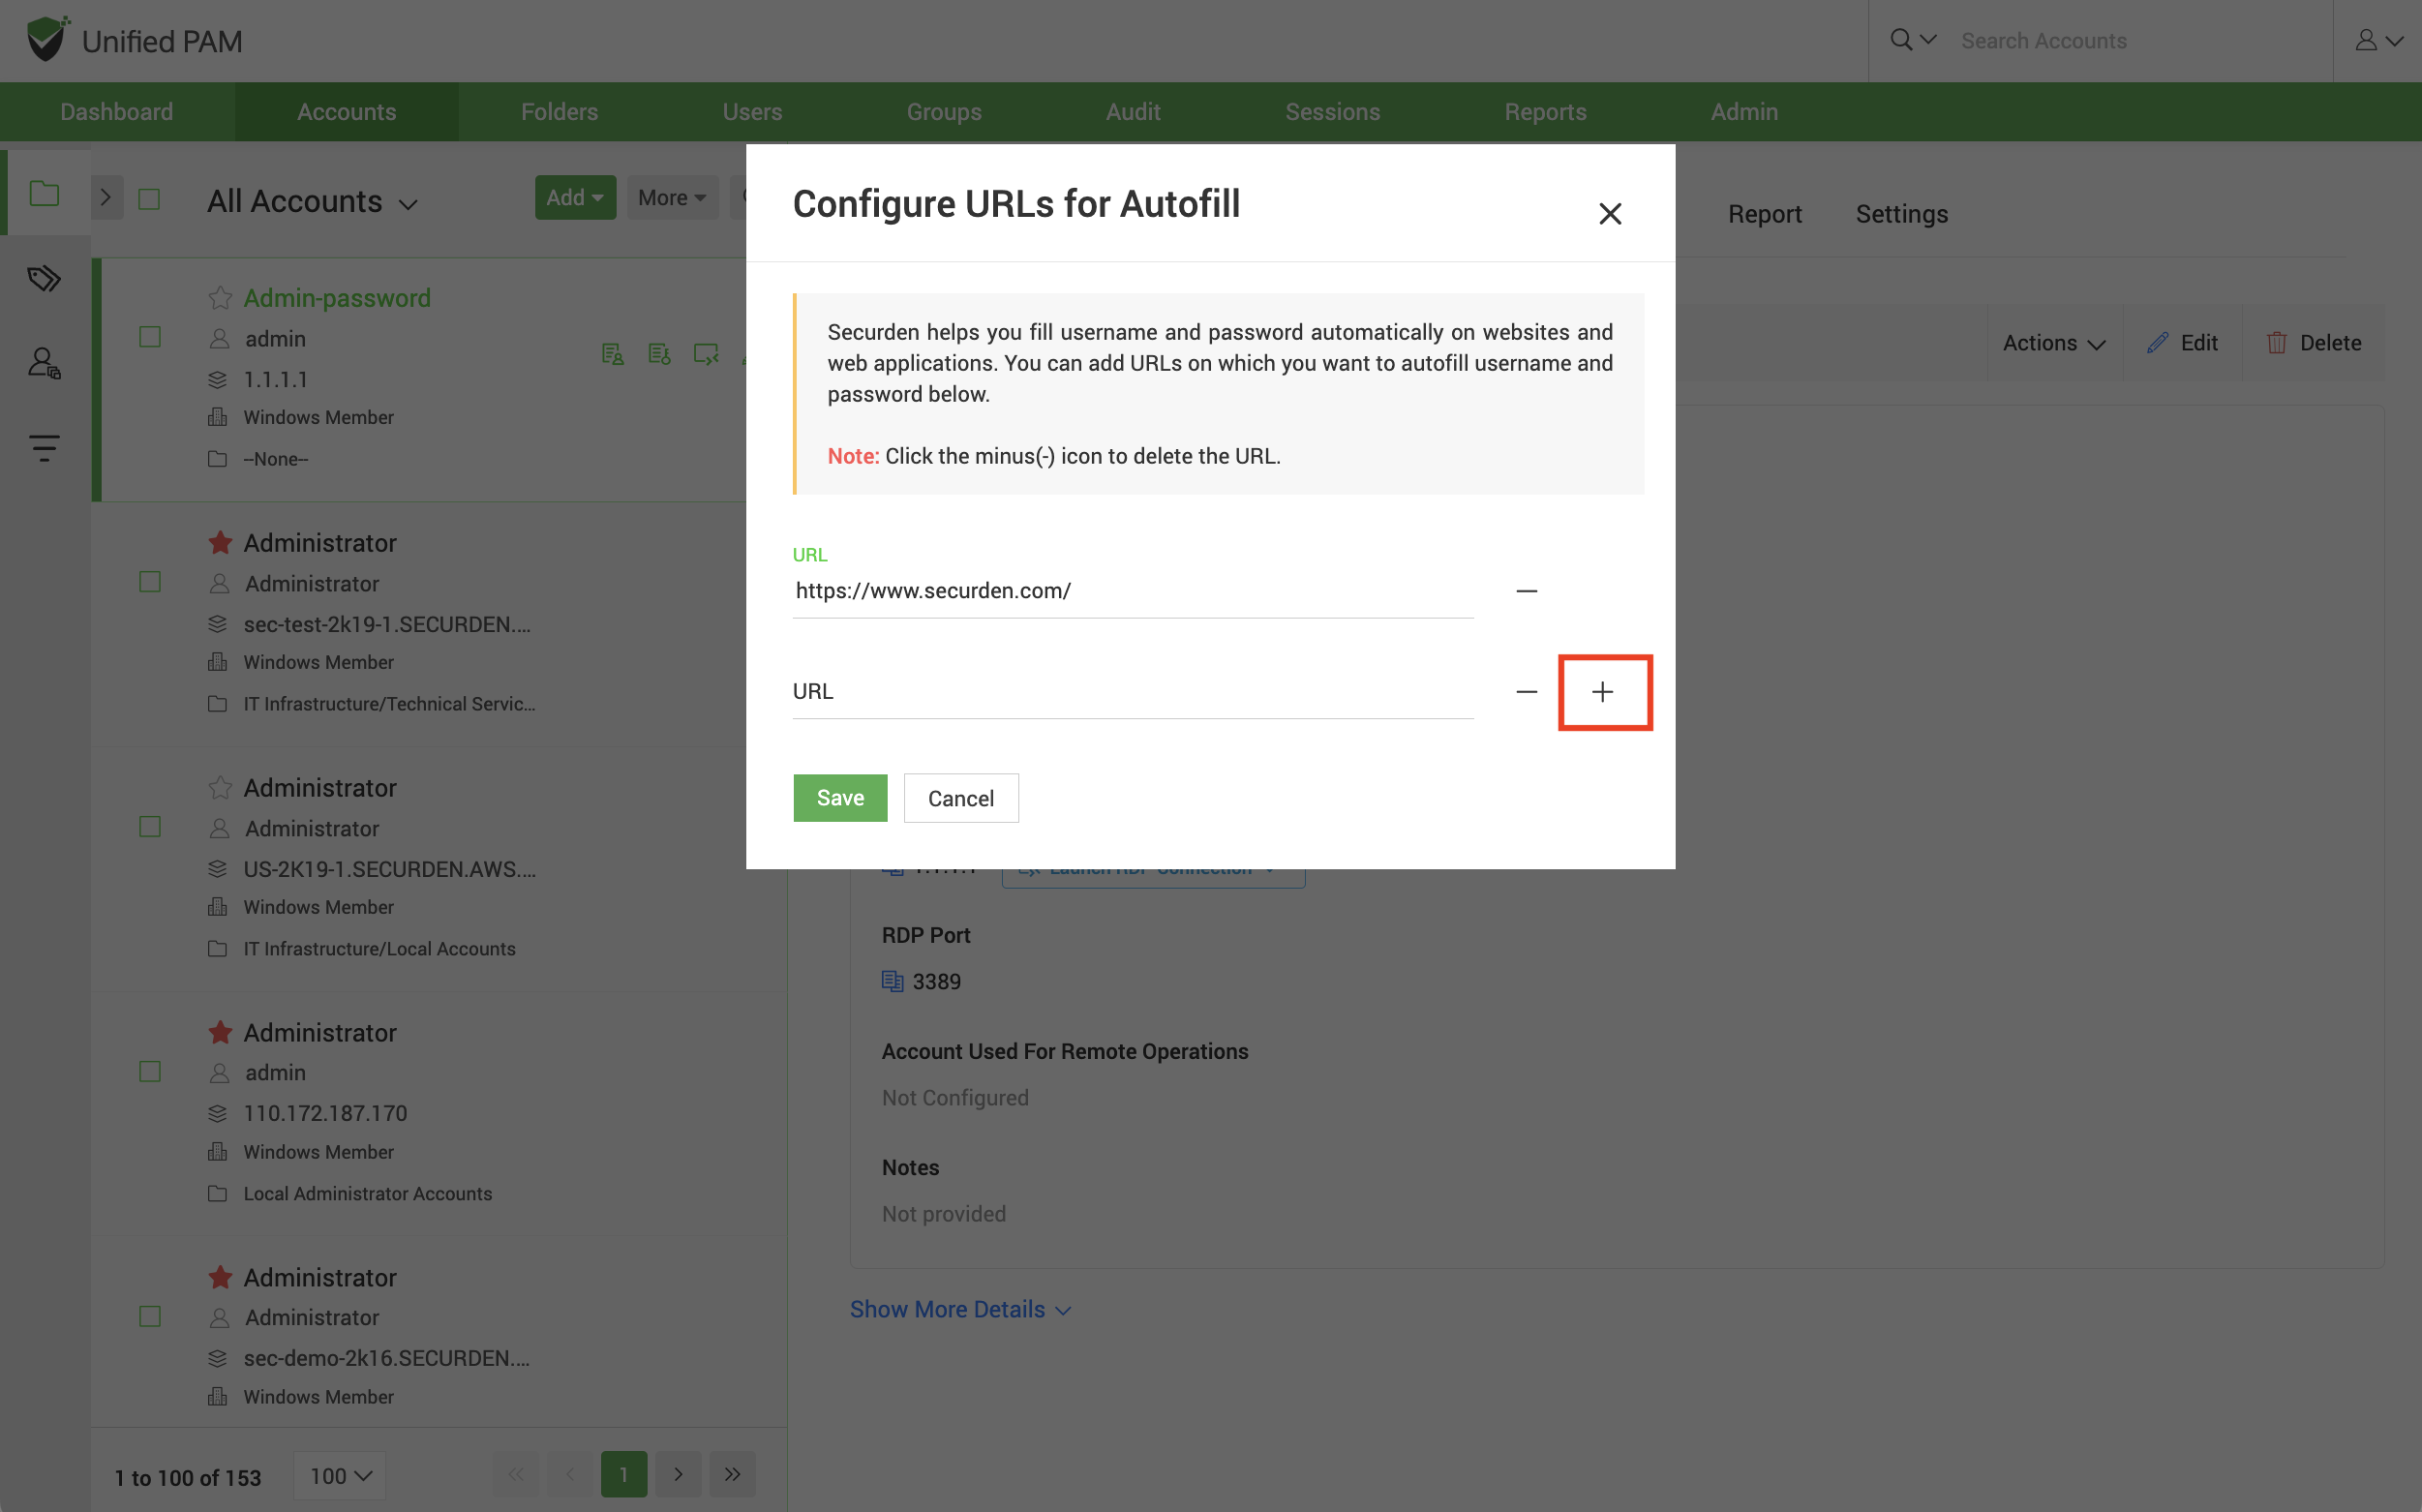
- You can add multiple URLs on which the account credentials can be auto filled. Click on the + sign to add a second URL.
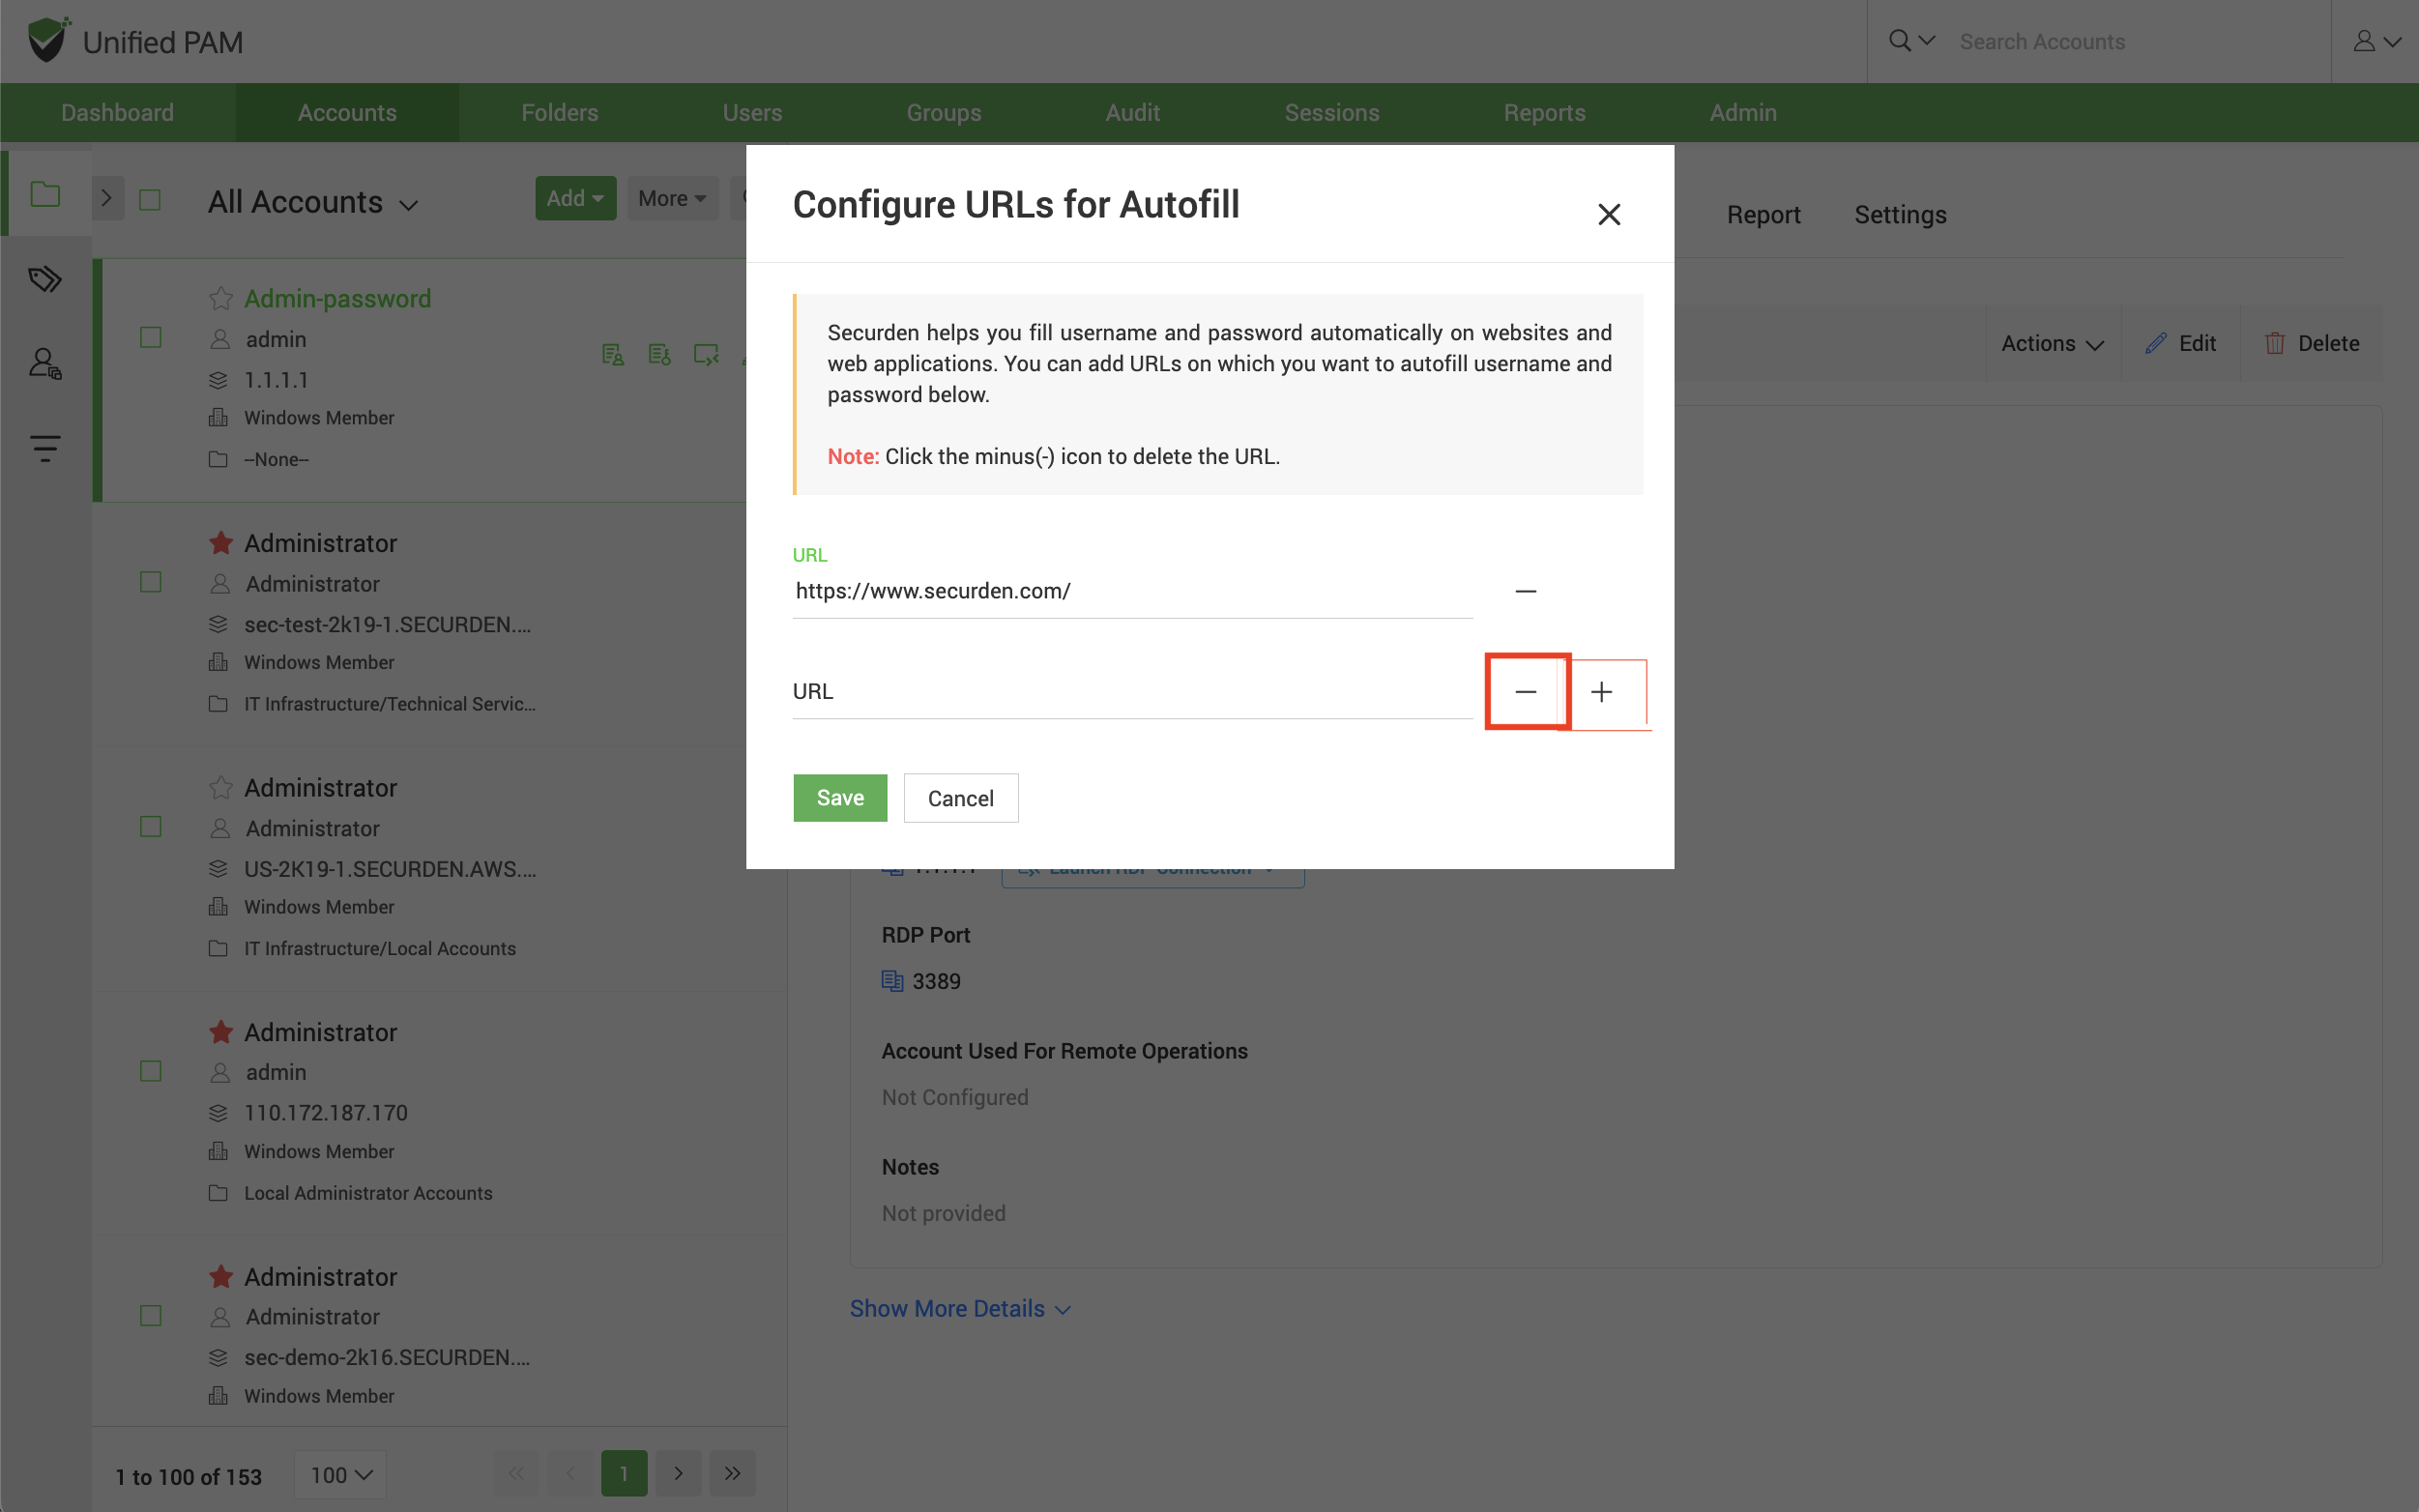
- To remove a URL, click on the - symbol.
- Once you have configured all the URLs you want, click Save.
How to auto fill credentials on the website?
Note
You need to install the Securden Browser Extension on the required browser to be able to utilize the auto fill feature. To install the browser extension, navigate to Admin >> General >> Browser Extension.
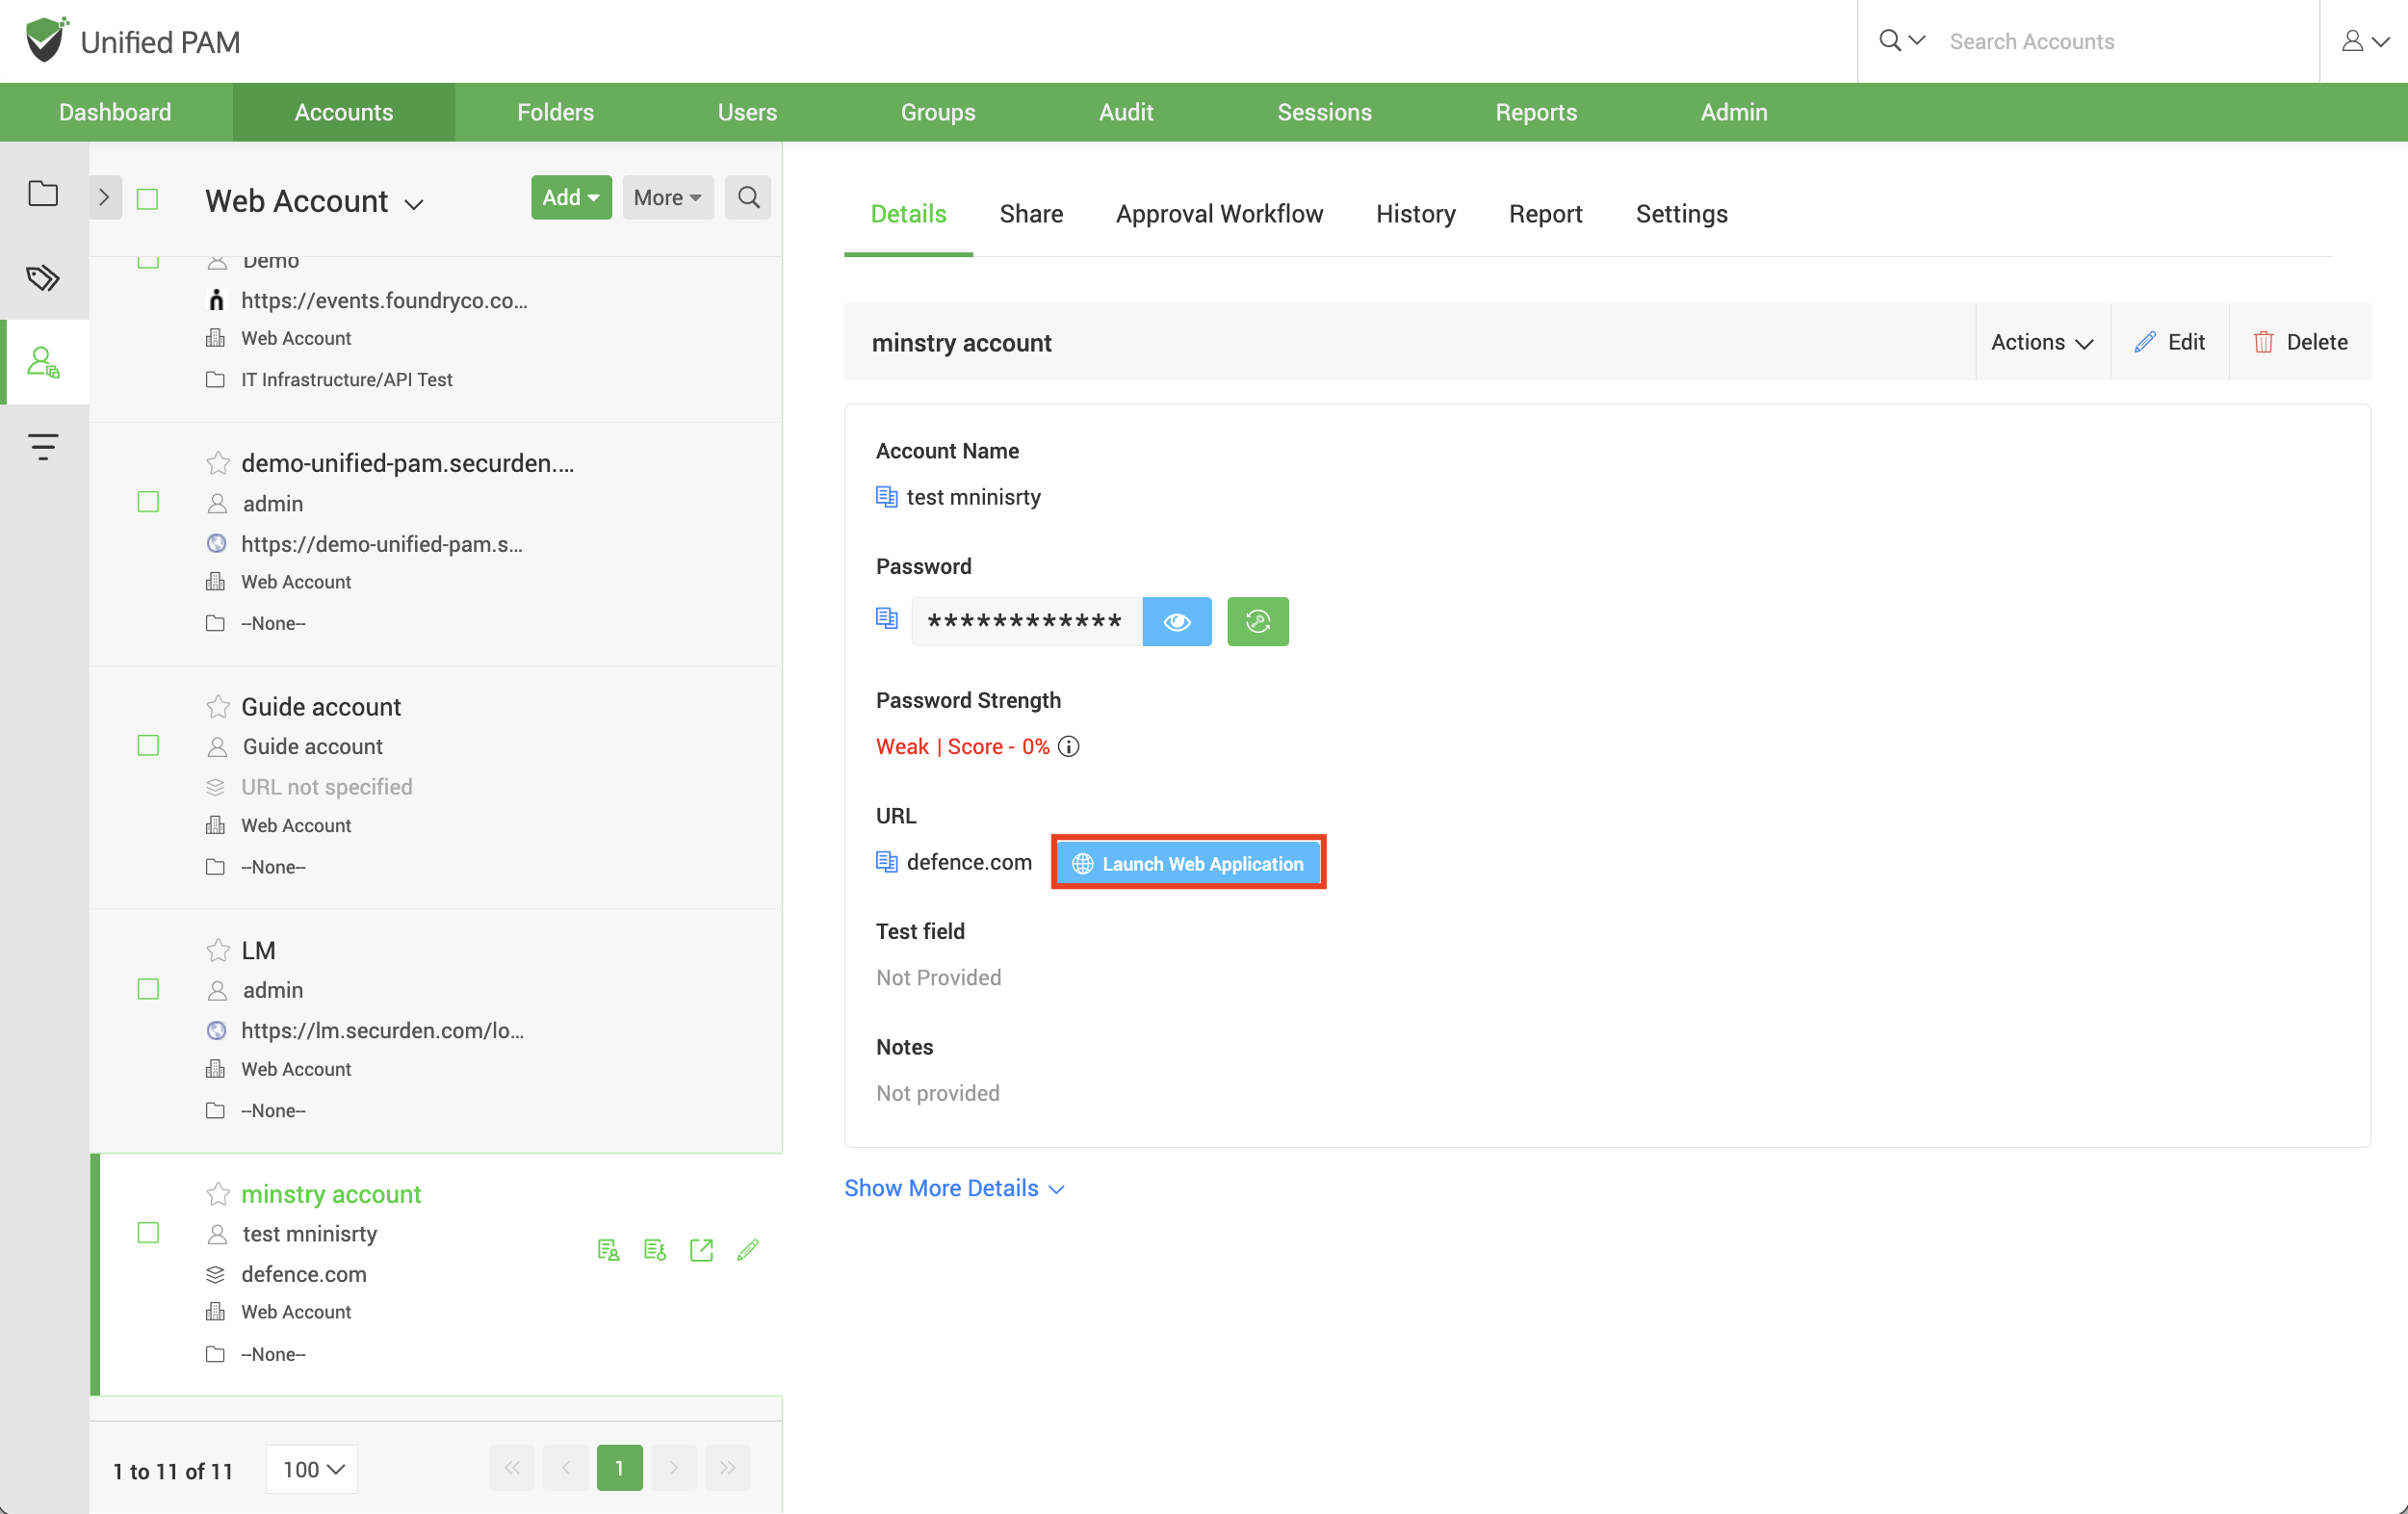
Once the URLs are configured, you can connect to the webpage or web application by navigating to Accounts tab. In the accounts tab, select the required account and click on Launch Web Application.
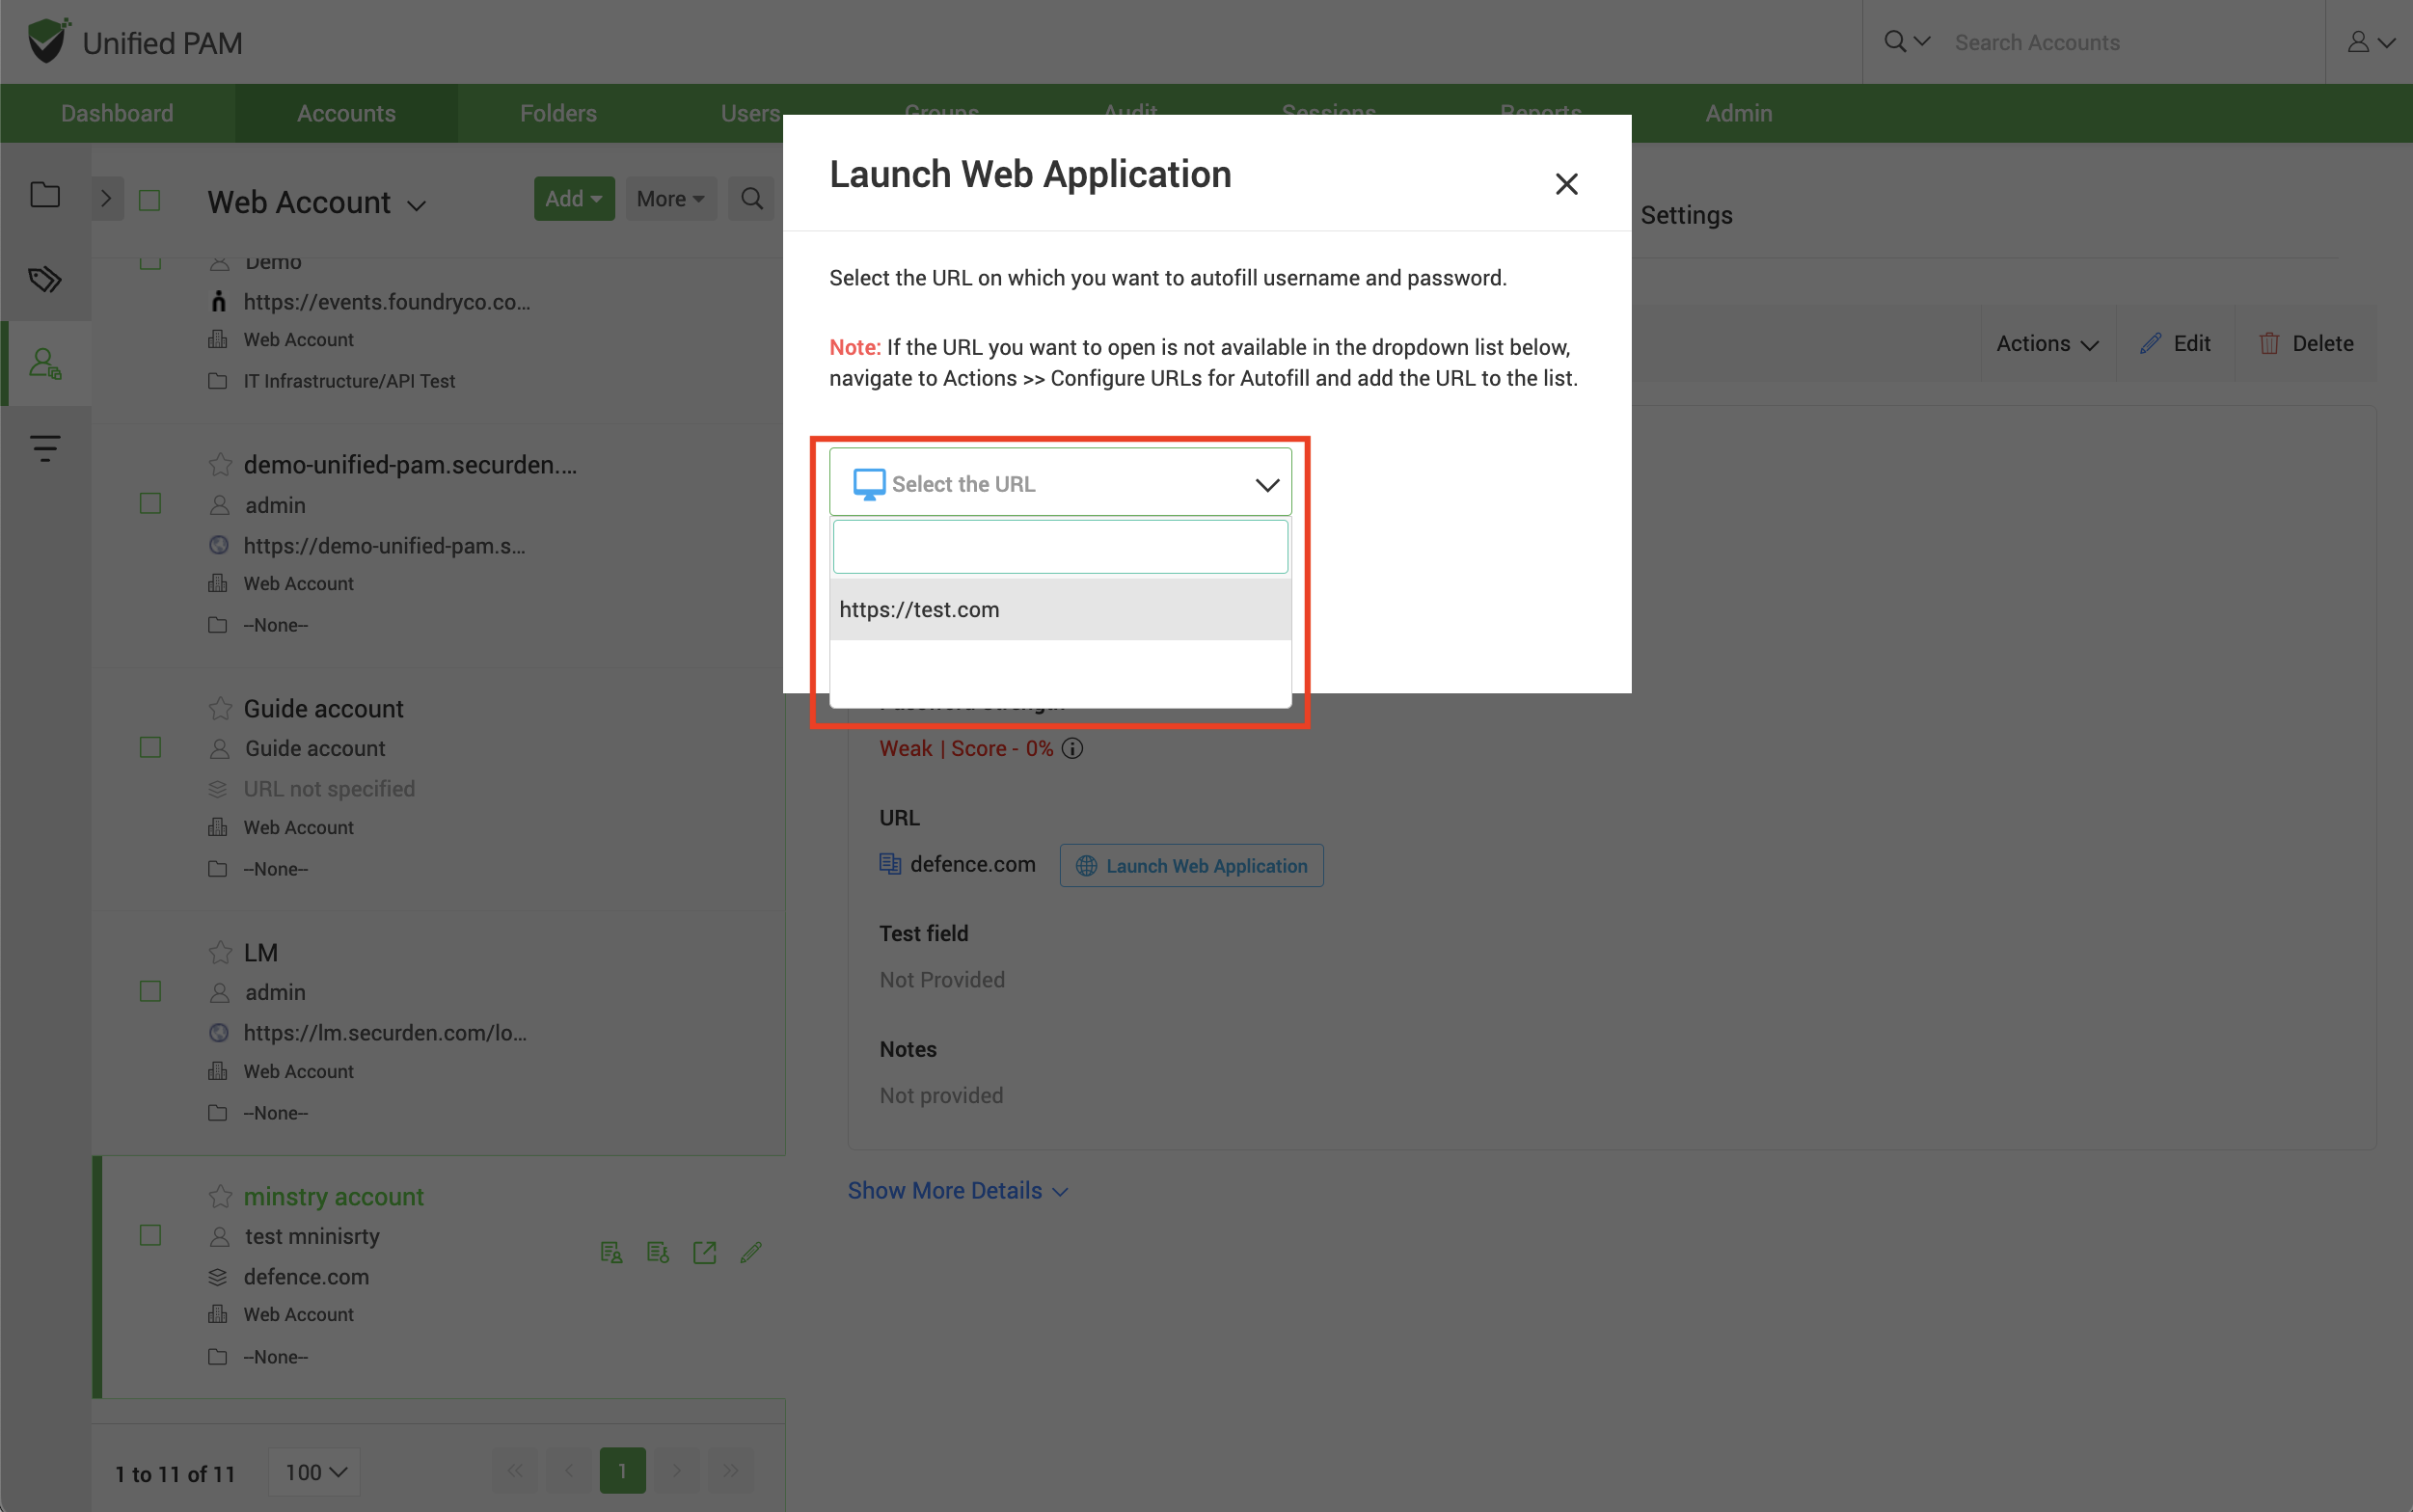
In the window that opens, all the added URLs to the selected account will be available in the drop down.
You can select the required URL and the web application/webpage will be opened and the credentials will be auto filled.
Enable Session Recording for Accounts
You can record the various remote privileged sessions initiated by users from Securden’s GUI. The recordings can then be played back as a video. Configuring session recording is a two-step process.
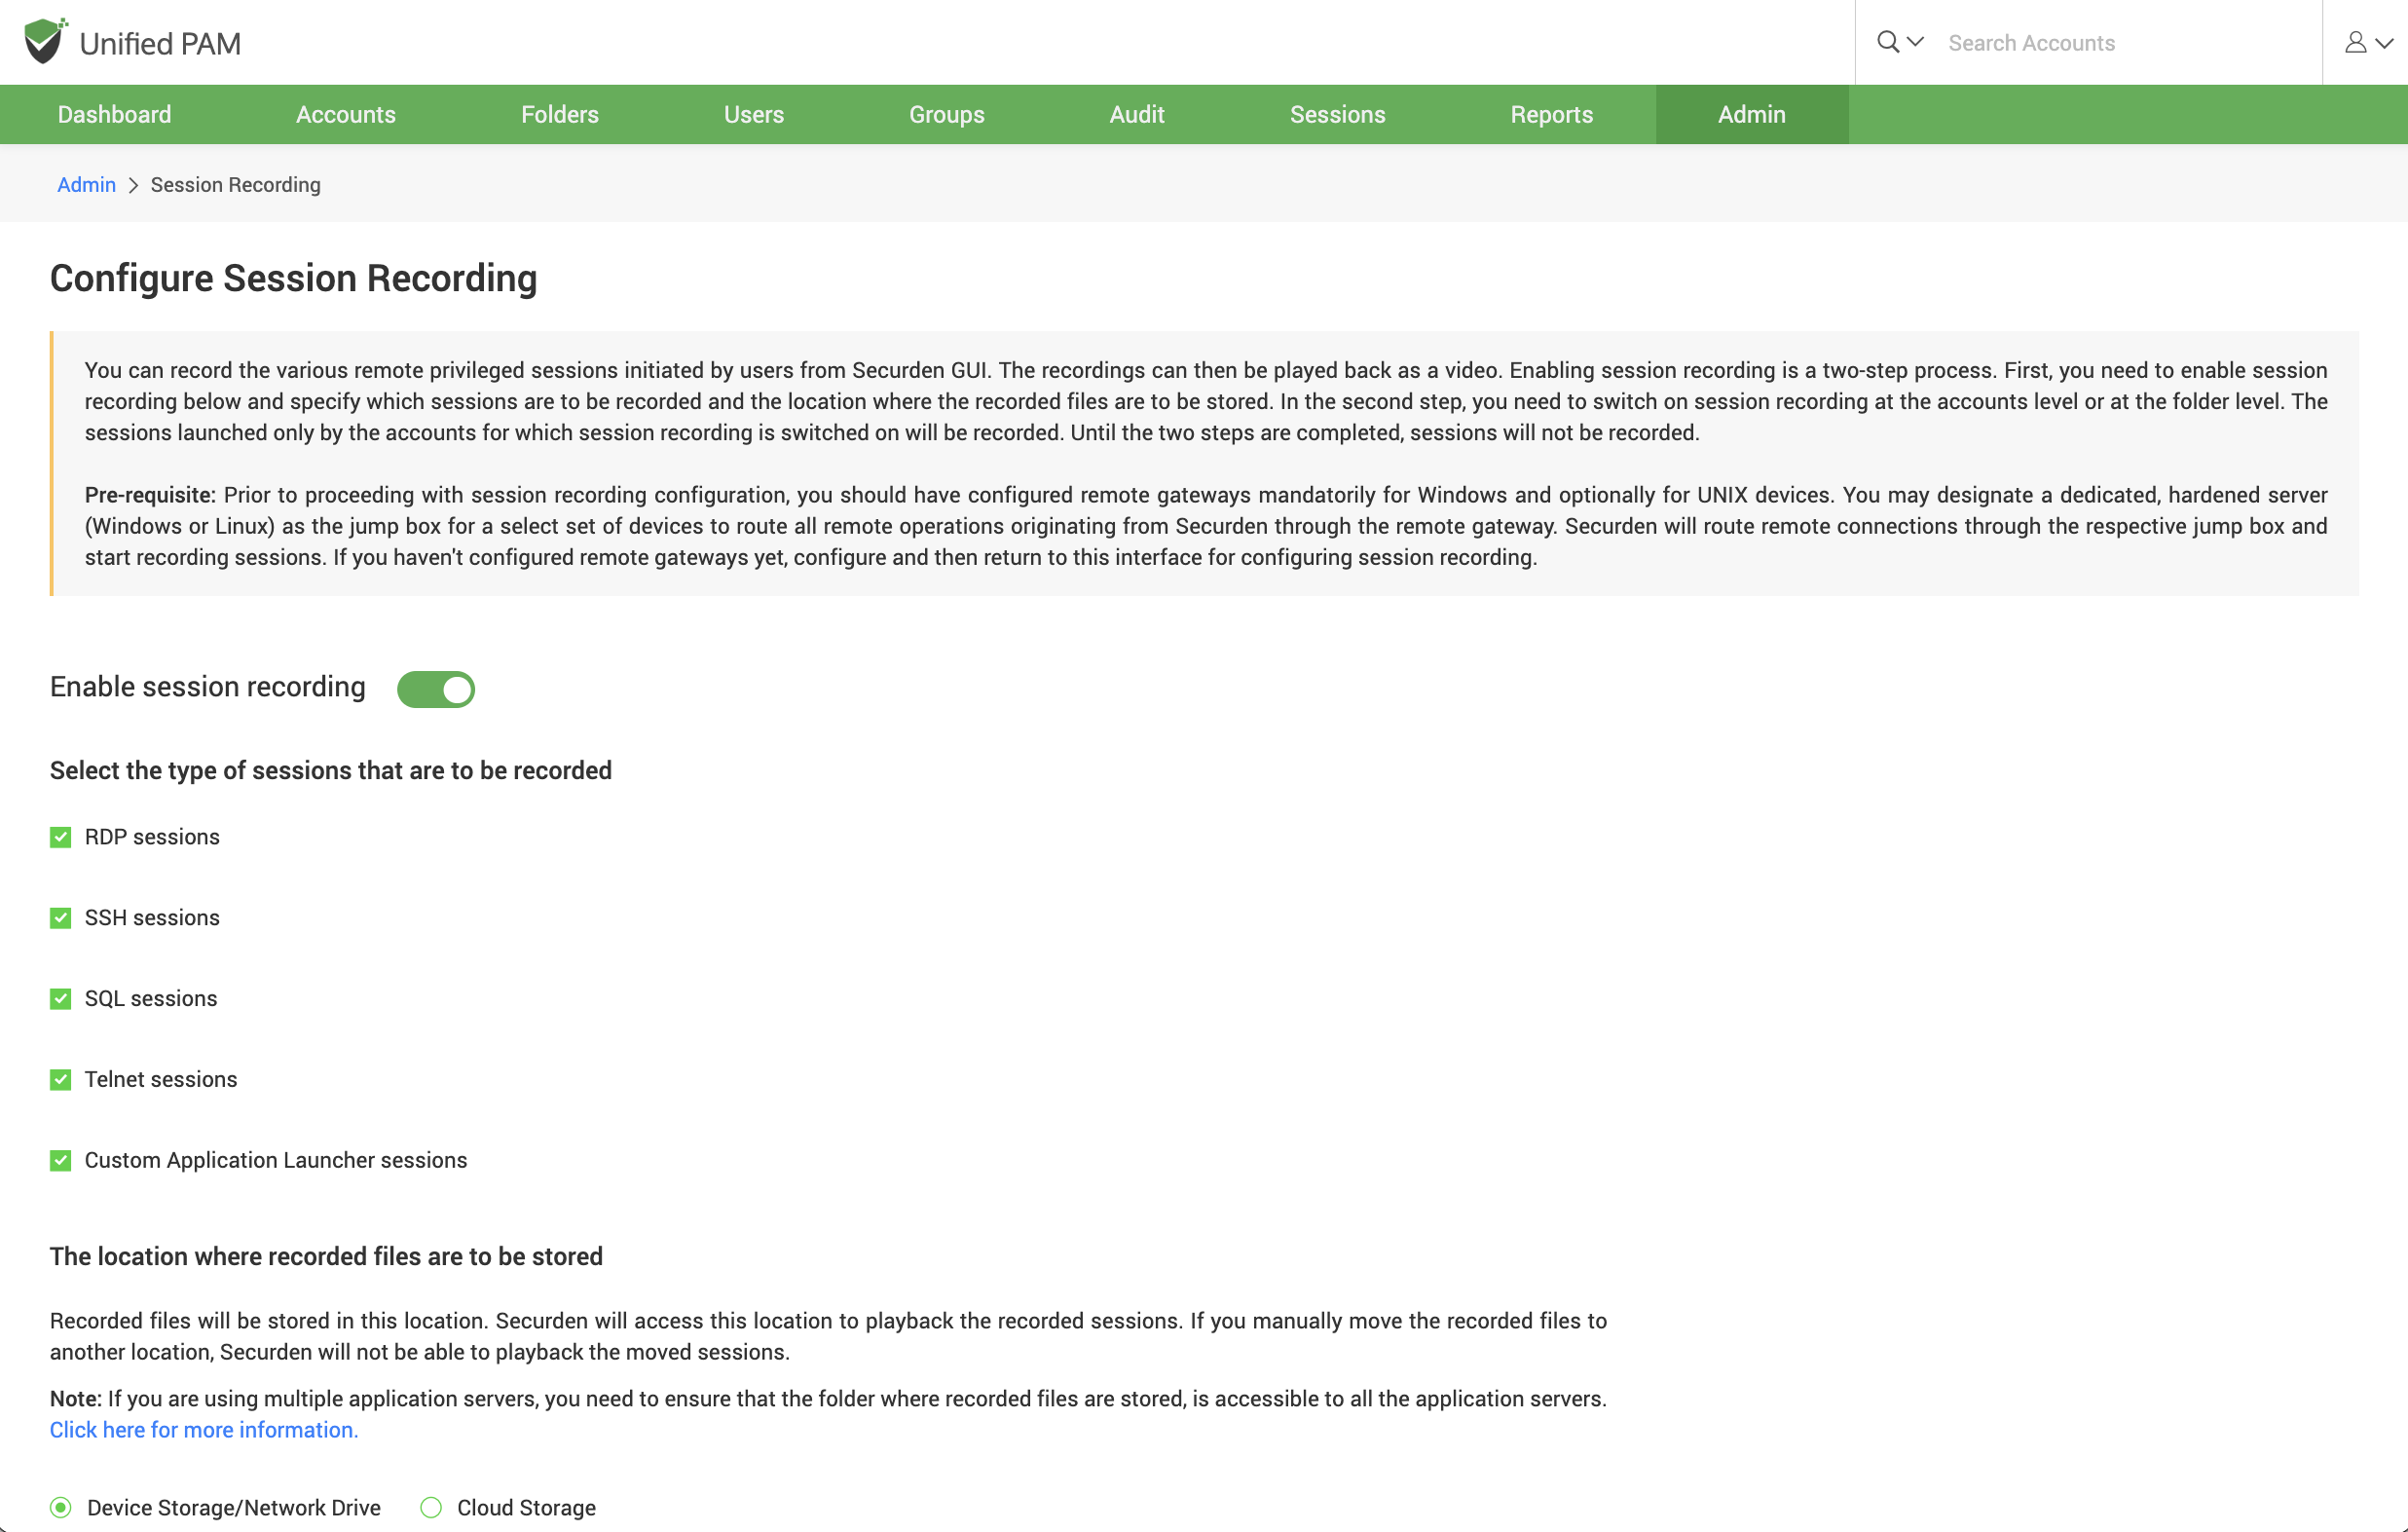
Step 1: Configure session recording globally by navigating to Admin >> Remote Sessions and Recordings >> Session Recording. Specify which type of sessions are to be recorded and the location where the recorded files are to be stored.
Step 2: Switch on session recording at the accounts level or at the folder level. The sessions launched using the accounts for which session recording is switched on will be recorded.
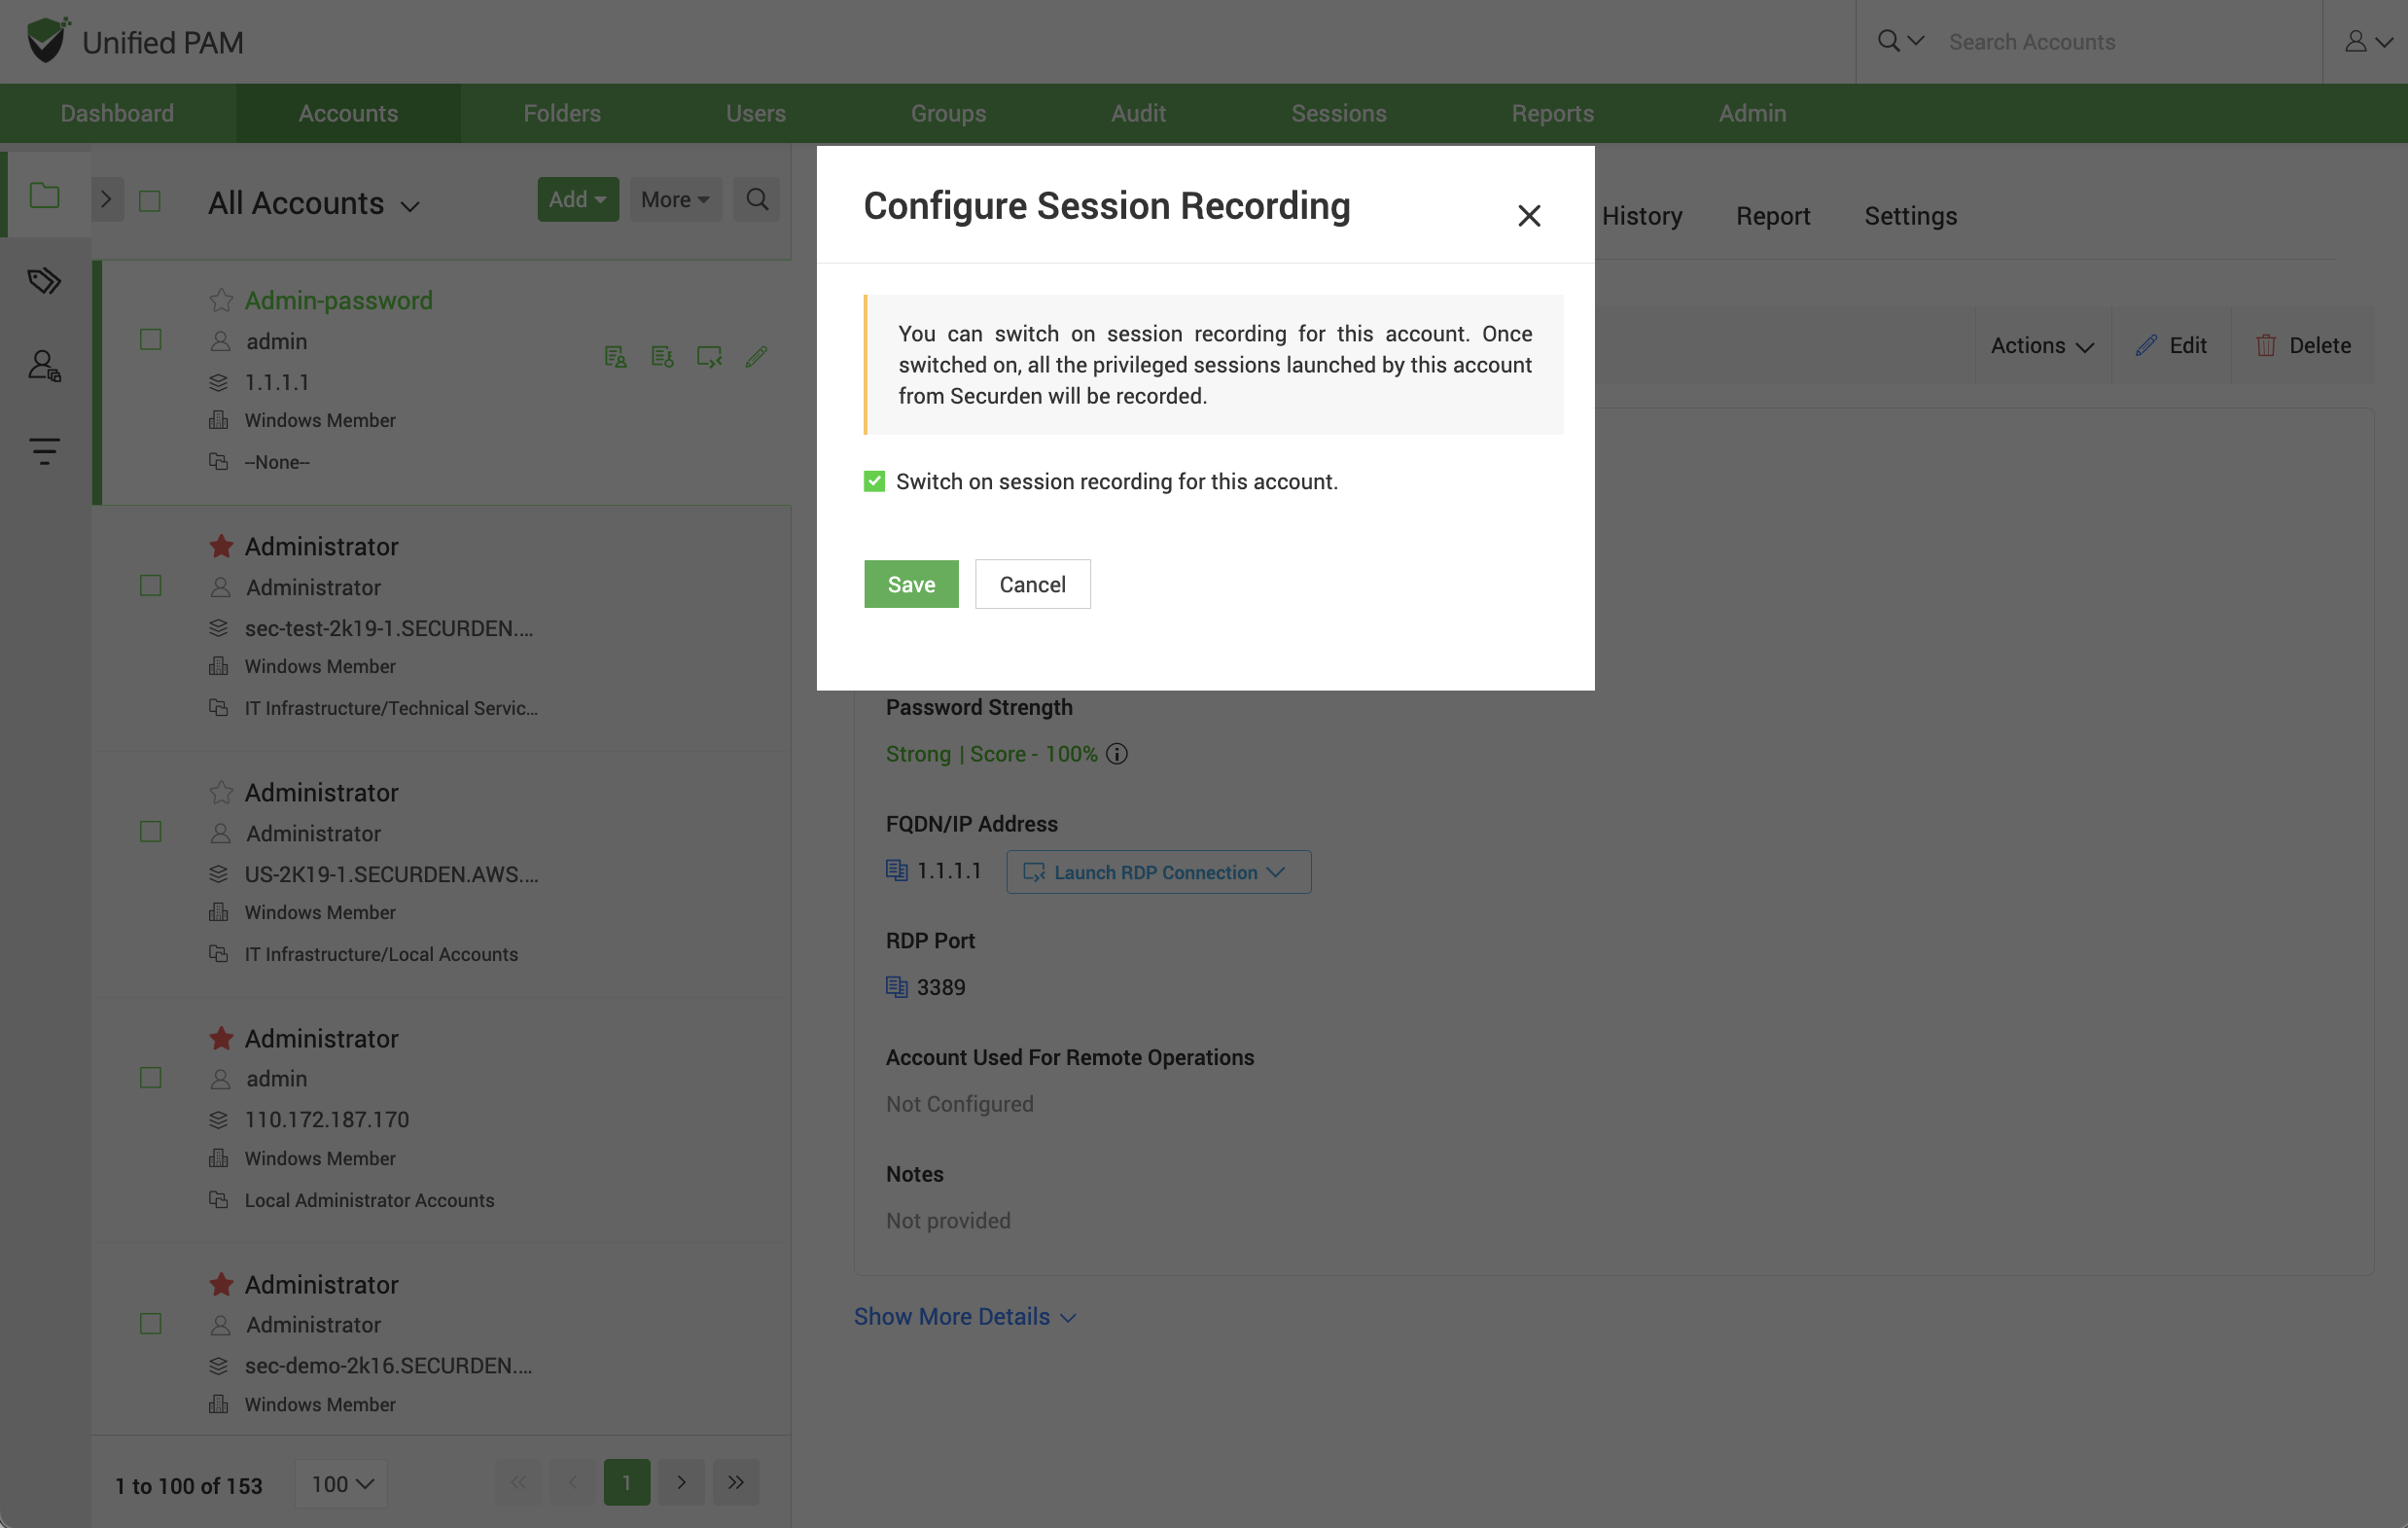
Navigate to the account for which you want to enable session recording. Under Actions, select Configure Session Recording. Once switched on, all the privileged sessions launched by this account from Securden will be recorded and stored in the specified location.
Pre-requisite: Prior to proceeding with the session recording configuration, you should have configured remote gateways mandatorily for Windows and optionally for UNIX devices. You may designate a dedicated, hardened server (Windows or Linux) as the jump box for a select set of devices to route all remote operations originating from Securden. Securden will route remote connections through the respective jump box and start recording sessions.
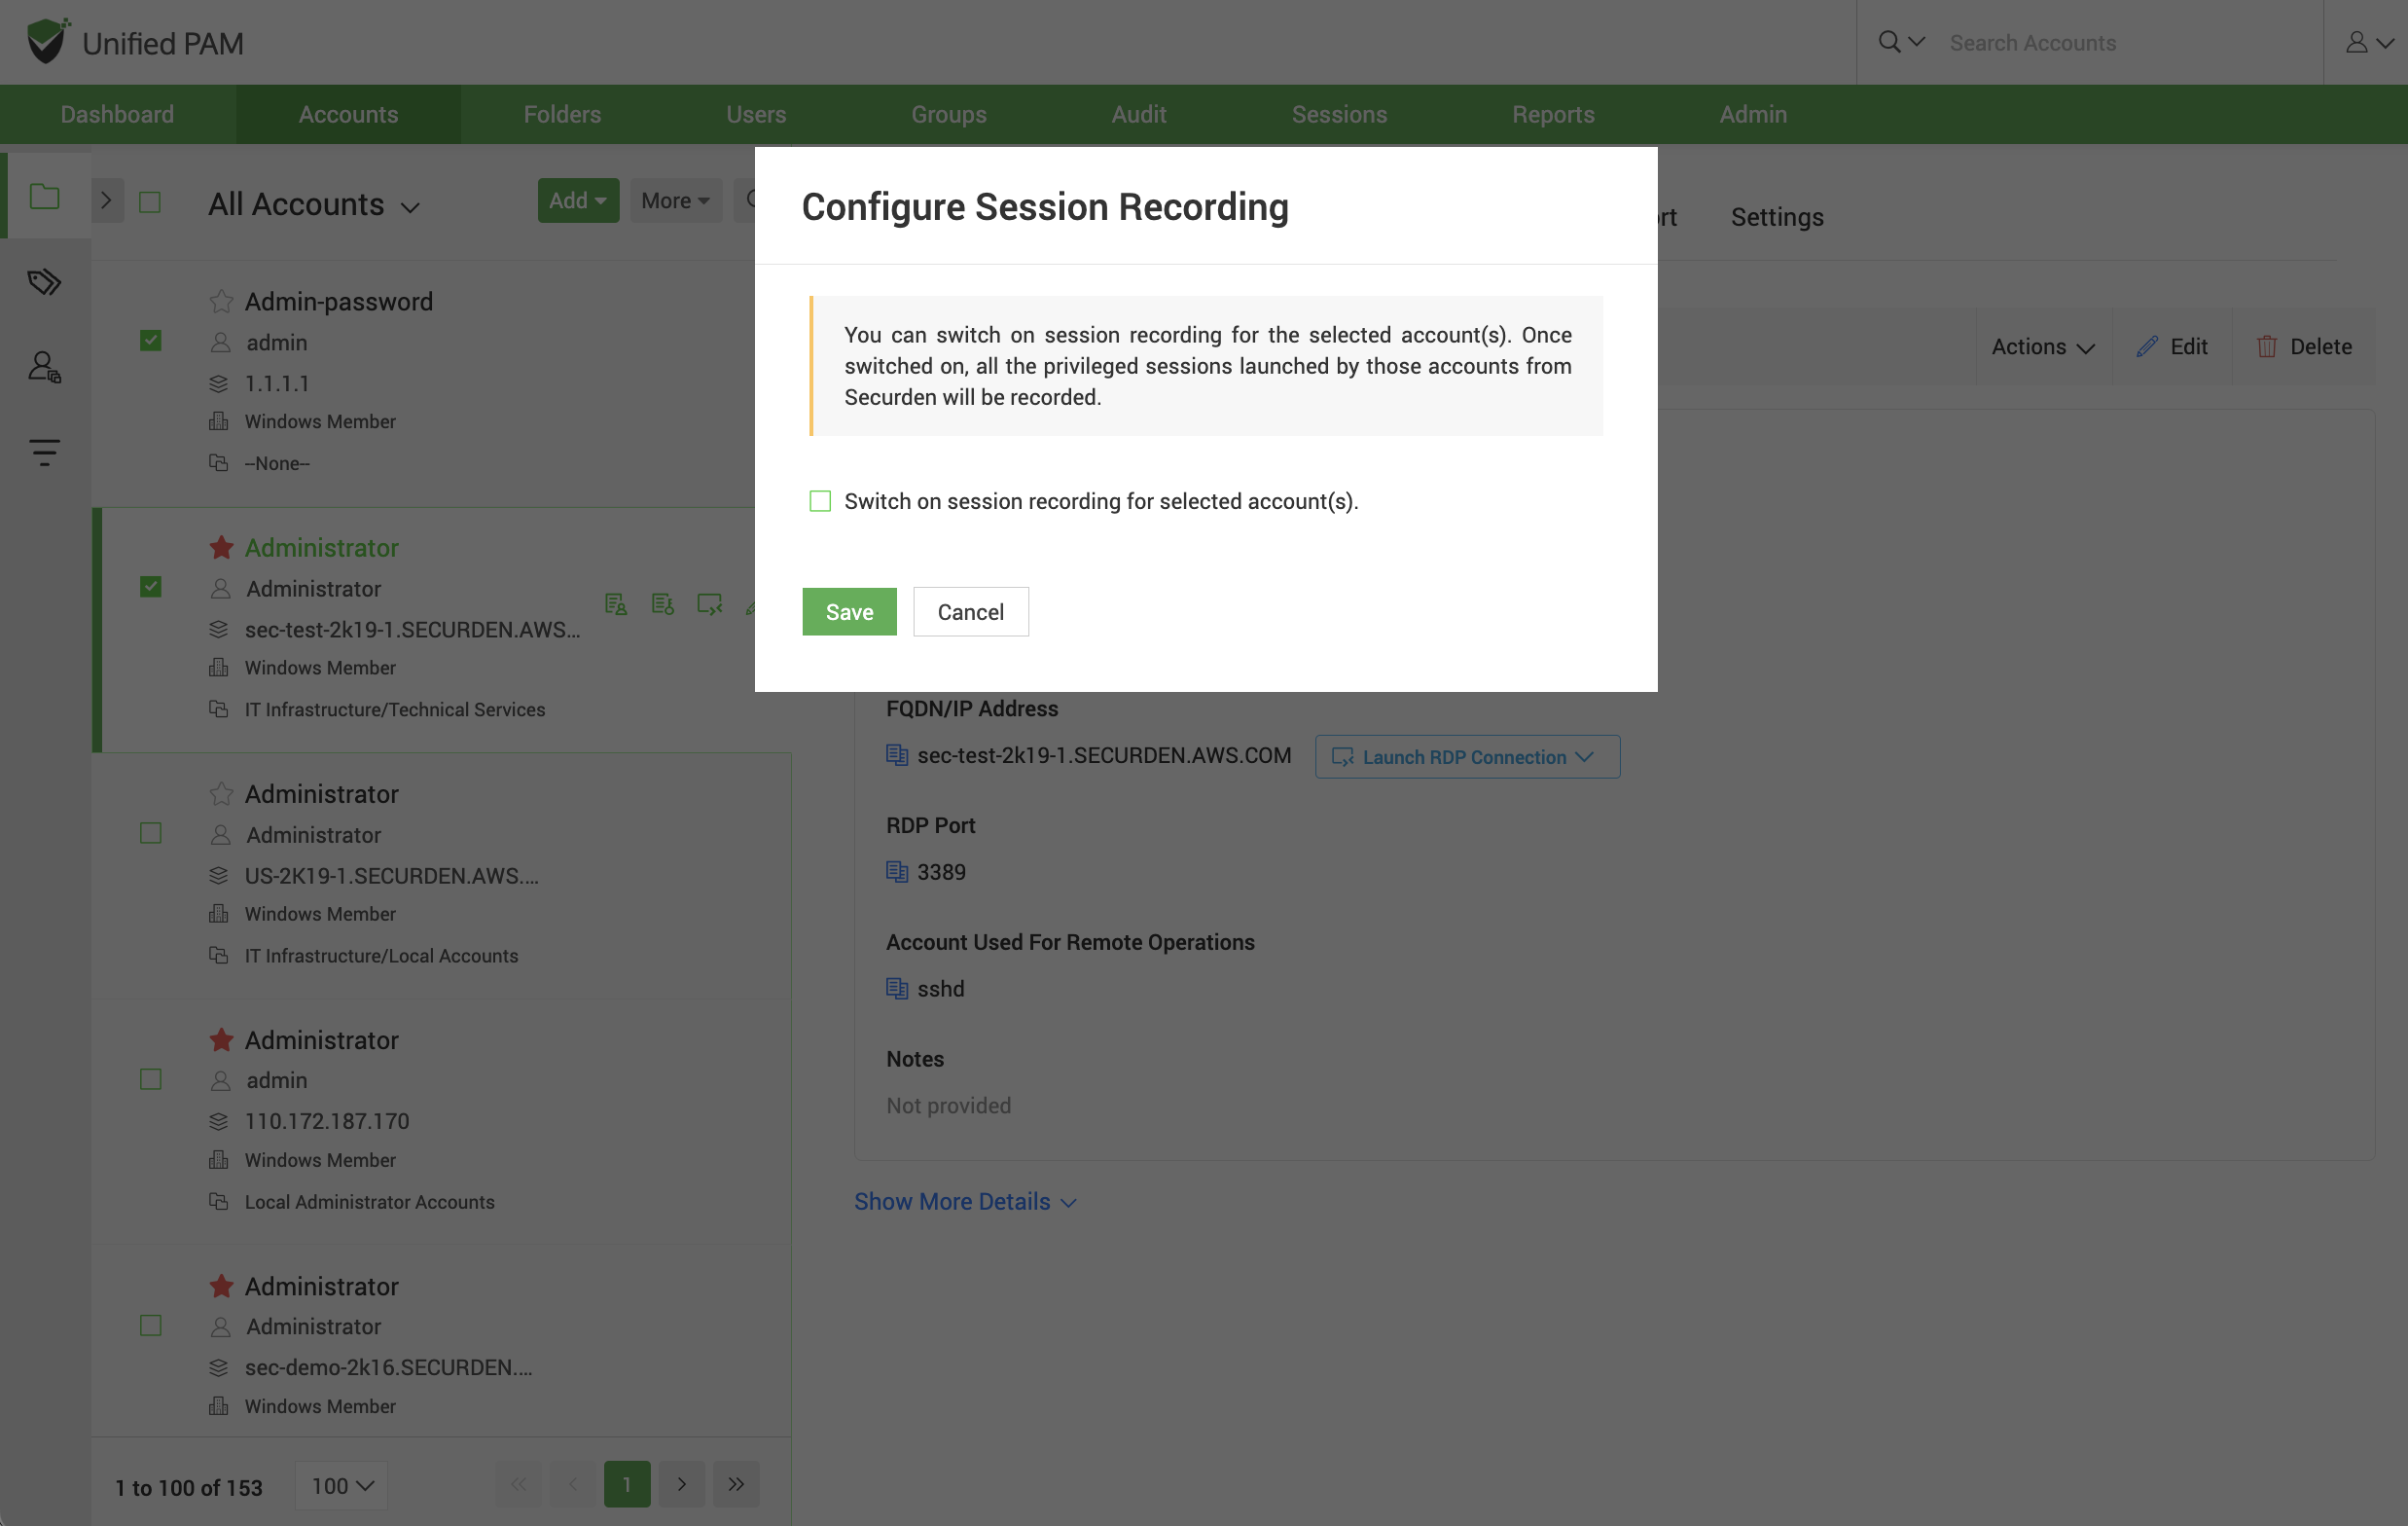
To enable session recording for multiple accounts at the same time, navigate to Accounts tab and select the required accounts.
Go to More >> Configure Session Recording, select the checkbox, and click Save.
