Browser Extensions
Securden provides browser extensions to facilitate auto-fill of credentials on websites and web applications. When you create new accounts on websites, the same can be added to Securden without leaving that website. You can view accounts, passwords and also launch connections with websites from within the browser extension. Securden server should be running in the background for the browser extension to work. Extensions are available for Chrome, Firefox, and Chromium-based Edge browsers.
Navigate to Admin >> General >> Browser Extensions to download the extensions.
The steps to install different browser extensions are given below:
Chrome
- You may download the chrome extension directly from the GUI. Alternatively, you may copy and paste the following URL into your browser's address bar: Securden Extension for Chrome
- Select the Add to Chrome menu to download and install the extension.
- The Google Chrome browser permissions window will ask for your consent to gain the necessary permissions to do various operations. Click Add Extension.
- You will see the message Securden has been added to Chrome. You can start using the extension.
Firefox
- You may download the chrome extension directly from the GUI. Alternatively, you may copy and paste the following URL into your browser's address bar: Securden Extension for Firefox
- Click the Add to Firefox menu to download and install the extension.
- The Mozilla Firefox browser permissions window will ask for your consent to gain the necessary permissions to do various operations. Click Add.
- You will see the message Securden has been added to Firefox. You can start using the extension.
Chromium Edge
- You may download the chrome extension directly from the GUI. Alternatively, you may copy and paste the following URL into your browser's address bar: Securden Extension for Chromium Edge
- Select Get menu to download and install the extension.
- The Microsoft Chromium Edge browser permissions window will ask your consent to gain necessary permissions to do various operations.
- Click Add Extension.
- You will see the message Securden has been added to Microsoft Edge. You can start using the extension.
In addition to installing browser extensions, you can do certain configurations related to the usage of the extensions.
Blacklist URLs
Once you install the extension, whenever you create a new account/password on a website, it usually prompts you to add the accounts to Securden inventory. There might be requirements where you wouldn't need certain accounts to be added to Securden.
You can handle such scenarios through the blacklist URLs option. This option Securden allows you to add (and delete) specific URLs that are not to be stored in Securden through the browser extension in your organization.
Navigate to Admin >> General >> Browser Extension >> Blacklist URLs page and click the Add button.

Once this is configured, no one will be able to save accounts in Securden with the specified URLs.
Mark as Never Save
This feature is similar to the Blacklist URL option and allows you to define specific URLs that are not to be stored in Securden through the browser extension. While the Blacklist URLs option takes effect globally across the organization for all users, the ‘Never Save’ option is user-specific and doesn’t affect the entire organization.
Typically, the URLs that are marked not to be saved in Securden (setting you will see in the extension) will be listed on this page.
Navigate to Admin >> General >> Browser Extension >> Never Save page to manage such URLs.
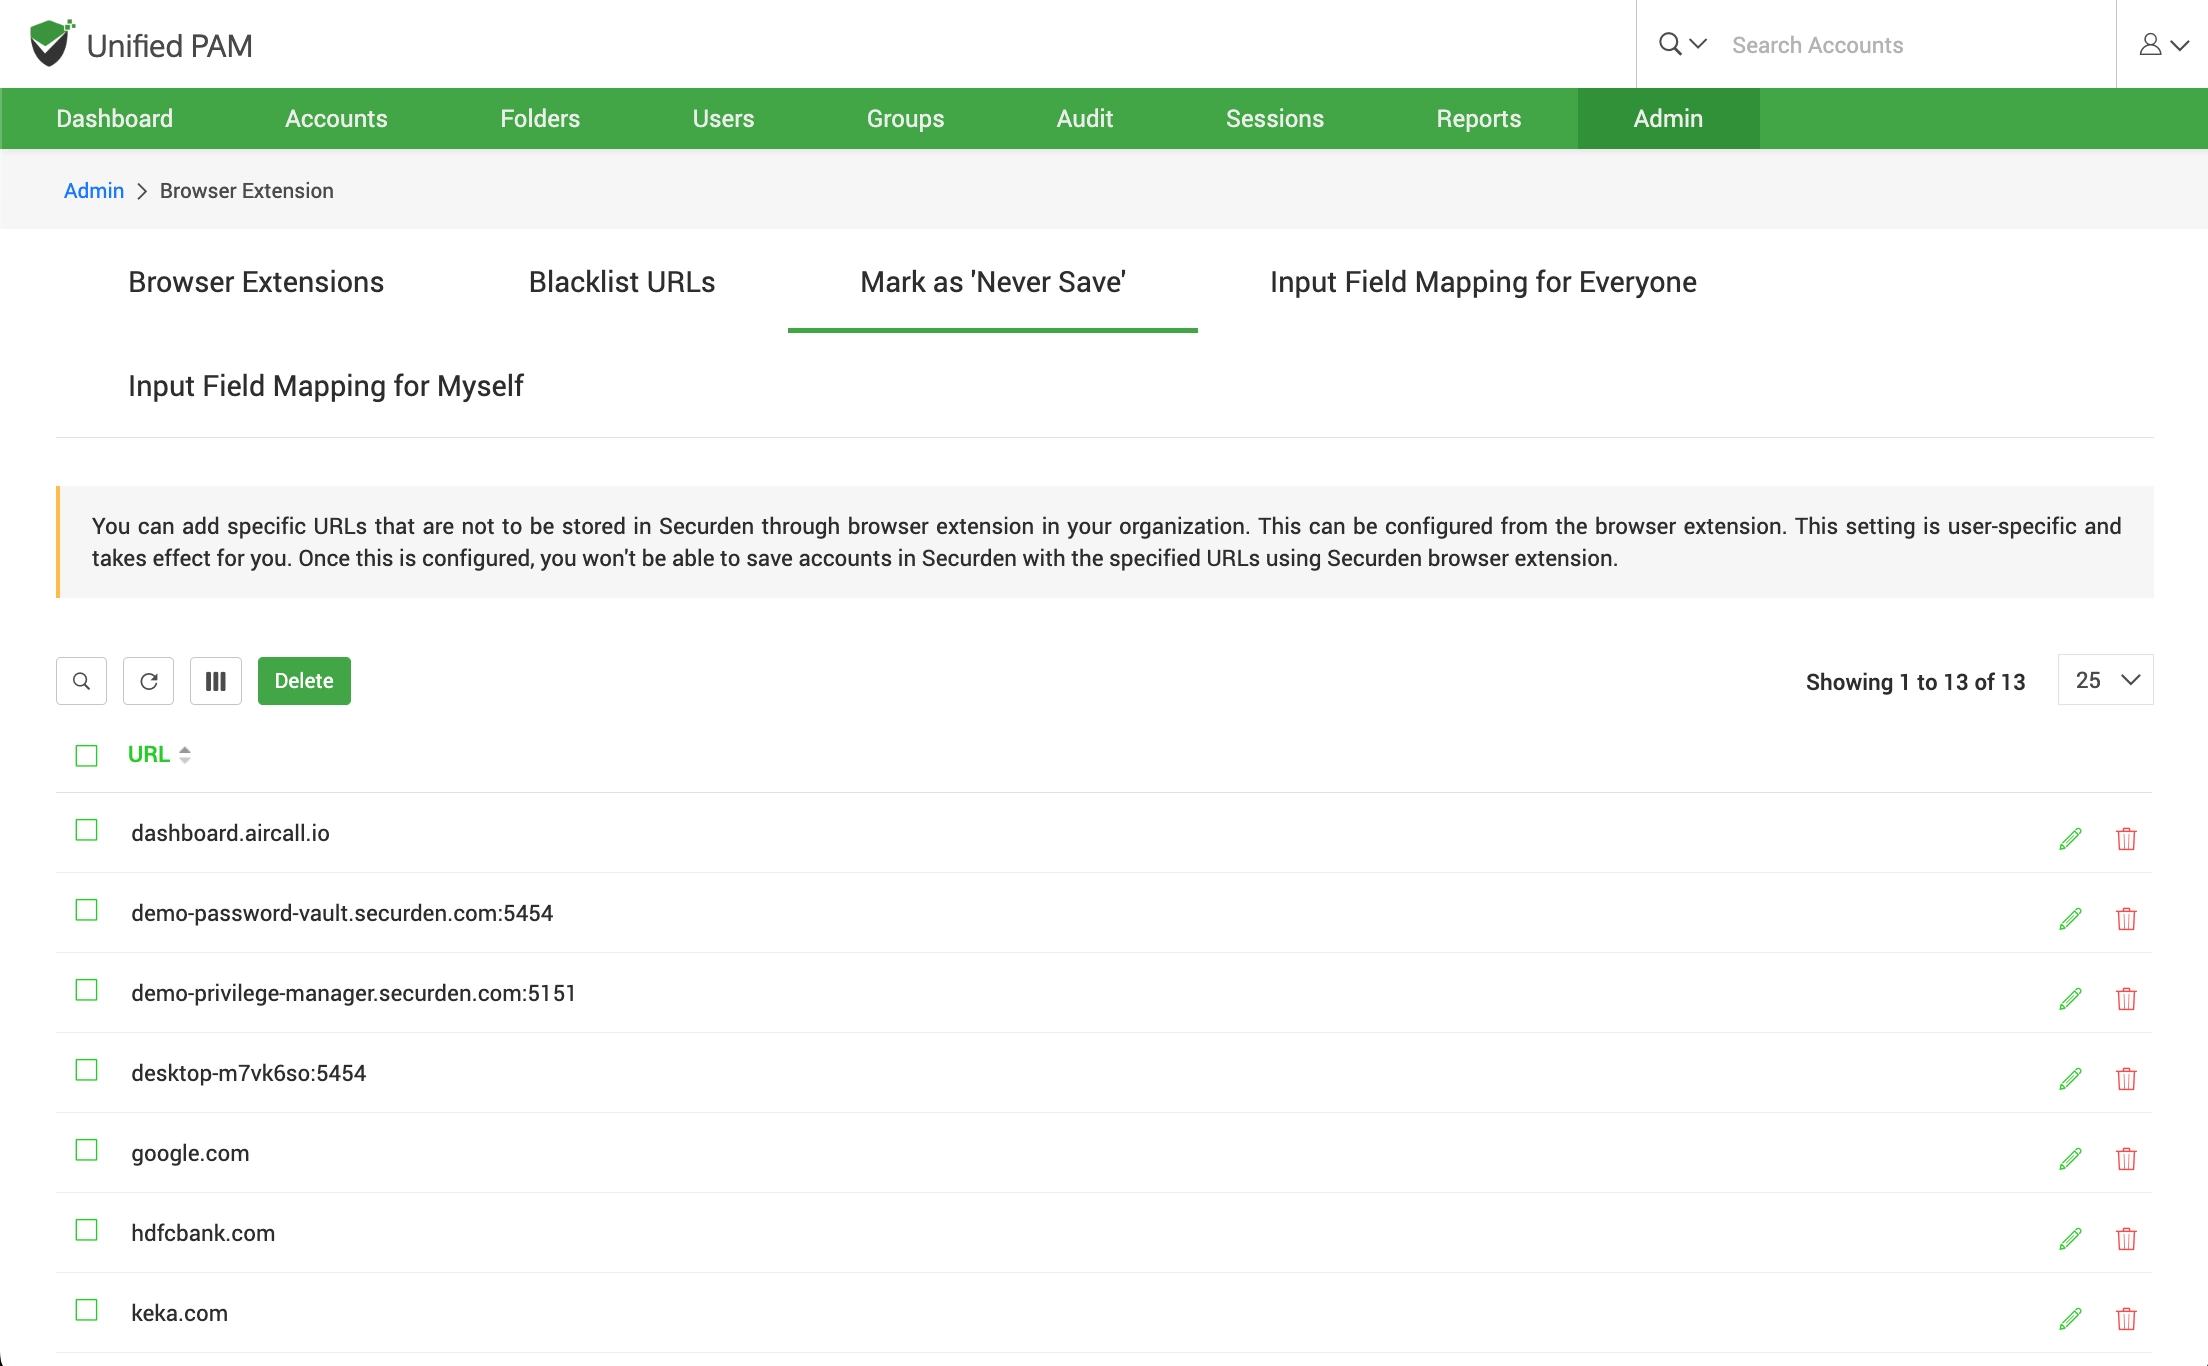
You can add specific URLs that are not to be stored in Securden through browser extension in your organization. This can be configured from the browser extension.
This setting is user-specific and takes effect for you. Once this is configured, you won't be able to save accounts in Securden with the specified URLs using Securden browser extension.