Create a Client ID and Client Secret in Microsoft
One lets you utilize its API services to generate and make use of OAuth to create the Client ID and Client Secret. The steps to create the Client attributes are as follows:
Step 1: Navigate to the link provided and login with your Azure account
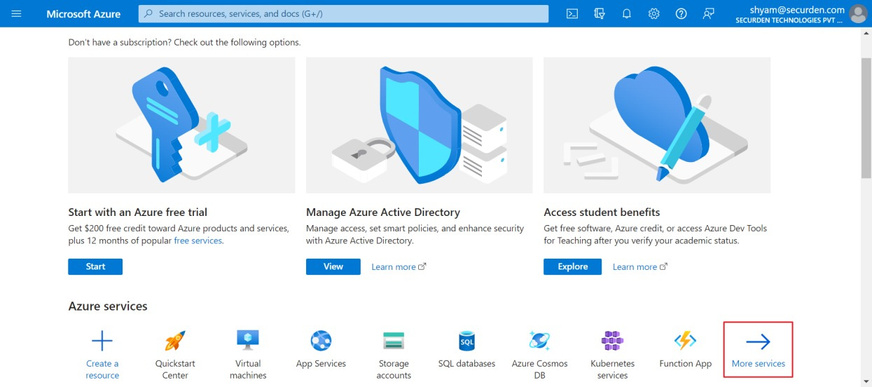
Step 2: Click on More services, search and find App Registrations

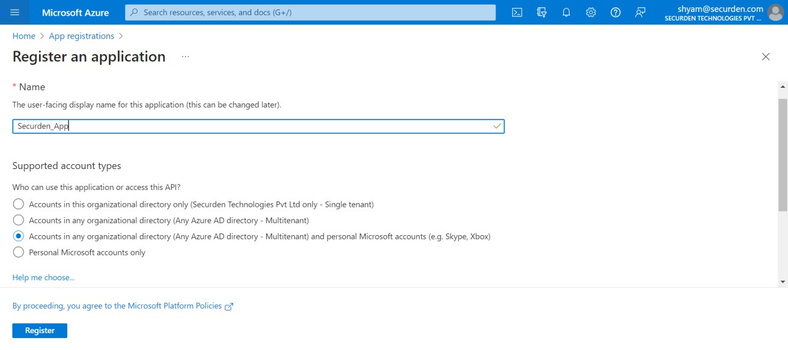
Step 3: Click on New registration

Step 4: In the app registration page, enter the application name under Name and select ‘Accounts in any organizational directory (Any Azure AD directory – Multitenant) and personal Microsoft accounts (e.g. Skype, Xbox)’
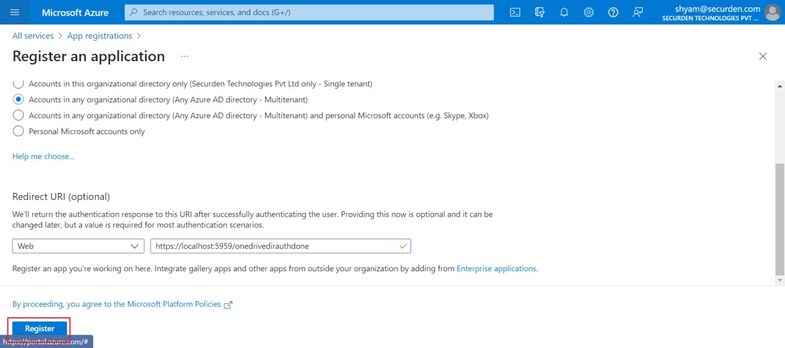
Step 5: Enter the Redirect URL and select Web application. Enter the URL used to access the Securden server, example https://
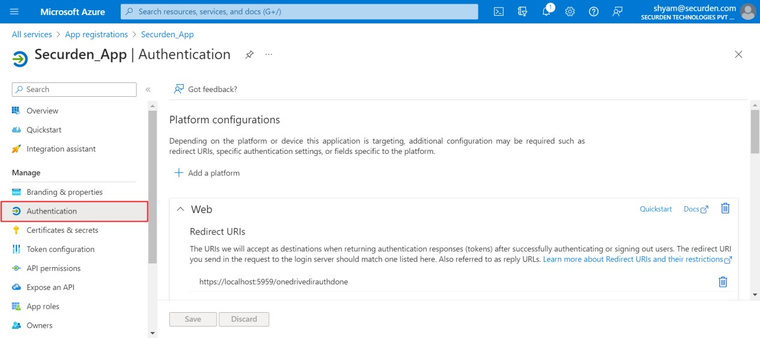
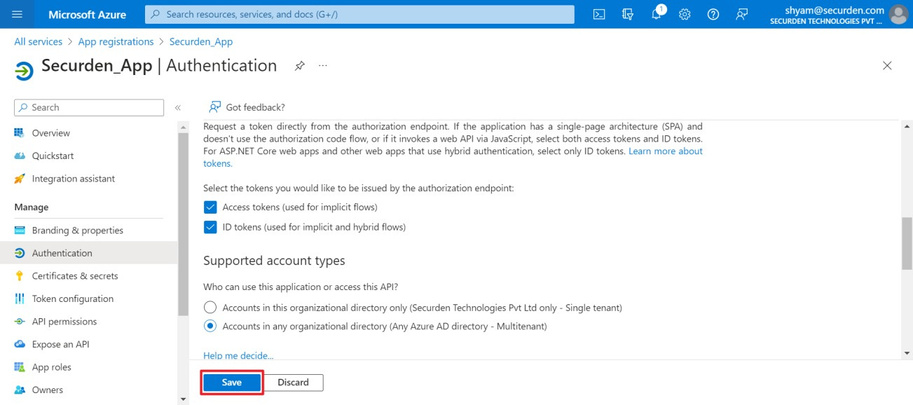
Step 6: Once registered, navigate to Authentication on the left side panel.
Step 7: Select Enable public client flows
Step 8: Select both tokens and click Save.
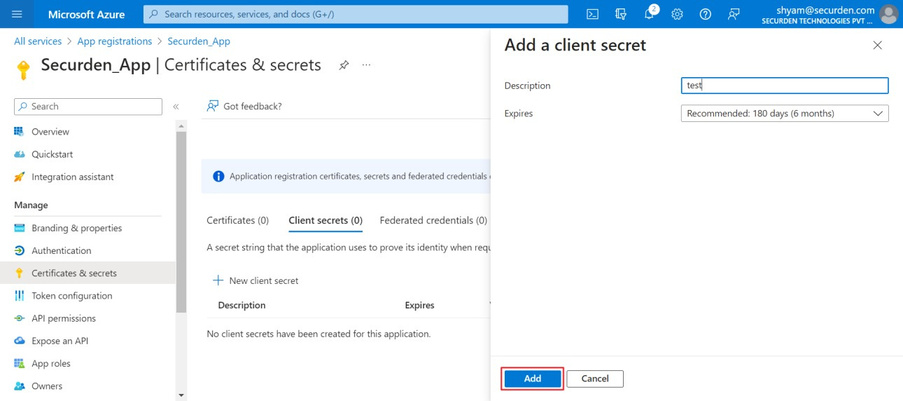
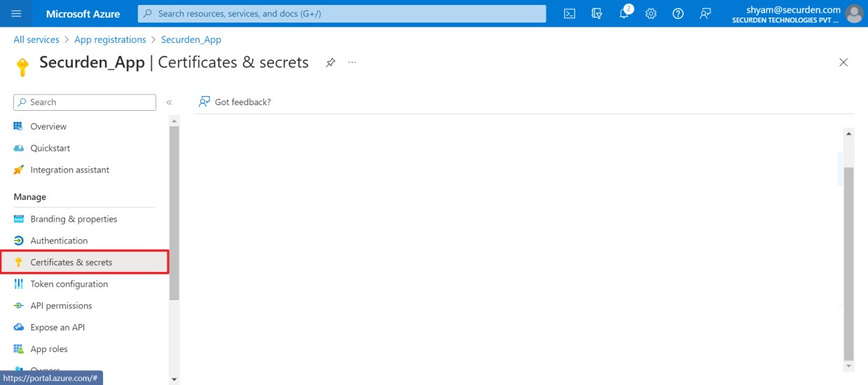
Step 9: Once saved, navigate to Certificates and secrets and select New client secret

Step 10: Add a Description and click Add
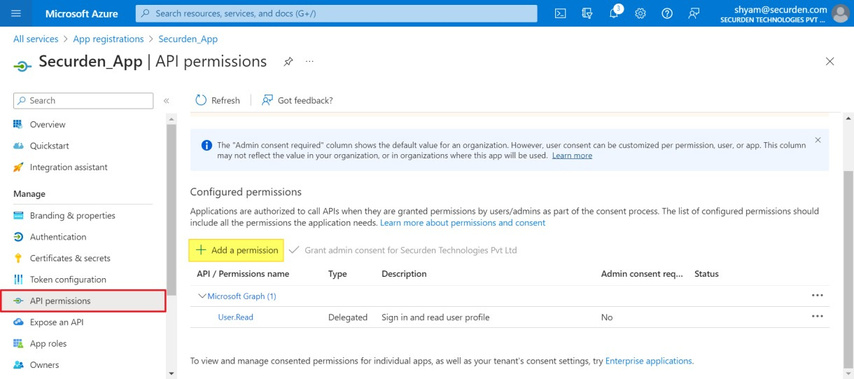
Step 11: Once you’ve added the client secret, navigate to API permissions and click Add a permission
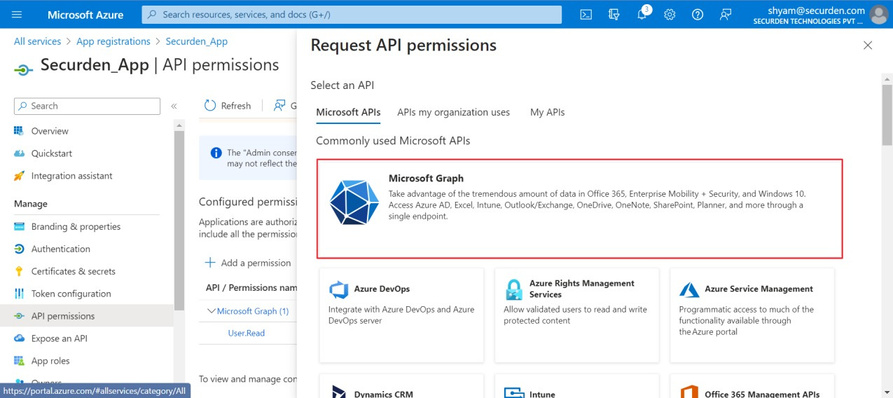
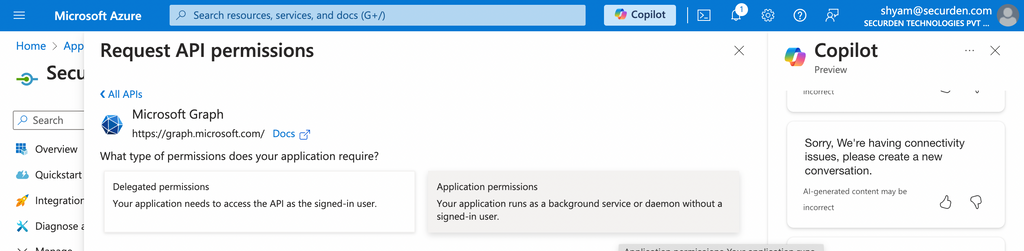
Step 12: Select Microsoft APIs under Request API permissions
Step 13: Step 13: Then select Microsoft Graph as shown below.
Step 14: Click on Delegated permissions.
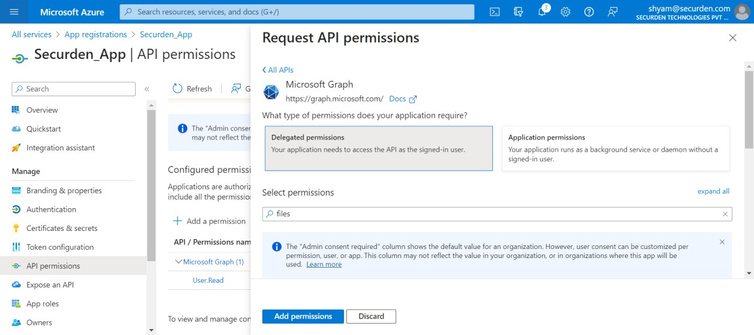
Step 15: Select permissions under delegated permissions required:
-
Files.ReadWrite.All - If you wish to use cloud storage
-
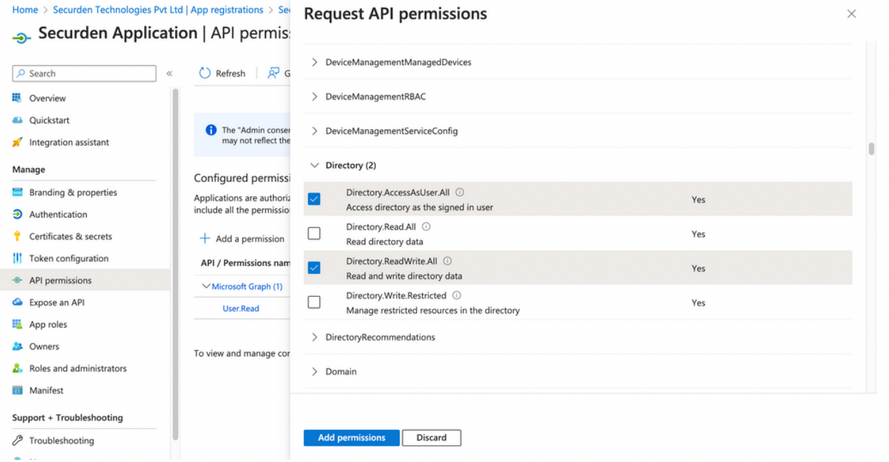
Directory.AccessAsUser.All, Directory.ReadWrite.All - If you wish to import and provision Azure users and accounts
-
SMTP.Send, offline.access and Mail.Send - If you wish to utilise the mail services and click Add permissions
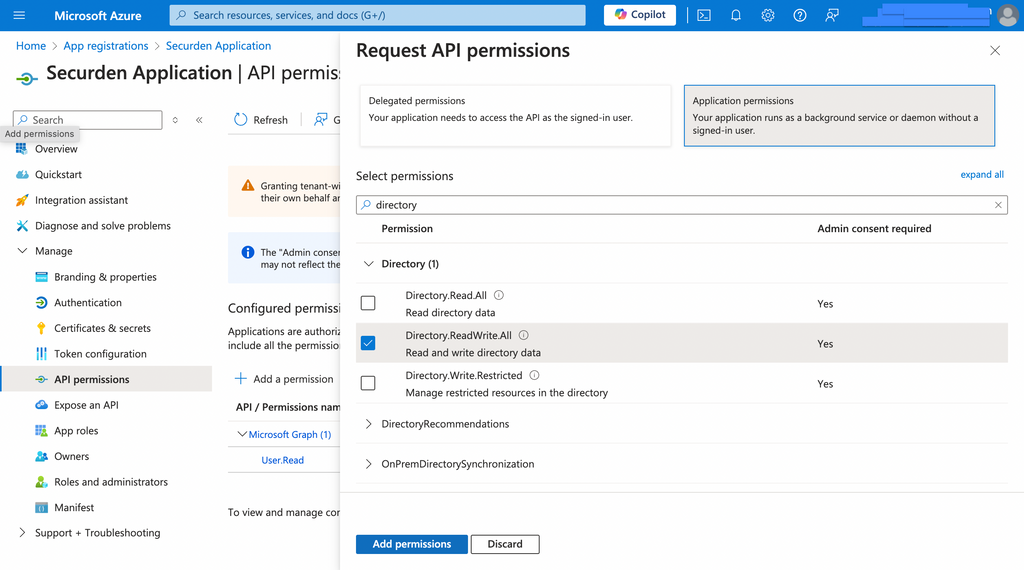
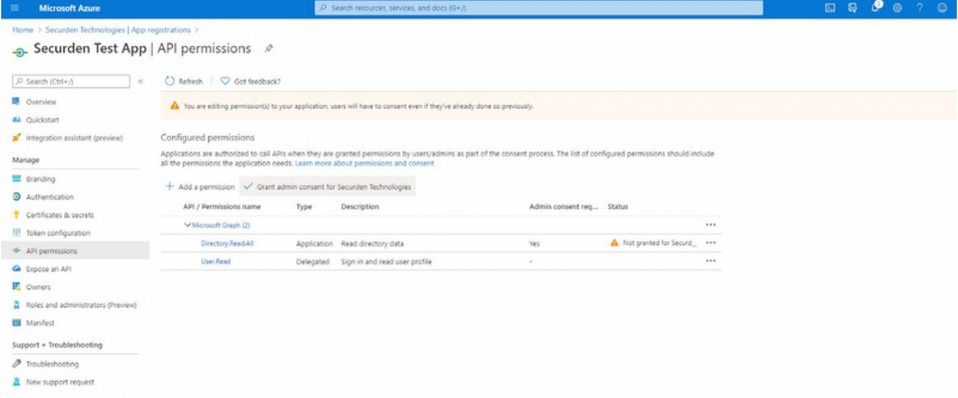
Step 16: Under Microsoft Graph >> Application Permissions , select Directory.ReadWrite.All - If you wish to import and provision Azure users and accounts.
Step 17: You need to then “Grant Admin Consent for Securden” and click Yes on the prompt that pops up.
Step 18: Once added, navigate back to Certificates and secrets
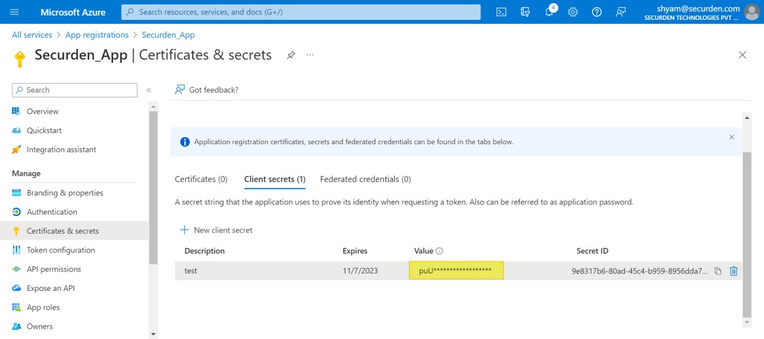
Step 19: Copy the Value of the Client Secret (Immediately after the creation, because it will expire).
Step 20: To get the Client ID, move to the Overview section and copy the details.