Creating and Managing Vendor Groups
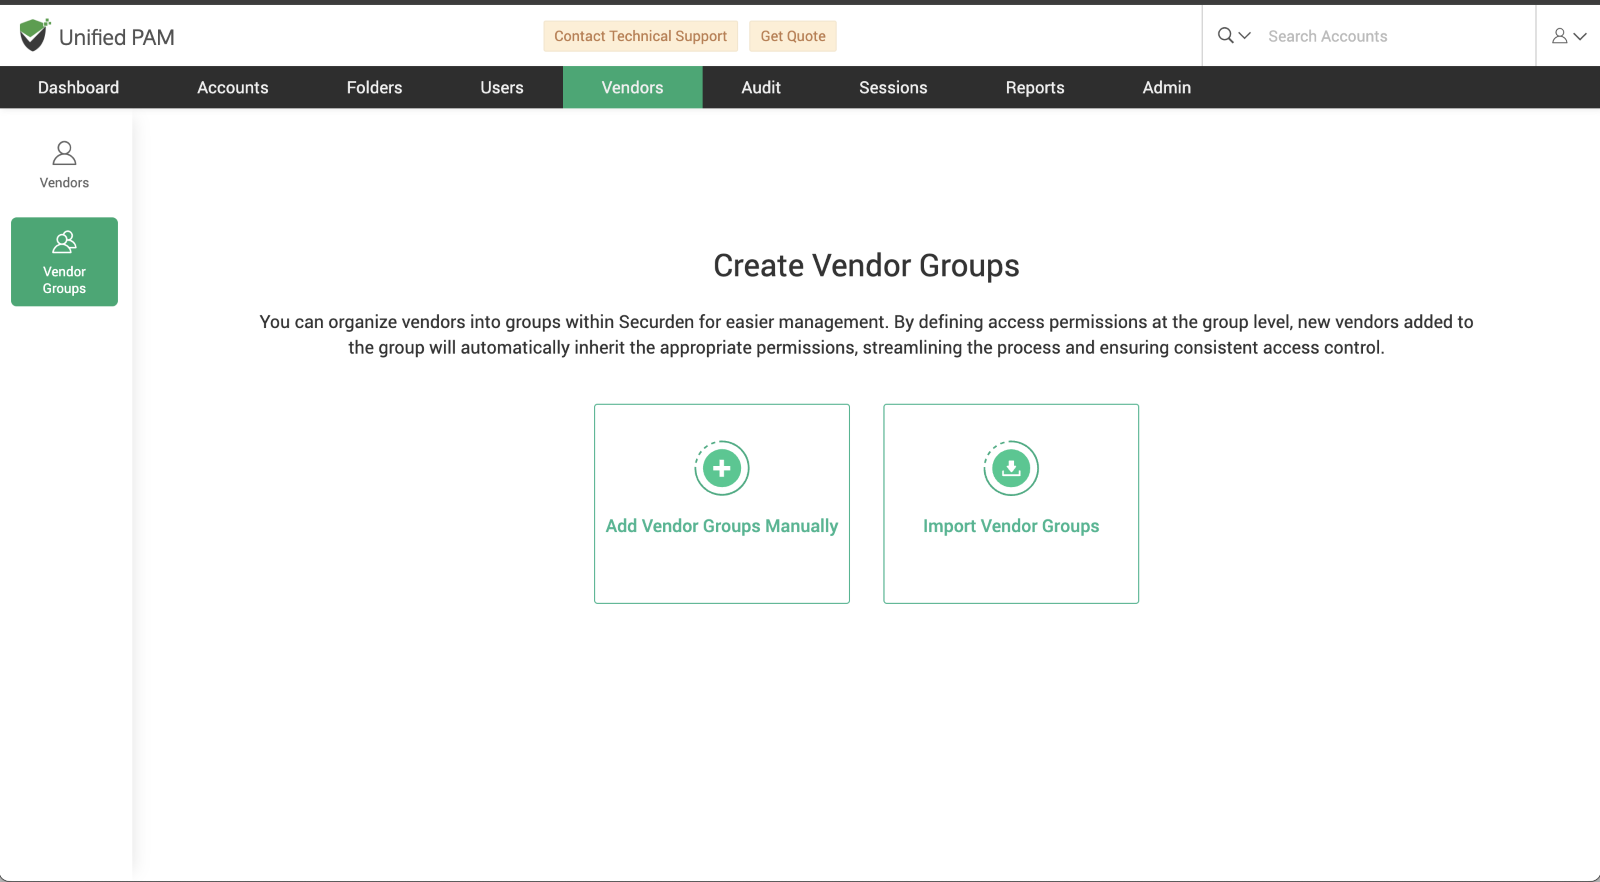
Securden allows you to organize vendors into groups for easier management and streamlined access control. By setting access permissions at the group level, any new vendors added to the group will automatically inherit the assigned permissions, ensuring consistency and simplifying the process.
Adding Vendor Groups
-
Click on the ‘Add Vendor Groups’ icon.
-
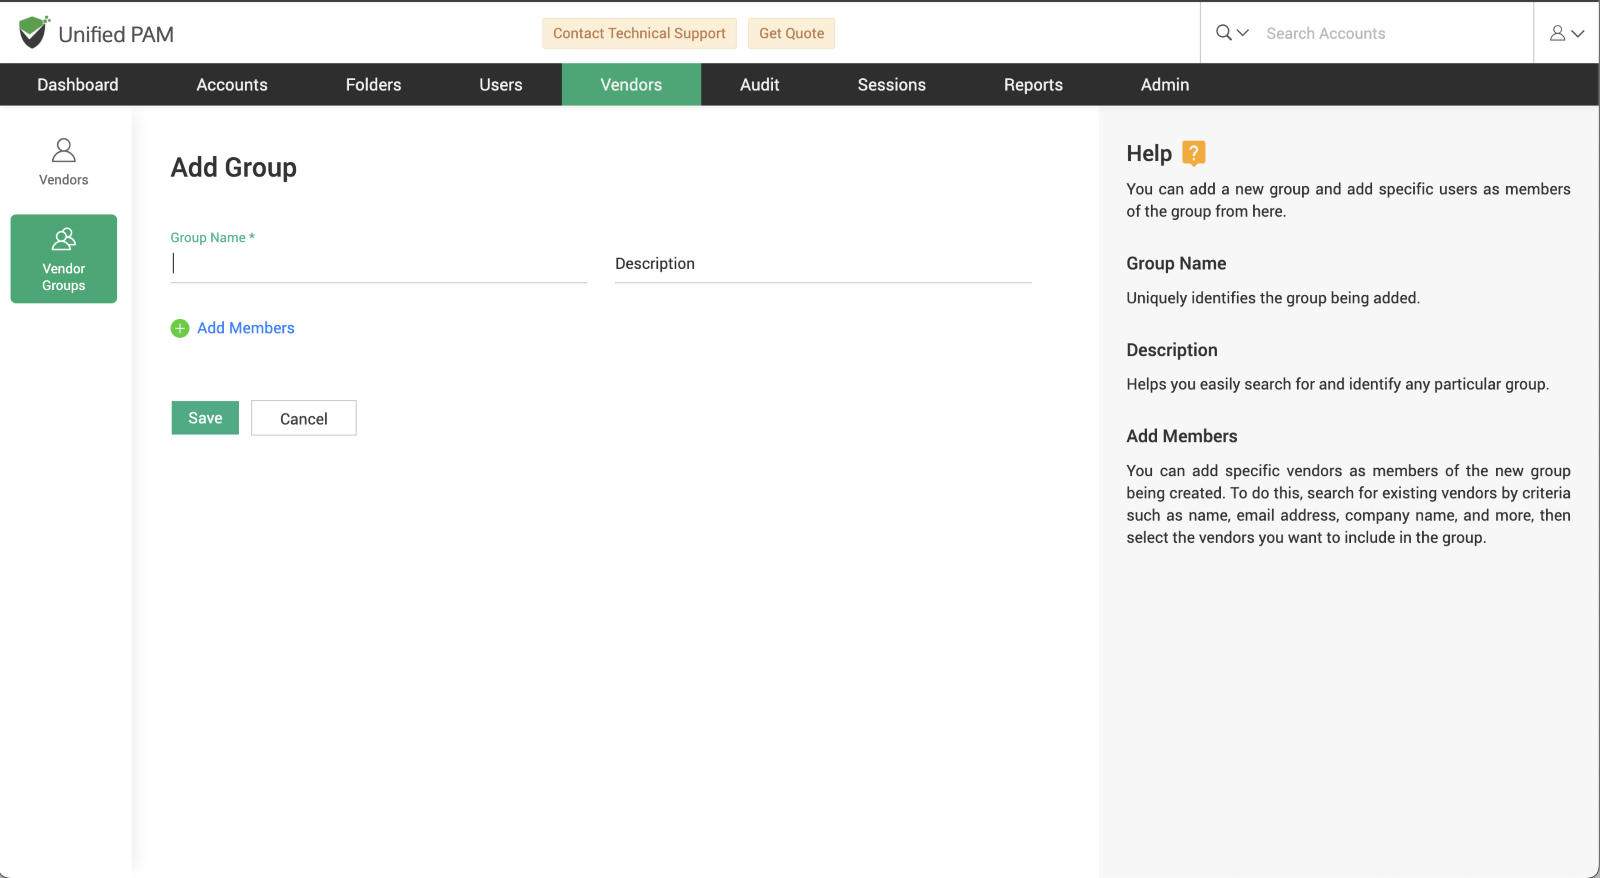
Enter the required details:
- Group Name
- Description
-
Add specific vendors to the group:
- Use the search feature to find existing vendors based on criteria such as name, email address, or company name.
- Select the vendors you want to include.
-
Once all details are entered, click ‘Save’ to create the vendor group.
After adding vendor groups, you can access their details and manage group members:
-
Navigate to the ‘Vendor Groups’ section using the icon on the left side of the interface.
-
A list of all vendor groups will be displayed.
-
Click on a specific group to view its details on the right side of the screen, including:
- Group Members
- Group Description
- Group ID
-
To edit vendor group details, click the ‘Edit’ icon located in the quick access panel on the left.
-
To view a detailed report of the vendor group, navigate to the ‘Report’ tab on the right side of the screen.
You will also find options to add or remove members from the selected vendor group for efficient management.


